The battery powers the starter and every electrical system in your car, which is why it is usually the first thing to let you down on a frosty morning. Modern batteries need far less maintenance than older ones, but the terminals, connections and charge level still deserve a check at least once a season.
A white or greenish deposit on the terminals is a sign of oxidation. It weakens the connection, the battery delivers less current, the engine cranks slowly and the alternator cannot fully recharge it. Add humidity, sharp temperature swings and winter road salt, and it pays to look after the terminals before trouble starts.
What you will need
Important: Switch off the ignition and all electrical consumers before you start. Always remove the negative clamp first and the positive one second, and reconnect in the reverse order. Never rest metal tools on the battery, as they can short the terminals, and wear eye protection: electrolyte and its deposits are corrosive.
Step 1
Inspect the terminals and clamps
Open the bonnet and look at the battery terminals. A white powder or greenish crust means the contacts are already oxidising. Also check that the casing is not cracked and that no electrolyte is leaking.
Carefully loosen the nuts and remove the clamps, negative first, then positive.
Step 2
Remove the oxidation by hand
Wipe away loose dirt and deposits with a rag. Then go over the terminals and clamps with fine sandpaper to remove the oxide layer, and finish with a brass brush, which cleans the metal without scoring it deeply.
Do not forget to wipe the inside of the clamps. If the deposit is heavy, repeat the process several times until you see bare, clean metal.
Step 3
Clean the contacts with a dedicated cleaner
Spray WD-40 Specialist Contact Cleaner generously onto the terminals, cable lugs and the inside of the clamps. It reaches tight spots, dries quickly, leaves no residue and restores conductivity.
Give the surfaces a few minutes to dry.
Step 4
Protect the metal from corrosion
Treat the clamps, the battery hold-down and nearby metal parts with WD-40 Multi-Use Product. It displaces moisture, protects against rust and corrosion, and also lifts grease marks and grime from the surrounding surfaces.
Wipe off any excess so the casing does not attract dust.
Step 5
Tighten the clamps securely
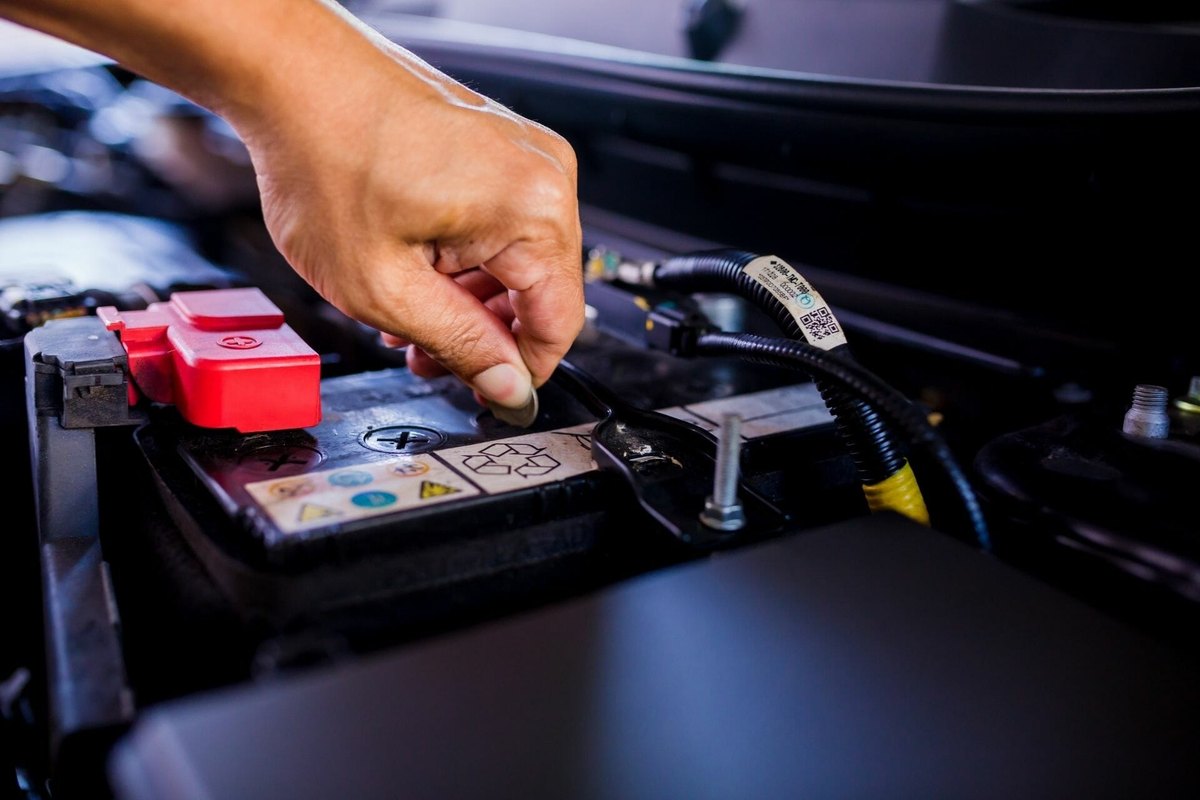
Refit the clamps, positive first, then negative, and tighten the nuts firmly. A loose connection means lost current: the car is harder to start and the battery drains faster.
Before refitting the protective caps, apply a thin coat of WD-40 Specialist long-lasting Spray Grease to the assembled clamps. It forms a durable film that keeps moisture away from the metal and slows down new oxidation.
Step 6
Keep the battery charged
A standard battery lasts between 3 and 6 years, but frequent short trips and long periods of standing shorten that noticeably. The alternator simply does not get enough time to recharge it, and eventually sulphation sets in on the plates, causing permanent damage.
Every few weeks, and especially in winter, top up the charge with an automatic smart charger using a low current of around 1/10 of the battery capacity. There is no need to remove the battery: just disconnect the clamps and connect the charger.
Tip: If the battery does go flat, jump-start the car from another vehicle or a portable jump starter. Connect positive to positive and negative to negative, with the donor engine running. Once your car starts, remove the leads in reverse order and keep the clamps away from the bodywork to avoid sparks. Clean contacts treated with contact cleaner make for a much better start.
What next
Check the terminals in autumn before the frosts and again in spring after the salty-road season. The same contact cleaner is handy for headlight connectors, sensors and fuses, while WD-40 Multi-Use helps keep moisture off other metal parts under the bonnet.
These uses come from the experience of WD-40 users in many countries. Always follow the instructions and warnings on the product label.
More guides in «How to use».