Changing a headlight bulb used to take five minutes. Today it depends on two things: the type of light (halogen, xenon or LED) and the layout of the engine bay. On many models you have to work around other components or even remove part of the body to reach the lamp.
The bulb type and replacement procedure are in the owner's manual, so start there. A useful rule: if one bulb has blown, replace the other as well. Both have done the same hours and the second is likely to fail soon.
What you will need
Important: Switch off the lights and ignition before starting and, where possible, disconnect the negative battery terminal or the headlight fuse. Xenon headlights have a high-voltage igniter: if in doubt, leave the job to a workshop.
Step 1
Clear access to the headlight
Open the bonnet and locate the back of the headlight housing. If the washer reservoir, air filter box or battery is in the way, remove it carefully. Remember or photograph how everything was fitted so you can reassemble it easily.
Step 2
Remove the protective cover
The back of the headlight is sealed with a hard plastic or rubber cover that keeps water and dust out. Pull or twist it off. Behind it you will see the power connector and the bulb retainer.
Check the rubber cover: if it has dried out, treat it with WD-40 Specialist Silicone so it stays supple and seals properly.
Step 3
Take out the blown bulb
Unplug the connector from the bulb base; moderate hand pressure is usually enough. A halogen bulb is held by a sprung metal clip: press it and swing it aside. Note the position of the base and its contacts.
LED and some xenon bulbs use a bayonet fitting: turn the bulb about a quarter turn anticlockwise and pull it out.
Step 4
Fit the new bulb and clean the contacts
Insert the new bulb in the same position as the old one. Do not touch the glass with your fingers: skin oil causes hot spots and shortens bulb life. Hold it by the base or wear clean gloves. Refit the retainer.
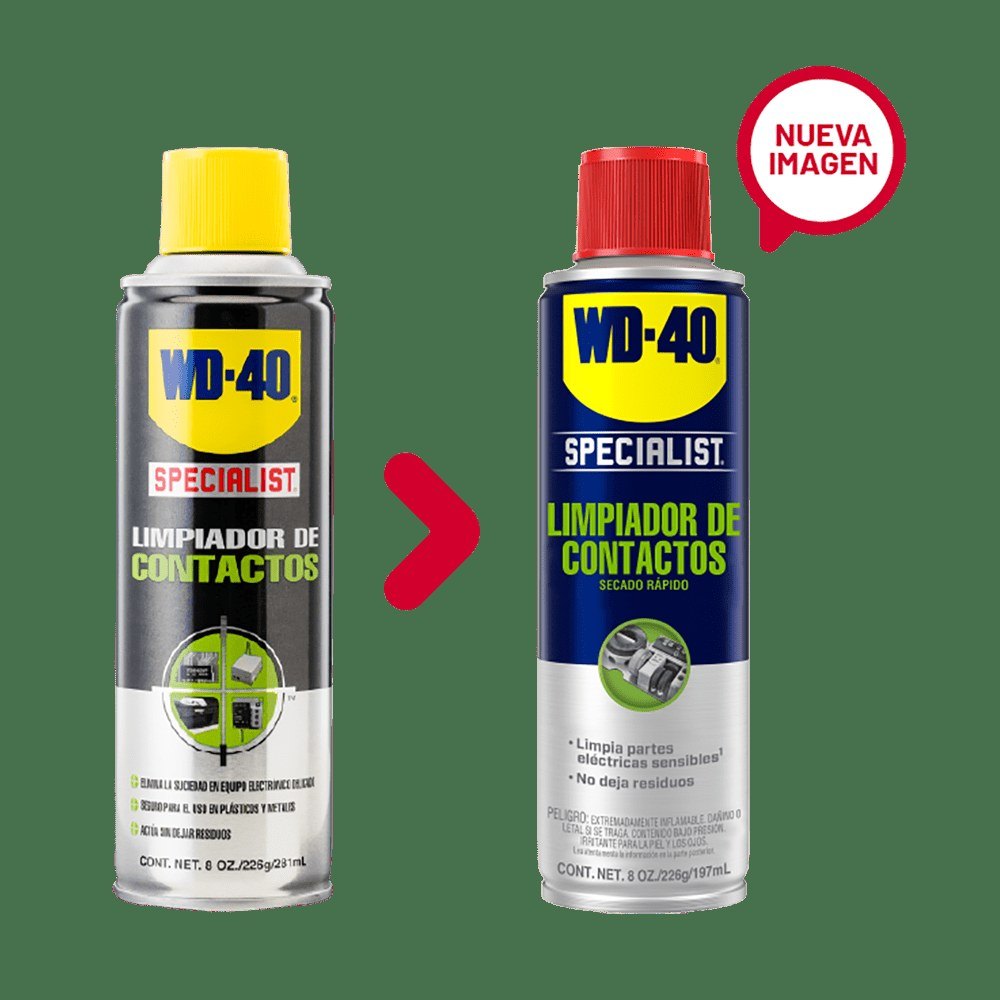
Before plugging in, spray both halves of the connection with WD-40 Specialist Contact Cleaner. It dissolves oxidation, dirt and condensation and evaporates quickly. Let it dry for a few seconds, reconnect and refit the cover.
Step 5
Check the lights and beam alignment
Reconnect the battery and switch on the headlights. Make sure dipped and main beam both work. Changing the bulb may have shifted the reflector slightly, so do a rough check: park on level ground 1-2 m from a wall and compare the height of the light patches on each side.
If they differ noticeably, have the headlights adjusted at a workshop so you do not dazzle oncoming drivers.
Tip: In autumn and winter condensation often builds up inside headlights. While changing the bulb, check that the cover sits tightly and the connector is dry. Treat any oxidised contact with
WD-40 Specialist Contact Cleaner to stop the light flickering.
What next
Check your lights once a month and before long trips. Cleaning headlight, tail light and fog light connectors with WD-40 Specialist Contact Cleaner every autumn, before the season of rain and road salt, is good practice.
These uses come from the experience of WD-40 users in many countries. Always follow the instructions and warnings on the product label.
More guides in «How to use».