A motorcycle picks up everything: dust from the motorway, mud from verges, insects, exhaust film and, in spring and autumn, salt and de-icers from the roads. Dirt does not just spoil the look; it holds moisture against the metal and speeds up corrosion. Yet careless washing can do more harm than the dirt itself: pressurised water is forced into bearings and connectors, and detergent that dries in the sun leaves marks.
A proper wash takes less than an hour and comes down to a few simple steps, from choosing the spot to drying and protecting the metal.
What you will need
Important: Wash only when the engine is completely cold, to avoid burns and marks from detergent drying instantly. Do not use a pressure washer. Keep protective products off brake discs, pads, tyres, the seat and grips.
Step 1
Choose the spot
You need a roomy area where you can use water freely: a yard, a self-service car wash without the high-pressure setting, or a garage with a drain. Outdoors in the shade is best. In direct sun, water and detergent dry before you can rinse them off and leave streaks.
Step 2
Let it cool and wet it down
Let the engine and exhaust cool completely. Then wet the whole bike with a gently running hose to rinse off dust and grit and prepare the surface. Do not aim the water at wheel bearings, the steering head, connectors, the ignition switch or the air intake.
Step 3
Apply the shampoo
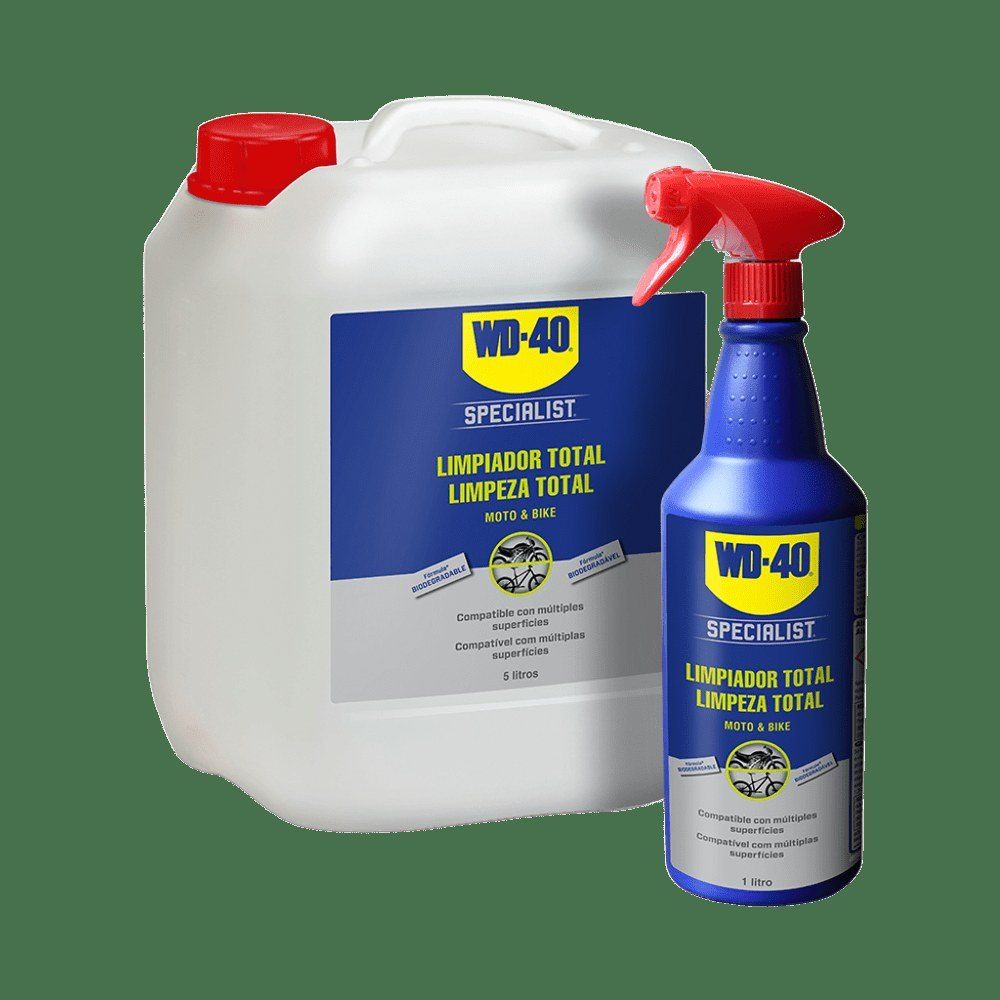
Apply a mild motorcycle shampoo all over the bike, using plenty on the dirtiest areas: the lower engine, swingarm and mudguards. Let it work for a few minutes, but do not let it dry.
Step 4
Work with the sponge
Work from top to bottom with the sponge, starting with the dirtiest areas. Around the engine and suspension, where greasy grime builds up, a soft brush helps. Clean delicate parts, the instrument panel, lights and decals gently, without pressure. Rinse the sponge often so grit does not scratch the paint.
Step 5
Rinse and dry
Rinse away the shampoo and loosened dirt with the hose or a bucket of water. Then dry the bike thoroughly with clean, dry cloths. Pay special attention to places where water collects: under the seat, around locks and on fixings.
Step 6
Displace moisture and protect
Spray WD-40 Multi-Use onto bare metal, bolts, linkages and lever pivots, the undersides of footpegs and brackets: it drives water out of gaps and protects against rust. Treat any connectors that may have got wet with WD-40 Specialist Contact Cleaner. Refresh plastic and rubber parts with WD-40 Specialist Silicone applied to a cloth. Finally, ride a few kilometres and test the brakes carefully.
Tip: In winter and early spring, when roads are treated with de-icers, wash the bike straight after riding rather than waiting for the weekend. Salt leaves corrosion spots on aluminium and chrome within days.
What next
Wash your motorcycle every 2-3 weeks in season or after every wet ride, always followed by metal protection. After washing, lubricate the chain and check its tension.
These uses come from the experience of WD-40 users in many countries. Always follow the instructions and warnings on the product label.
More guides in «How to use».