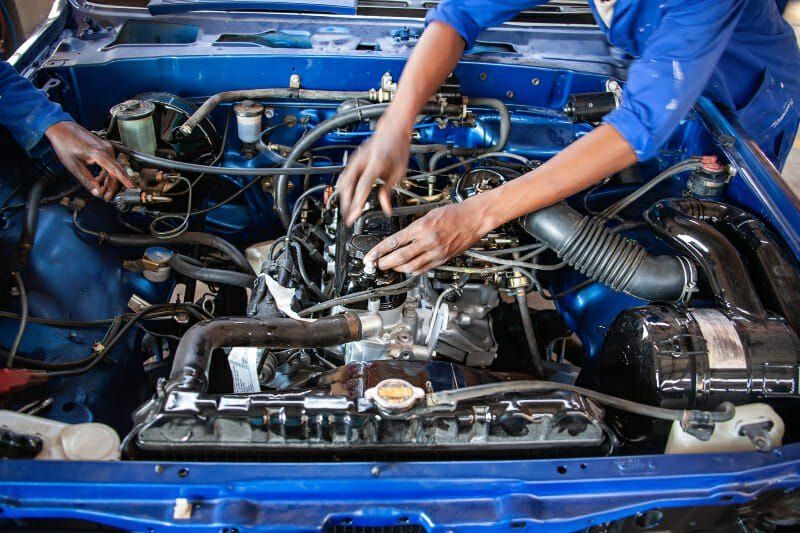
Most cars built before the mid-1990s use a carburettor, and it still lives on in older saloons, pickups and classics. It mixes petrol and air mechanically, so any deposits in the jets or passages show up at once: a hunting idle, jerking under acceleration, lost power and misfires.
Poor fuel, dust from country roads and condensation that collects in the float bowl during long periods of standing gradually clog the fine passages. A thorough strip-down clean restores smooth running, and you can do it yourself in a few hours.
What you will need
Important: Work only on a cold engine with the battery negative terminal disconnected, with no open flames and good ventilation. Catch any leaking petrol in a container, never let it run onto the ground.
Step 1
Prepare the car and workspace
Park on a level concrete surface rather than grass or soil, so any spilt petrol does not soak into the ground. Wait for the engine to cool, disconnect the battery negative terminal and lay out your tools, containers and rags.
Step 2
Remove the carburettor
Open the bonnet and remove the air filter housing. Photograph every hose, linkage and wire before disconnecting it, to make reassembly easier. Disconnect the choke cable, the throttle linkage and return spring, the vacuum hose and the fuel feed hose, holding a container underneath. Check the mesh filter at the fuel inlet.
The nuts holding the carburettor to the manifold often seize from heat and moisture. Apply WD-40 Specialist Penetrant, wait 10 minutes and undo them evenly.

Step 3
Clean the outside and dismantle
Clean the outside of the carburettor first so dirt does not get inside while you strip it. Spray on WD-40 Smart Straw, let it soften the grime and wipe it off. Then remove the top cover, open the float bowl and carefully take out the accessible parts: jets, emulsion tubes, filter, diaphragms, float and needle valve. Lay them out in order and inspect the cover gasket, which often needs replacing.
Step 4
Clean the parts and passages
Soak the small parts in a container of WD-40 5 l so the deposits dissolve. Inspect the bottom of the float bowl: if there are rust marks from condensation, treat them and wipe the bowl thoroughly.
Pay special attention to the jets, as they control the idle. Never clear them with steel wire or a drill bit, as this enlarges the calibrated hole. Feed the product through the thin straw of WD-40 Smart Straw into the holes and passages, then blow everything through with compressed air.
Step 5
Reassemble and refit
Once every part is clean and dry, reassemble the carburettor in reverse order, ideally with new gaskets from a kit. Before closing the bowl, make sure there is no debris or leftover product inside. Refit the fuel filter, mount the carburettor on the manifold, reconnect the hoses, linkages and cable using your photos, then the air filter and the battery terminal.
Start the engine, let it warm up and adjust the idle if needed according to your car's manual.
Tip: After reassembly, give the linkages, throttle spindles and springs a light coat of
WD-40 Smart Straw. They will move freely and will not stiffen with moisture and road salt in winter.
What next
On a daily driver, a full strip-down is done when problems appear or every few years, with external care more often. To protect metal parts under the bonnet from moisture, use WD-40 Multi-Use. If the engine still runs unevenly after cleaning, check the ignition and look for air leaks.
These uses come from the experience of WD-40 users in many countries. Always follow the instructions and warnings on the product label.
More guides in «How to use».