We wash the outside of a car regularly because dirt is obvious there. The interior often waits until spring, even though we spend hours in it every day. Dust in the vents, crumbs between the seats, sticky cup holders and salt on the mats spoil the look, the air and the resale value.
A car interior mixes plastic, fabric, leather, rubber, chrome and glass, each needing its own approach. This order of work gives a near-valeting result at home, ideally once a month.
What you will need
- vacuum cleaner with brush and crevice tools, plus an extension lead
- microfibre cloths and kitchen roll
- stiff small brush or an old toothbrush
- fabric or leather cleaner (to suit the upholstery)
- glass cleaner
- WD-40 Specialist Silicone for plastics and rubber seals
- WD-40 Multi-Use for hinges, sticky marks and chrome
- baking soda for carpets (optional), gloves
Important: Never apply silicone or WD-40 to the pedals, steering wheel, gear knob or driver's footwell mat: they become slippery. Keep products off the windscreen, displays and the instrument cluster glass. Test every product on a hidden area first.
Step 1
Vacuum the whole interior
Take out the mats and shake them away from the car; wash rubber mats to remove salt and sand. Vacuum the seats, floor, boot, under the seats and around the handbrake, using the crevice tool between the seats and around the gear lever. Baking soda left on fabric carpets for a few hours, then vacuumed, removes odours.
Step 2
Treat the dashboard and plastics
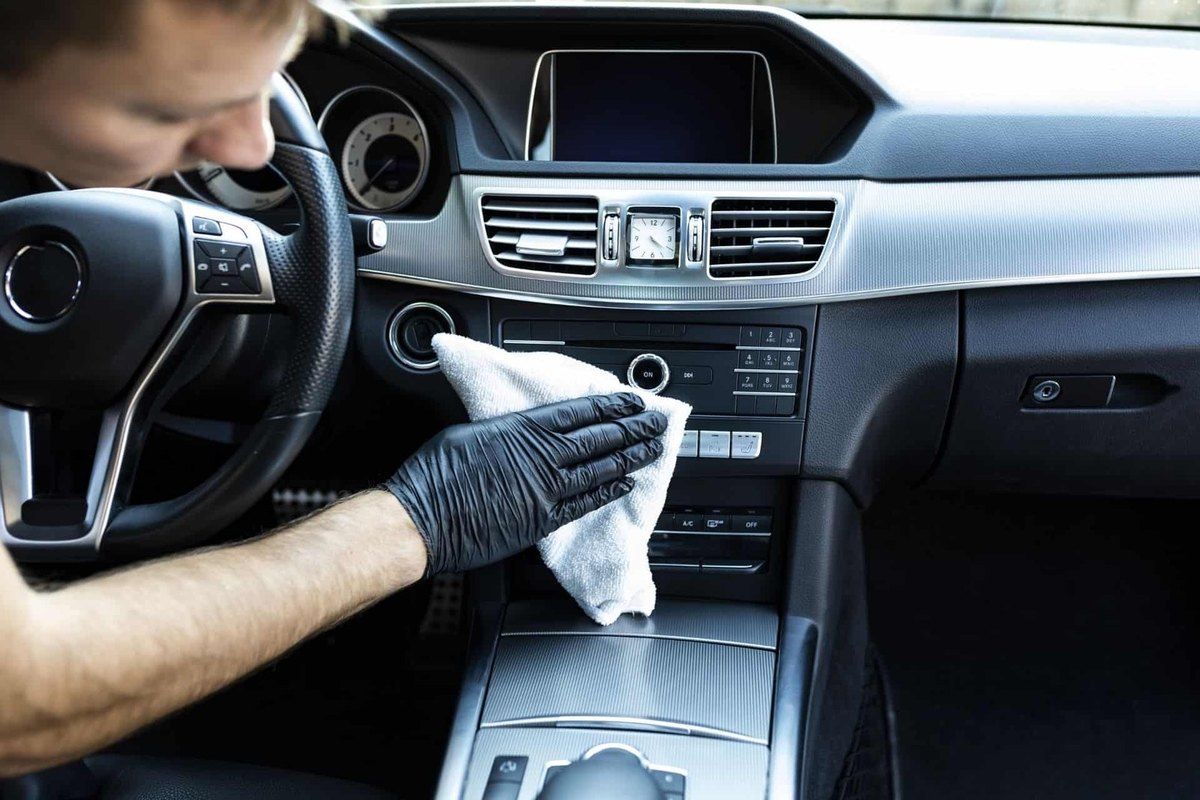
Dust with a dry microfibre cloth, including the vents. Then apply WD-40 Specialist Silicone to a soft microfibre cloth rather than the panel and wipe the plastics. Silicone refreshes the colour, adds a light sheen and leaves a film that attracts less dust, helping the sun-exposed dashboard resist fading and drying out.

Step 3
Clean the upholstery
Use a fabric cleaner on cloth and only a dedicated leather cleaner on leather. Apply, leave for a few minutes and wipe with microfibre, working the dirt out of the fibres. Repeat on stubborn areas. Do not over-wet fabric and let the upholstery dry fully before driving.
Step 4
Get into the nooks and crannies
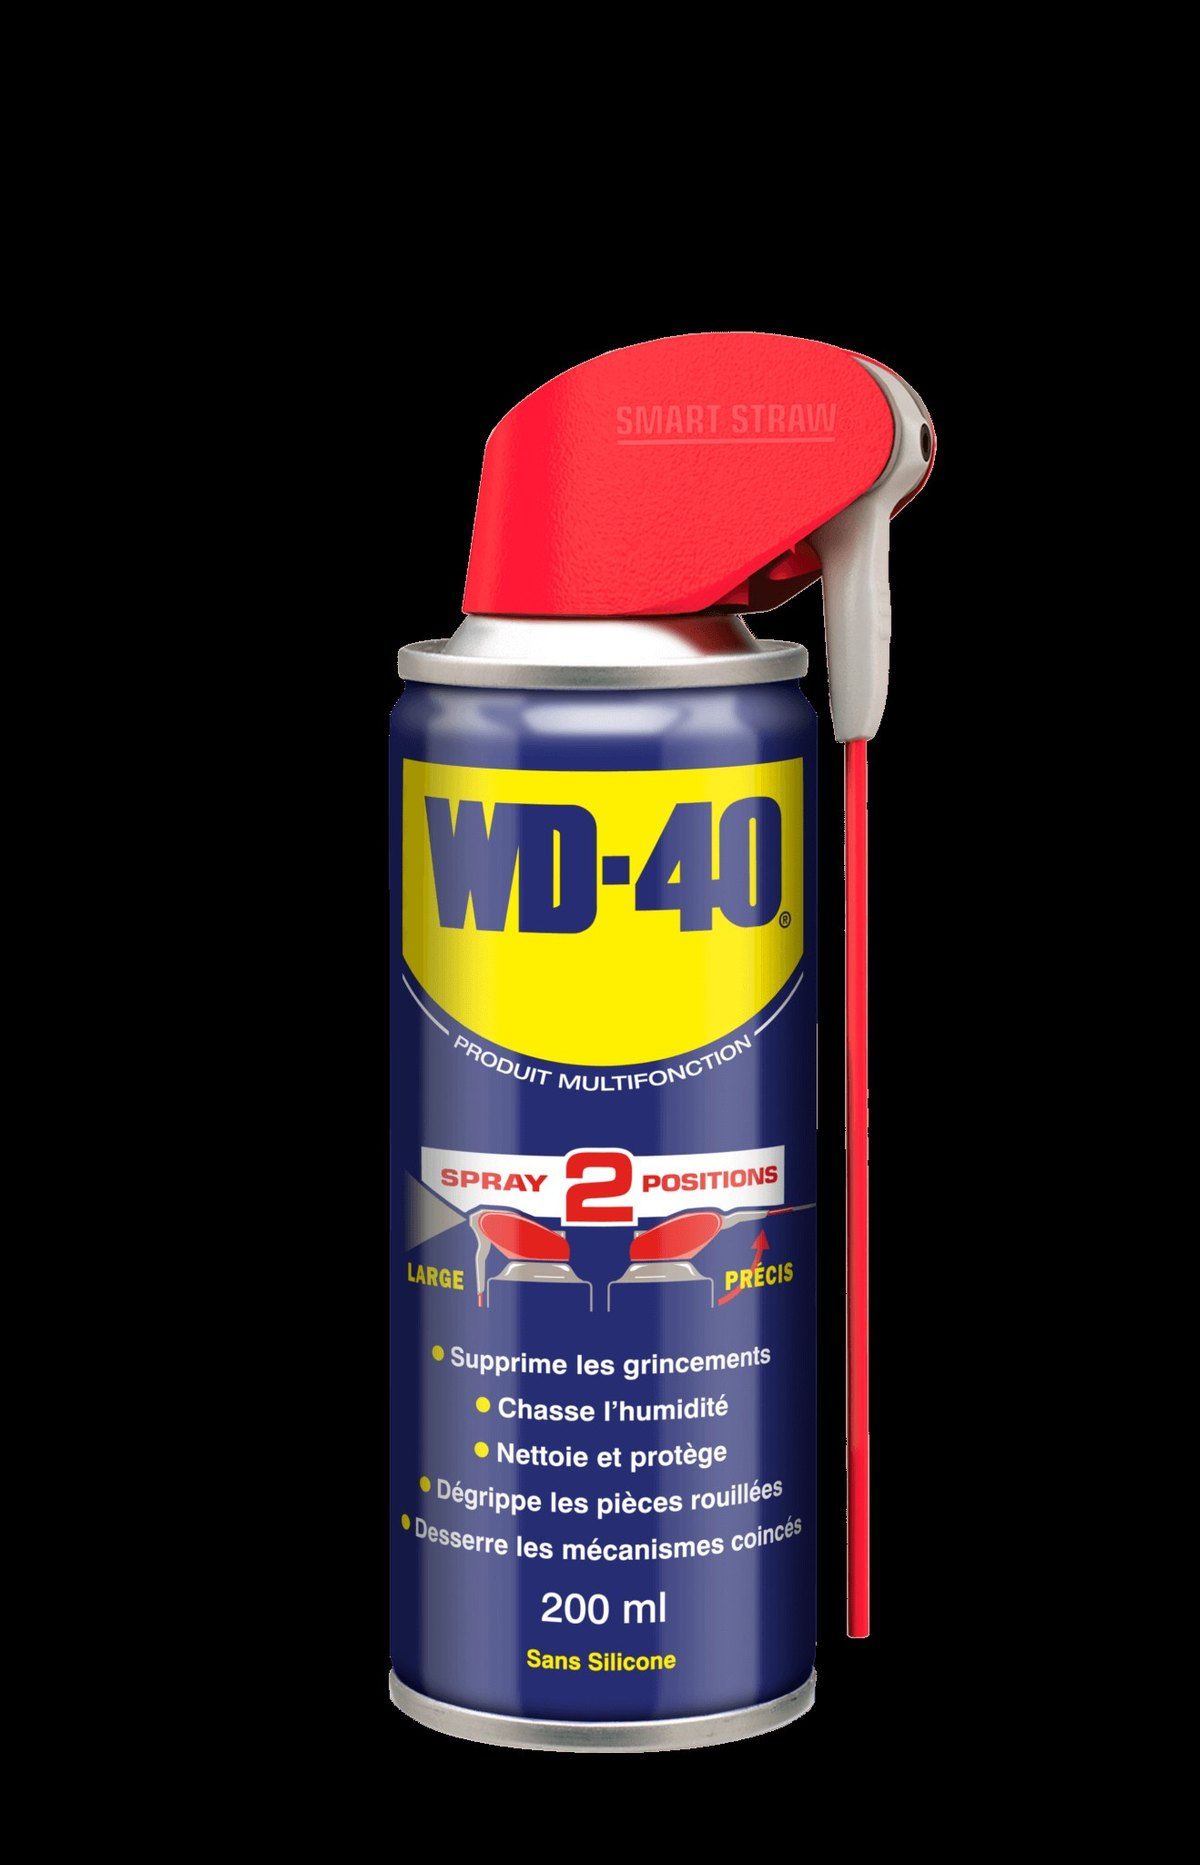
Clean cup holders, door handles, buttons and vent grilles with a stiff small brush. Sticky spills and sticker residue on plastic soften with a little WD-40 Multi-Use on the brush or cloth; WD-40 Smart Straw reaches into gaps precisely. Do not press hard on delicate clips and wipe off residue straight away.
Step 5
Treat doors, hinges and seals
Dust the door cards and treat the plastic in the same way as the dashboard. Spray the rubber door seals evenly with WD-40 Specialist Silicone and spread it with a cloth so the rubber does not crack or freeze shut in winter. Lubricate door hinges and check straps with WD-40 Multi-Use to stop squeaks and rust. Wipe chrome trim with a microfibre cloth and a drop of WD-40, then buff dry.
Step 6
Clean the inside of the glass
Spray glass cleaner onto a microfibre cloth rather than the glass, to avoid overspray on the dashboard. Wipe the windscreen, side and rear windows and mirror, then buff with a dry cloth. Finally put back the dry mats and air the car.
Tip: In winter, wet mats mean misted windows every morning. Dry them indoors and use rubber mats with raised edges, which trap water and salt.
What next
Vacuum every 1-2 weeks and clean the whole interior monthly. Treat plastics with silicone every 1-2 months and door seals in autumn and spring. Keep WD-40 Multi-Use in the glovebox for squeaks and sticky marks, and WD-40 Specialist Silicone for the seals.
These uses come from the experience of WD-40 users in many countries. Always follow the instructions and warnings on the product label.
More guides in «How to use».