A gas stove burner takes everything every day: steam, grease, gravy splashes and milk that boils over. Burnt residue blocks the ports in the burner head, the flame becomes uneven and yellowish, it starts to blacken pans, and the gas burns less efficiently.
Soapy water removes surface dirt, but the burnt edges of the burner head take a lot of effort. Below is how to clean a burner quickly with WD-40 Multi-Use and put it back together correctly.
What you will need
- WD-40 Multi-Use or WD-40 Smart Straw for precise application
- several clean cloths
- washing-up liquid, warm water and a bowl
- old toothbrush
- wooden toothpick or thin wire for the ports
- rubber gloves
Important: Work only on a stove that is switched off and completely cold, and close the gas valve before the stove. Do not spray an aerosol near a lit flame and ventilate the kitchen. Do not enlarge the injector holes or dismantle gas fittings: if you smell gas or something is faulty, call a gas engineer.
Step 1
Turn off the gas and wait
Make sure all burners are off and close the gas supply valve. If the stove has just been used, wait until the burners have cooled completely: a cast iron cap and burner head hold heat longer than you think.
Remove the pan support, caps and burner heads. Remember or photograph how they sat.
Step 2
Do a first clean
Remove visible dirt: wipe the parts with a damp cloth, or if they are very dirty, wash them in warm water with washing-up liquid, running a brush along the grooves.
Dry the parts thoroughly before the next step. The product works better on a dry surface than a wet one.
Step 3
Apply WD-40 to the burnt residue
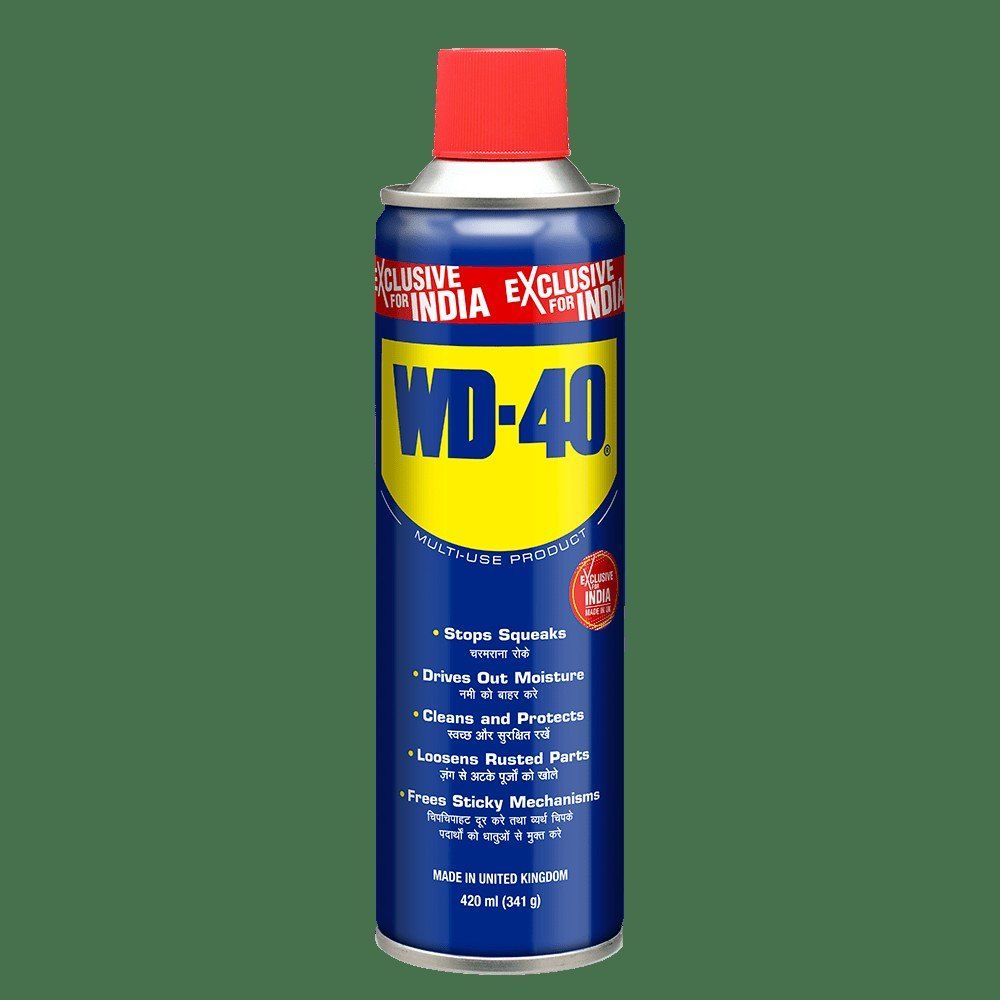
Lightly spray WD-40 Multi-Use onto the burner head and cap, covering every area with burnt residue, especially the edges and teeth. For grooves and rims, WD-40 Smart Straw with the straw raised is handy.
There is no need to drench the parts: a few light sprays are enough, and any excess only takes longer to wash off.
Step 4
Let the product work
Leave the parts for 3-5 minutes. WD-40 gets under the layer of burnt grease and softens it, so it separates from the metal easily.
Step 5
Wipe the burner and clear the ports
Wipe the parts with a cloth and go over the grooves with the toothbrush. Most of the residue comes off first time; treat stubborn spots again.
Clear blocked ports in the burner head with a wooden toothpick without enlarging them. Do not let crumbs or residue fall into the gas inlet.
Step 6
Wash, dry and reassemble
Wash the parts in warm water with washing-up liquid to remove product residue, then rinse. Wipe them and let them dry completely: a damp burner head lights poorly.
Seat the burner heads and caps squarely, open the gas and check the flame. It should be even, blue and burn all the way round.
Tip: If the flame burns only on one side after cleaning, the cap or burner head is sitting crooked. Lift them off and refit them until they settle evenly in their slots.
What next
Clean the burners every 2-4 weeks, and as soon as possible after milk or sauce has boiled over. WD-40 Multi-Use is also useful for the pan supports, cooker hood and knobs, as well as for kitchen cupboard hinges and drawers.
These uses come from the experience of WD-40 users in many countries. Always follow the instructions and warnings on the product label.
More guides in «How to use».