For many people a bicycle is not just for sport but everyday transport. To keep it reliable, give it a full inspection once a season. Most of the work can be done at home without a bike shop, saving money.
The inspection covers cleaning, suspension, chain and gears, brakes, tyres, bolts and lights. Do it in spring after winter storage and in autumn before the wet season.
What you will need
Important: No lubricant must reach brake rotors, pads or the braking surface of the rims: it seriously reduces braking. Cover the brakes with a cloth when spraying.
Step 1
Wash the bike and inspect the frame
Start by washing: on a clean bike you can see cracks, dents and rust. Use water and a soft brush, not a pressure washer, which forces water into bearings.
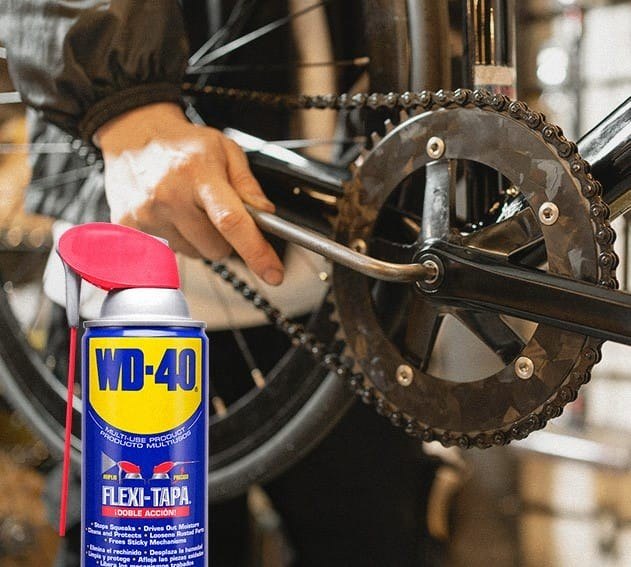
Once dry, treat steel bolts and exposed metal with WD-40 Multi-Use: it displaces moisture, protects against rust and helps free seized fittings.
Step 2
Set up the suspension fork and rear shock
Use a shock pump to check the pressure in the air fork and shock and compare it with the manufacturer's recommendation for your weight. Check the sag using the rubber O-ring on the stanchion and a tape measure.
Then adjust rebound and compression following the manual, and wipe the stanchions clean.
Step 3
Clean and lubricate the chain and gears
Chain, cassette and derailleurs wear fastest, especially the rear derailleur, which sits low and collects dirt. Apply WD-40 Specialist Bike Degreaser, scrub with a brush and rinse. Household detergent and car lubricants are not suitable here.
Apply a chain lube to suit the weather: Wet Chain Lube for rain and mud or Dry Chain Lube for dry, dusty conditions. Wipe off the excess. Treat derailleur pivots and cables in their housings with WD-40 Specialist Silicone.
Step 4
Check the brakes
Check pad thickness and lever travel. Clean disc rotors with isopropyl alcohol on a clean cloth. Pads contaminated with lubricant must be replaced.
Afterwards, brake gently a few times at low speed to bed the pads in.
Step 5
Inspect the tyres and pump them up
Look for cuts, sidewall cracks and tread wear, replace a damaged tube or tyre, and inflate to the pressure on the sidewall.
Step 6
Check bolts and lubricate small parts
Check the stem, handlebar, seatpost, pedals and wheel axles. Tighten with a torque wrench to the manufacturer's values: a loose bolt is dangerous and an overtightened one can damage a part, especially carbon.
Bearings take a dedicated grease or none if sealed; a carbon seatpost needs assembly paste. Lightly grease pedal threads before fitting so they do not seize.
Step 7
Adjust the lights
Many front lights point upwards and dazzle oncoming traffic. Stand 5 m from a wall, mark the light's height on the wall and switch it on. The beam centre should fall below the mark; if not, tilt the light down.
Clean dynamo or battery light contacts with WD-40 Specialist Contact Cleaner.
Tip: Note down the fork and tyre pressures you like, so next season's setup takes minutes.
What next
Do a full inspection twice a year, and clean and lube the chain every 150-300 km or after every ride in the rain. After winter rides on salted roads, wash the bike straight away and protect the metal as in step one.
These uses come from the experience of WD-40 users in many countries. Always follow the instructions and warnings on the product label.
More guides in «How to use».