Some servicing is best left to a workshop, but many simple jobs you can do yourself, saving money and time. This care matters most in spring, when the bike comes out after a winter in the garage.
As a rule, wash the bike about once a month and check its general condition before every ride. Below is a step by step routine from checks to final protection.
What you will need
Important: Keep lubricants and silicone away from brake discs, pads, tyres, the seat, footpegs and grips. After any maintenance, always test the brakes at low speed.
Step 1
Check the bike after winter storage
Start with the battery: measure the voltage with a multimeter. If it has dropped to 10.3 V or lower, the battery most likely needs replacing. Clean corroded terminals with WD-40 Specialist Contact Cleaner after disconnecting the negative first.
Check tyre pressures, engine oil level and condition, brake fluid and coolant. Brake fluid absorbs moisture over time, so it is usually changed at least once a year or as the manufacturer specifies. Replace any blown bulbs.
Step 2
Wash the bike
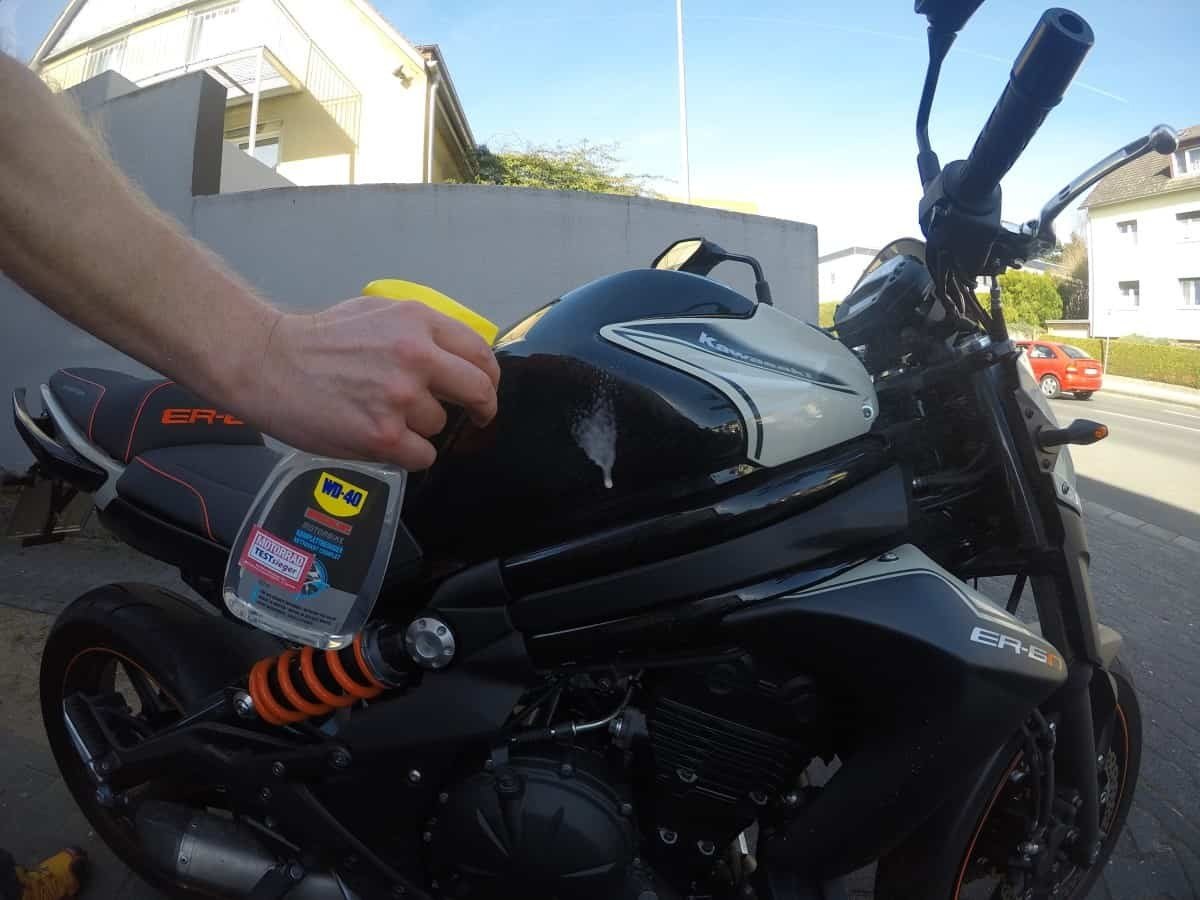
Put the bike on its stand in the shade: in direct sun the cleaner dries and leaves marks. Wet it with the hose, apply motorcycle shampoo, let it work and go over the wheels, fairings and frame with a sponge and brushes.
Use a pressure washer with care and keep your distance: a strong jet damages small parts, connectors, bearings and paint. Rinse with clean water and dry with a soft cloth.
Step 3
Look after the brakes
Inspect the brake discs and callipers: dirt and pad dust reduce braking and cause squeal. Clean them only with a dedicated brake cleaner that evaporates completely and a calliper brush. Ordinary lubricants must never be used here.
Check pad thickness and fluid levels in the reservoirs. If you lack experience, leave bleeding the brakes after a fluid change to a workshop.
Step 4
Clean and lubricate the chain
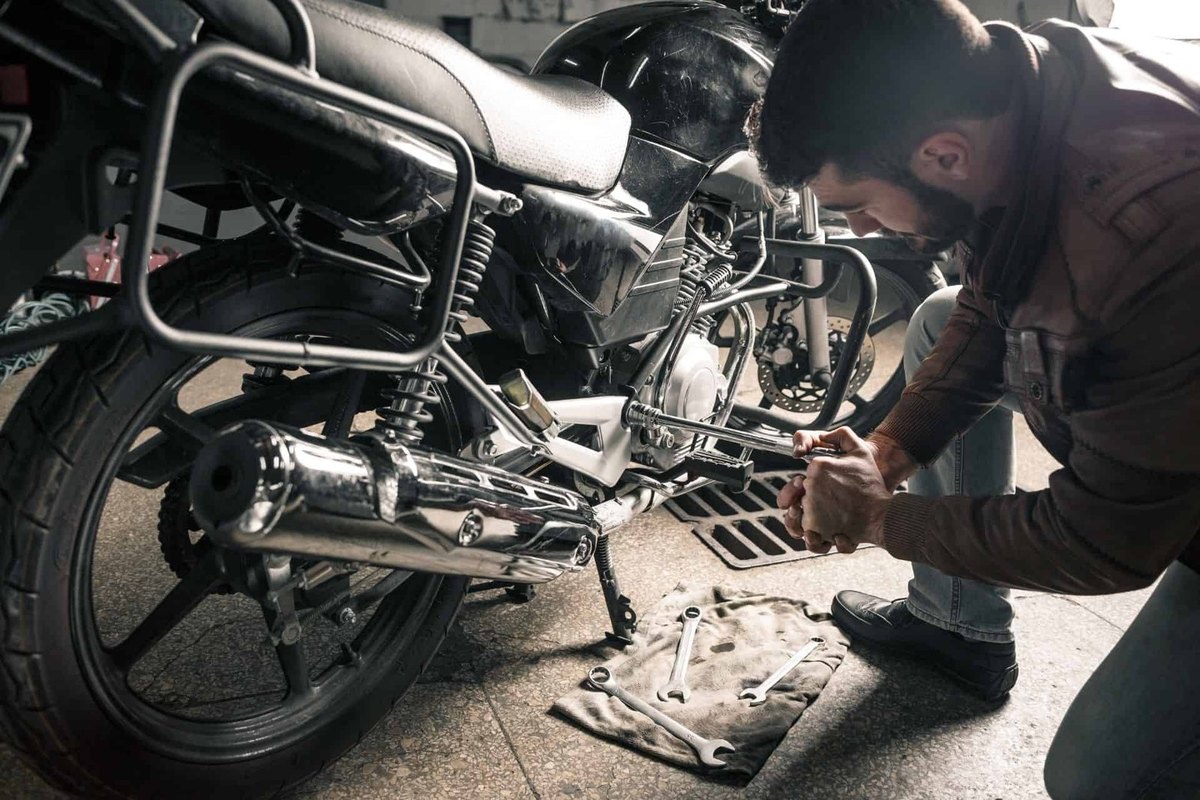
Spray WD-40 Multi-Use onto the chain while turning the rear wheel and scrub off old lubricant, sand and grime with a chain brush. Wipe it dry.
Then, turning the wheel, apply WD-40 Specialist Motorcycle Chain Lube through the straw to the inside of the chain, allow 10 minutes to penetrate and wipe off the excess. Check chain slack against the manual while you are there.
Step 5
Lubricate levers, cables and moving parts
After washing, moisture needs to be driven out of moving parts. Use the straw to spray WD-40 Multi-Use into the clutch and throttle cables, ignition lock and switches, and onto the brake and clutch lever pivots, footpegs and side stand. Work the levers to spread it and wipe off the excess.
Step 6
Protect plastics, rubber and metal
Apply WD-40 Specialist Silicone to a cloth and wipe black plastics, rubber boots and hoses: silicone refreshes their look and stops them drying out. Buff chrome and polished metal with a dry microfibre cloth.
If you spot rust on painted parts, sand it back with fine abrasive paper, prime and paint it before the corrosion spreads.
Tip: Keep a simple service log: date, mileage and what was done. You will always know when the oil, brake fluid and chain kit are due, and the bike will be easier to sell.
What next
Lubricate the chain every 500-800 km and after every wet ride, wash the bike monthly, and before winter storage protect bare metal parts from moisture. Leave complex jobs such as valve clearance adjustment to a mechanic.
These uses come from the experience of WD-40 users in many countries. Always follow the instructions and warnings on the product label.
More guides in «How to use».