A clean motorcycle does more than look good. Washing is when you spot a leak, a crack, a loose bolt or worn brakes before they become a problem on the road. And dirt left on metal holds moisture and speeds up corrosion.
A proper wash takes 15 to 30 minutes. Go easy with high-pressure water and do not skip drying, the chain or the brakes.
What you will need
Important: Only wash a cold bike with the ignition off. Do not aim a strong jet at electrics, stickers, the radiator (the fins bend), bearings or seals. Keep lubricants and silicone off brake discs, pads, tyres and the seat.
Step 1
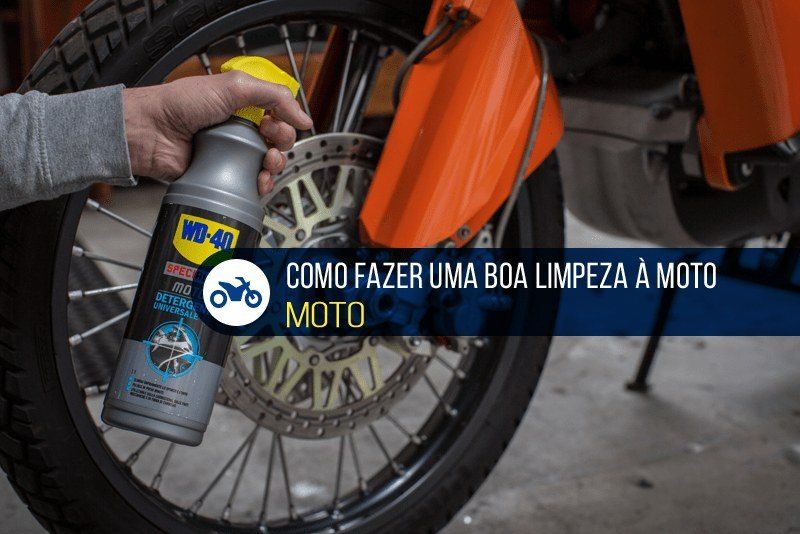
Wet the motorcycle
Let the engine and exhaust cool and switch off the ignition. Work outdoors near a drain or at a self-service wash bay. Wet the whole bike evenly from bars to seat, not forgetting the wheels and chain.
Keep the jet at a distance and use a gentler flow on the radiator, dashboard and connectors.
Step 2
Apply the cleaner
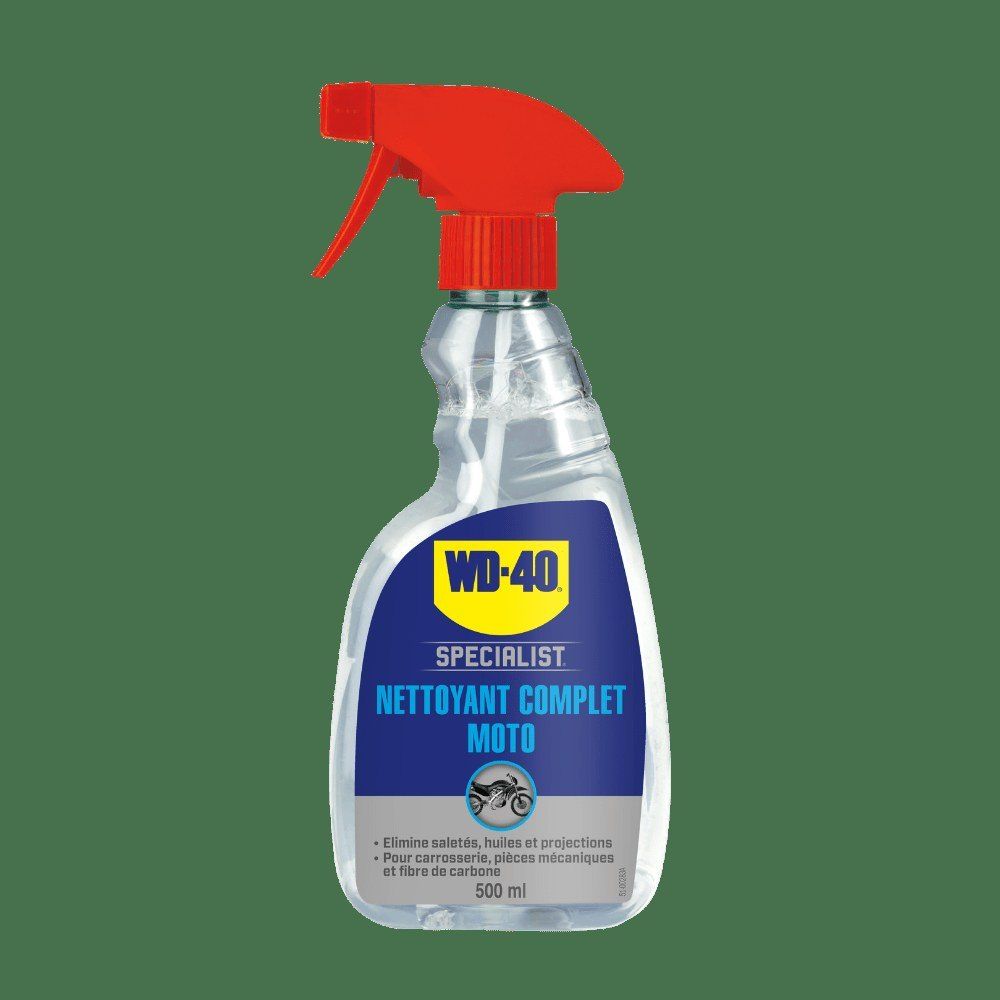
Spray motorcycle wash or apply shampoo solution over the whole wet surface. Use more on the dirtiest areas, such as the wheels and the lower engine.
Let it work for up to 5 minutes without drying out. Never apply it to hot surfaces or in direct sun.
Step 3
Scrub and rinse
Go over the whole bike with the sponge and soft brush, and use the toothbrush in tight spots around fittings, the radiator and the swingarm. Then rinse off all residue with clean water at low pressure.
Dry the bike with a microfibre towel, paying special attention to the brakes and chain. Water left in gaps leads to corrosion.
Step 4
Look after the brakes
Brakes are a safety item, so check the discs and callipers separately. Rinse away pad dust and grime with water and a soft brush, and use a dedicated brake cleaner that leaves no film for stubborn deposits.
Check pad thickness and brake fluid level. After washing, brake gently a few times at low speed to dry the discs.
Step 5
Clean and lube the chain
Spray WD-40 Multi-Use onto the chain while slowly turning the rear wheel: it softens dirt and drives water out from under the rollers. Brush it and wipe it dry.
Then treat the clean chain with WD-40 Specialist Motorcycle Chain Lube on the inside run and let it set. Wipe off any excess so it does not fling onto the rim.
Step 6
Protect and add shine
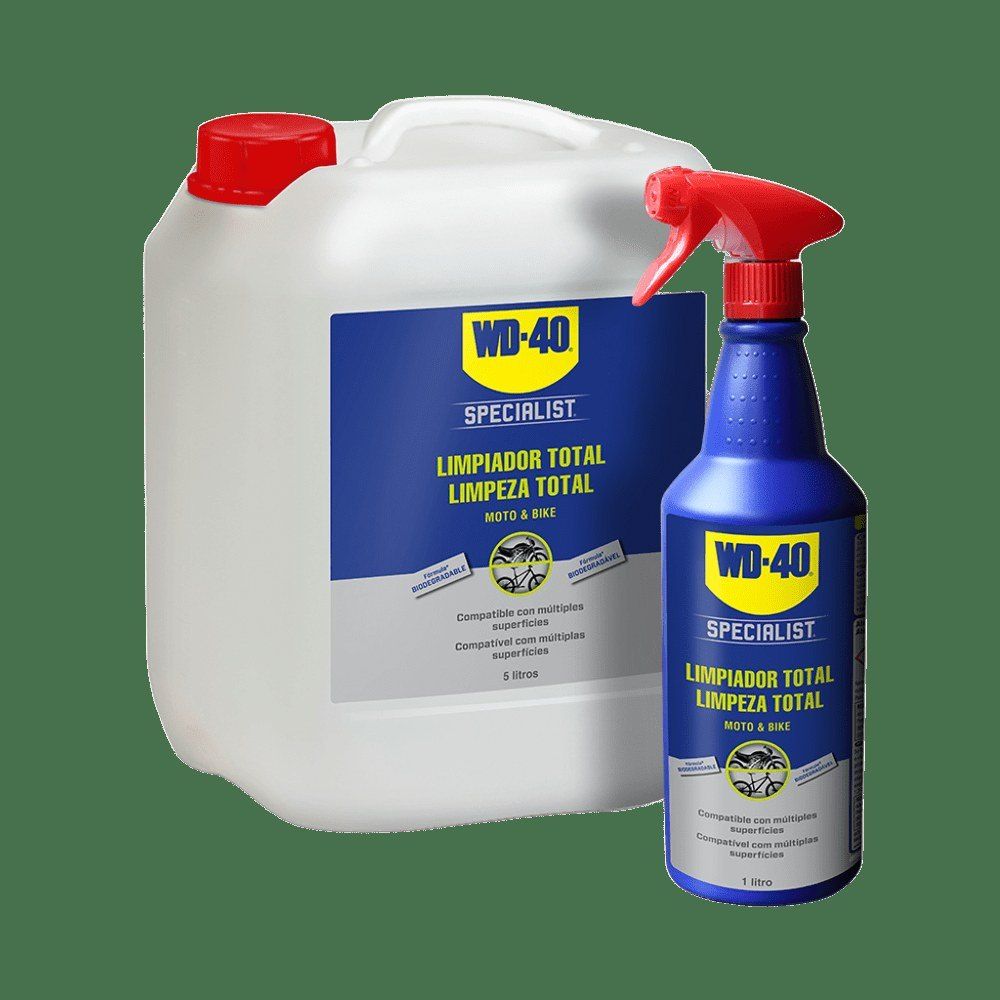
Wipe a thin film of WD-40 Multi-Use from a cloth over bolts, levers, cables and bare metal to drive out moisture after washing. Treat connectors and handlebar switches with WD-40 Specialist Contact Cleaner.
Polish plastics and painted fairings with WD-40 Specialist Silicone applied to microfibre. Finally, buff the chrome with a dry cloth.
Tip: In winter and spring, salt and de-icers linger on Ukrainian roads. After every ride at that time of year, wash at least the wheels, lower engine and exhaust, and protect the metal straight away before it starts to rust.
What next
Wash the bike every few rides and always after rain or dirty roads. A compact WD-40 200 ml is worth carrying in a pannier to drive moisture out of a connector or free a stiff cable on the road.
These uses come from the experience of WD-40 users in many countries. Always follow the instructions and warnings on the product label.
More guides in «How to use».