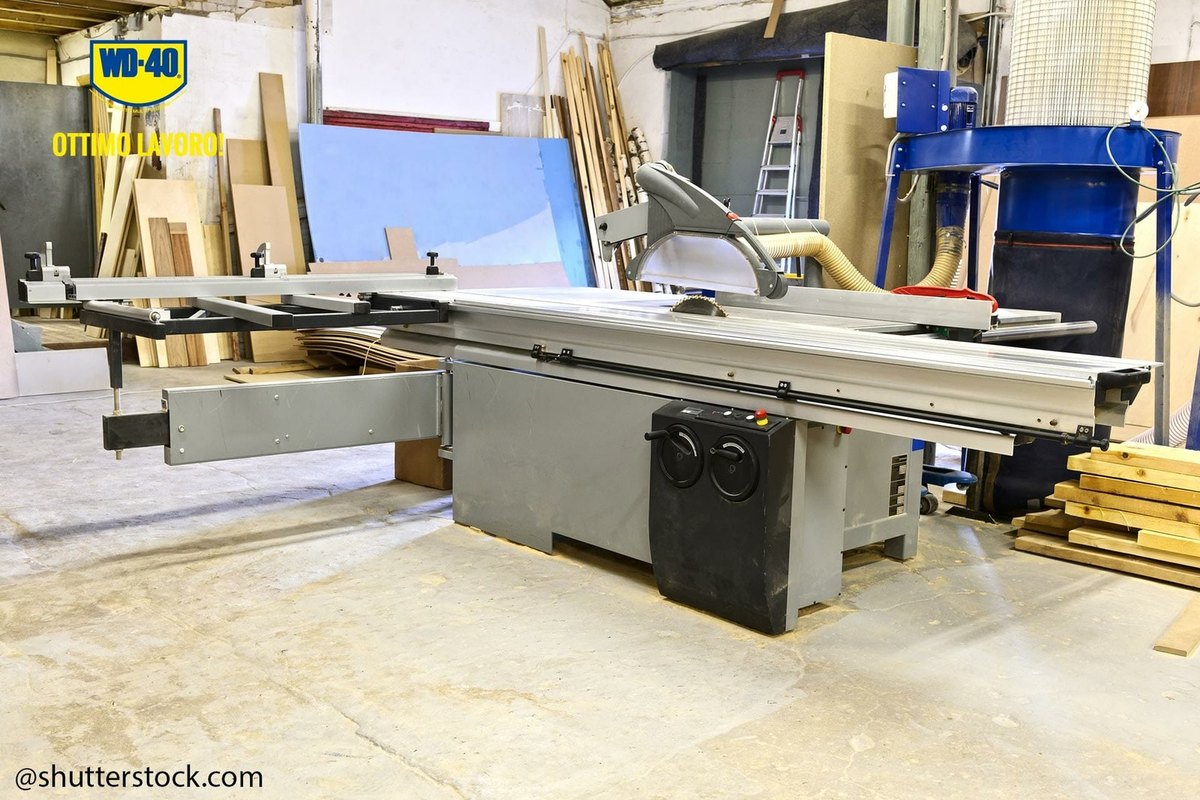
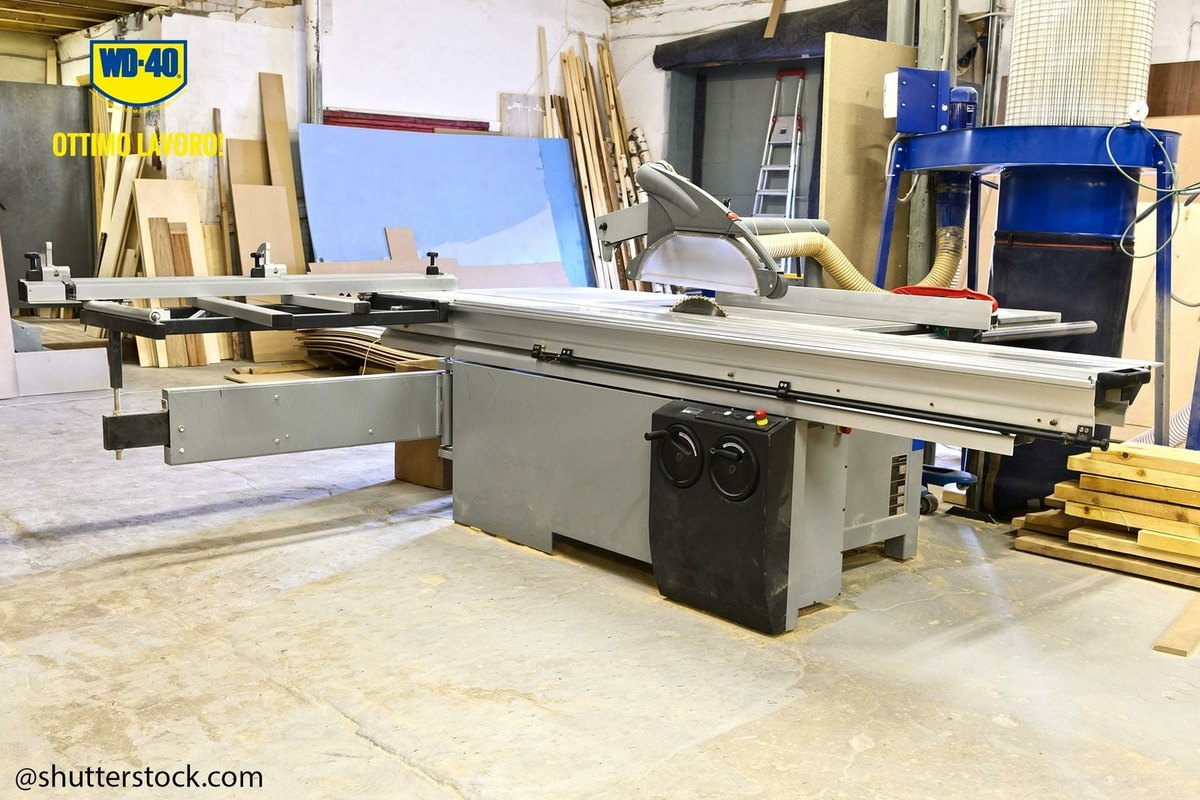
A combination woodworking machine packs up to six or seven operations into one body: a sliding table saw, spindle moulder, mortiser, surface planer and thicknesser. Compact, affordable versions now exist for home workshops.
Inside there are many mechanisms: drives, pulleys, gears and adjusters. For every operation to stay accurate, the machine needs careful attention before and after each use.
What you will need
Important: Before any maintenance, switch the machine off, remove the start key and unplug it. Planer knives and saw blades are sharp: wear gloves and glasses.
Step 1
Remove sawdust and shavings
After every job, clear chips and sawdust from all assemblies: they interfere with the mechanisms. Sawdust often mixes with lubricant and sticks hard. Use a powerful vacuum and a stiff bristle brush.
Compressed air is less suitable here, as it drives sawdust into hidden gaps in the mechanisms. After clearing, treat heavily greased areas with WD-40 Multi-Use and wipe dry. In unheated workshops a thin film on the cast iron table also protects it from rust.
Step 2
Service the planer and thicknesser
Remove the knives from the cutter block by loosening the locking screws. Sharpen chipped or dull knives, but only with proper equipment: they cannot be ground straight by hand. Treat the locking screws and gibs with WD-40 Multi-Use so they do not seize.
Feed in the thicknesser (usually around 5 cm per second) is driven by rubber rollers, so you never need to push the workpiece by hand. Clean resin off the rollers with a damp cloth, without solvents or lubricants. Lubricate exposed rotating parts with WD-40 Specialist White Lithium Grease.
Step 3
Look after the spindle moulder and saw
On the spindle moulder, keep the spindle seat where cutters are fitted clean and tight. Wipe it with WD-40 Multi-Use. On the saw, treat the arbor and the blade clamping system.
The sliding carriage runs parallel to the blade and holds the workpiece. Clean sawdust off its guides and apply a thin coat of WD-40 Specialist Silicone: silicone is non-tacky, does not attract dust and gives a smooth glide.
Step 4
Lubricate the mortiser
The mortiser has many levers. Besides cleaning, it needs two things: lubrication of the lever pivots that control the table travel, and lubrication of the guides and pivots of the moving table itself. WD-40 Specialist Silicone suits both. Run the table through its full travel a few times and wipe off the excess.
Step 5
Check the electrics
Run the power cable flat along the floor so it is out of the way, under a plastic cable cover if needed. A dedicated panel with a breaker and socket nearby is handy.
The electrics usually only need cleaning. If the buttons respond poorly, open the control box with the machine isolated and treat the contacts with WD-40 Specialist Contact Cleaner. It removes dust and oxidation and leaves no residue.
Step 6
Maintain the safety devices
Each operation has its own protection: guards, hold-downs, a riving knife and a start key that stops the machine running without the operator. All of them must work perfectly.
Treat the pivot and sliding points of the guards with WD-40 Multi-Use so they return easily without sticking. Test the emergency stop regularly.
Tip: Keep a simple log of lubrication and knife sharpening so no assembly gets missed.
What next
Clear sawdust after every job, lubricate guides and pivots monthly, and check electrics and guards once a season. For workshops with several machines, WD-40 Multi-Use 5 l with sprayer is the economical option.
These uses come from the experience of WD-40 users in many countries. Always follow the instructions and warnings on the product label.
More guides in «How to use».