Single-lever mixers have largely replaced traditional compression taps. Instead of a spindle and washer they use a cartridge: a plastic or ceramic cylinder with ports through which the lever mixes and delivers hot and cold water. Cartridge sizes and designs vary between manufacturers, but they all work on the same principle.
The cartridge's worst enemy is limescale. It stops the water mixing, makes the lever stiff or lets only hot or only cold water through. In hard water areas an annual check keeps the mixer going for years, and if the cartridge is badly damaged it is simply swapped for an identical one.
What you will need
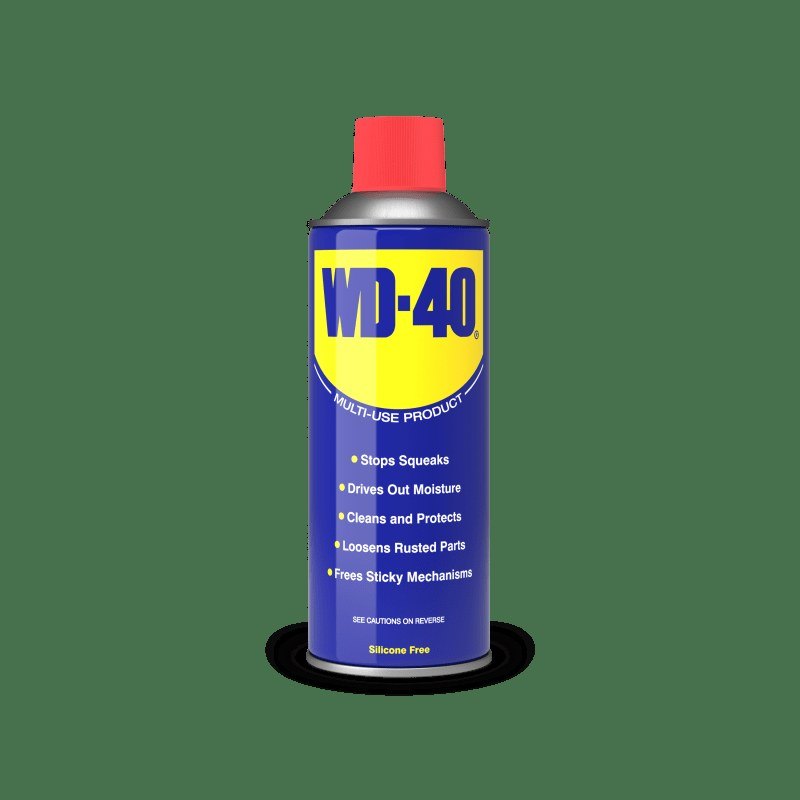
- WD-40 Multi-Use
- Allen key and screwdriver
- white vinegar or descaler, a container for soaking
- soft brush, dry cloth
- replacement cartridge (if needed, same model)
Important: Shut off the hot and cold supply before you start and open the tap to release the pressure. Use vinegar only as long as needed and do not leave it on the decorative finish for long.
Step 1
Dismantle the mixer and remove the cartridge
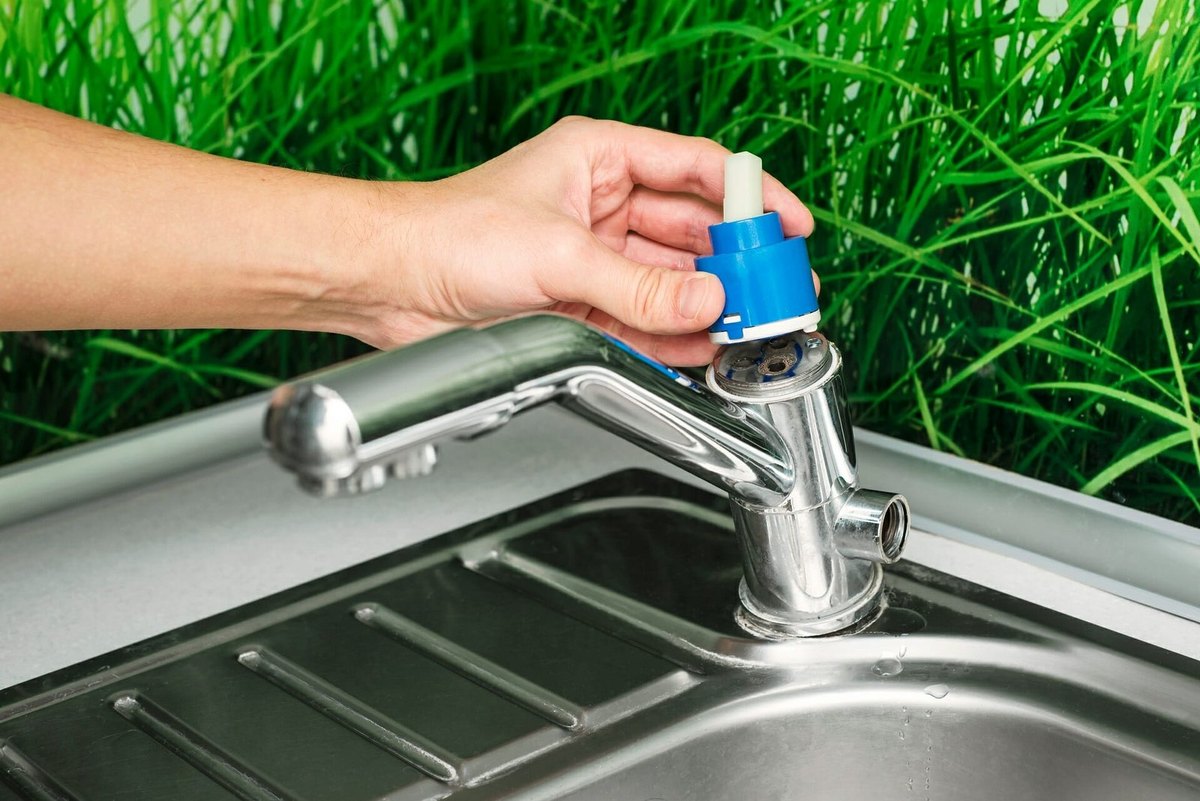
Find the lever's grub screw: it is usually behind a decorative cap on the front, underside or back of the lever. Undo it with an Allen key and lift the lever off the cartridge stem.
The cartridge is held by a metal ring nut or a clamping collar with two long screws. Remove them, take off the nut and pull out the cartridge.
Step 2
Descale the cartridge
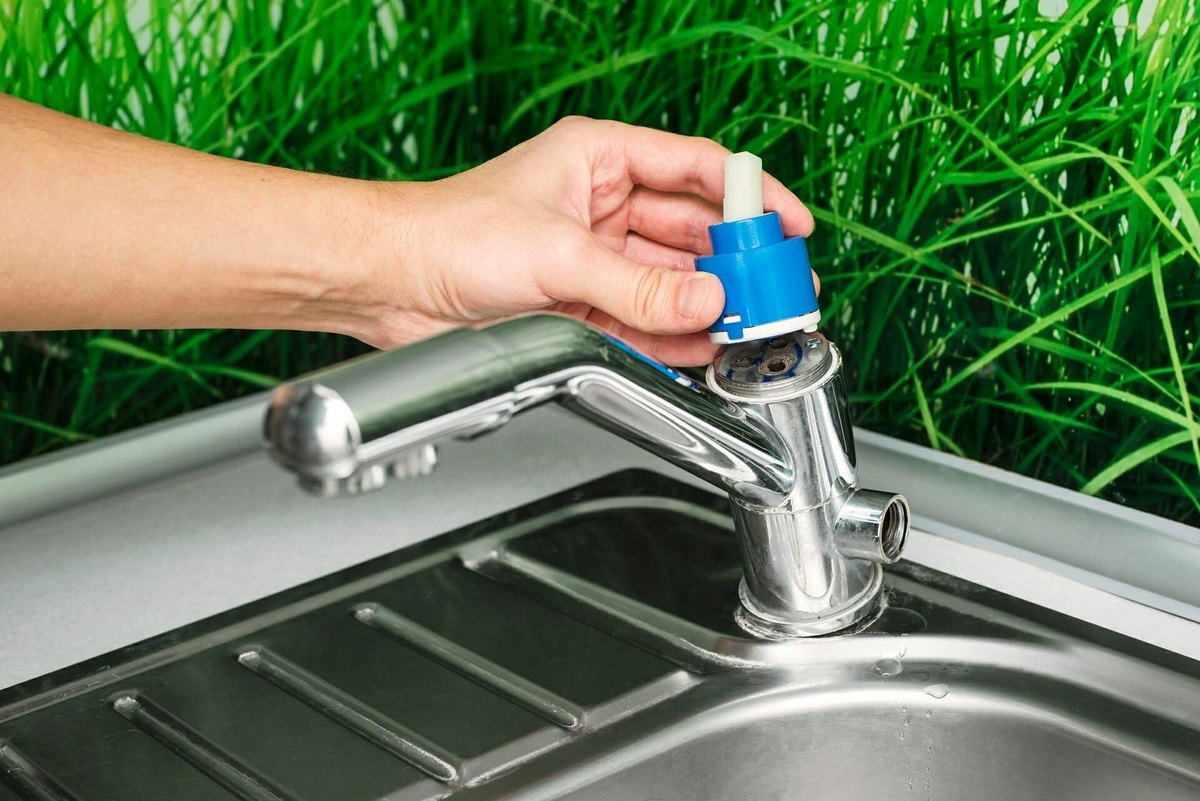
If the cartridge is scaled up, soak it in vinegar or descaler for at least half an hour, then rinse it thoroughly with water.
Remove scale from the mixer body by putting a little WD-40 Multi-Use on a cloth and wiping the surface. Apply the same product to the joint of the short cartridge stem so the lever moves smoothly.
Step 3
Clean inside the body
With the cartridge out you can see inside the mixer body. Check it, especially the two ports connected to the hot and cold supply. Dab any scale with warm vinegar using a small brush, let it work, scrub it off, wipe dry and finish with a thin coat of WD-40 Multi-Use.
Step 4
Reassemble and lubricate the lever
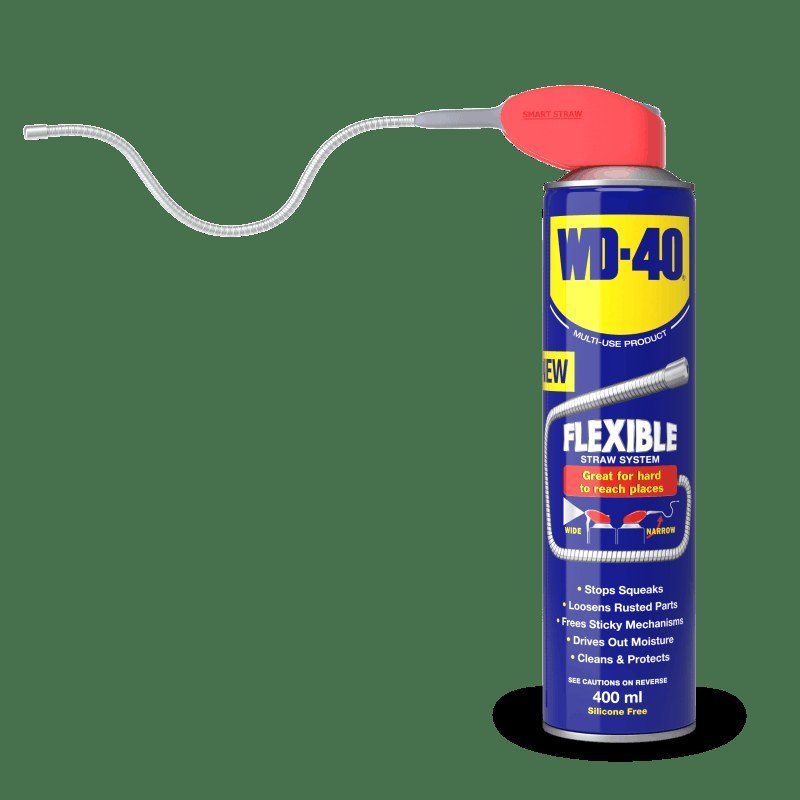
Refit the cartridge, lining up its lugs with the slots in the body, and clamp it with the nut and screws. Before fitting the lever, give the cartridge and the area under the lever a few short sprays. Push the lever onto the stem and secure it with the grub screw.
If the water still does not mix or flow properly after cleaning, the cartridge is damaged. Take the old one with you to the shop so you can buy an identical replacement.
Step 5
Clean the aerator
A weak or uneven flow usually means a blocked aerator. Unscrew it from the spout by hand and separate the mesh and the plastic flow straightener. Treat the parts and the spout thread with WD-40 Multi-Use, rinse in water with vinegar, dry and reassemble.
Step 6
Check the supply hoses
Finish by inspecting the flexible hoses connecting the mixer to the wall supply. Remove any scale around the union nuts in the same way and protect the threads against corrosion. Replace any hose with cracks, bulges or rust on the braiding straight away.
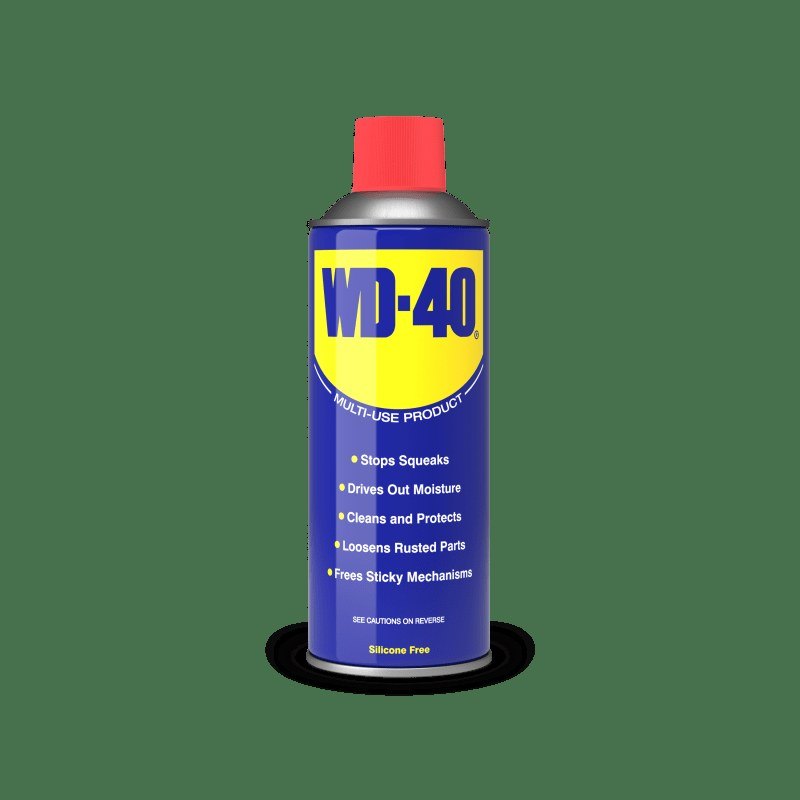
Tip: The joint under the lever and the aerator thread are easiest to treat with
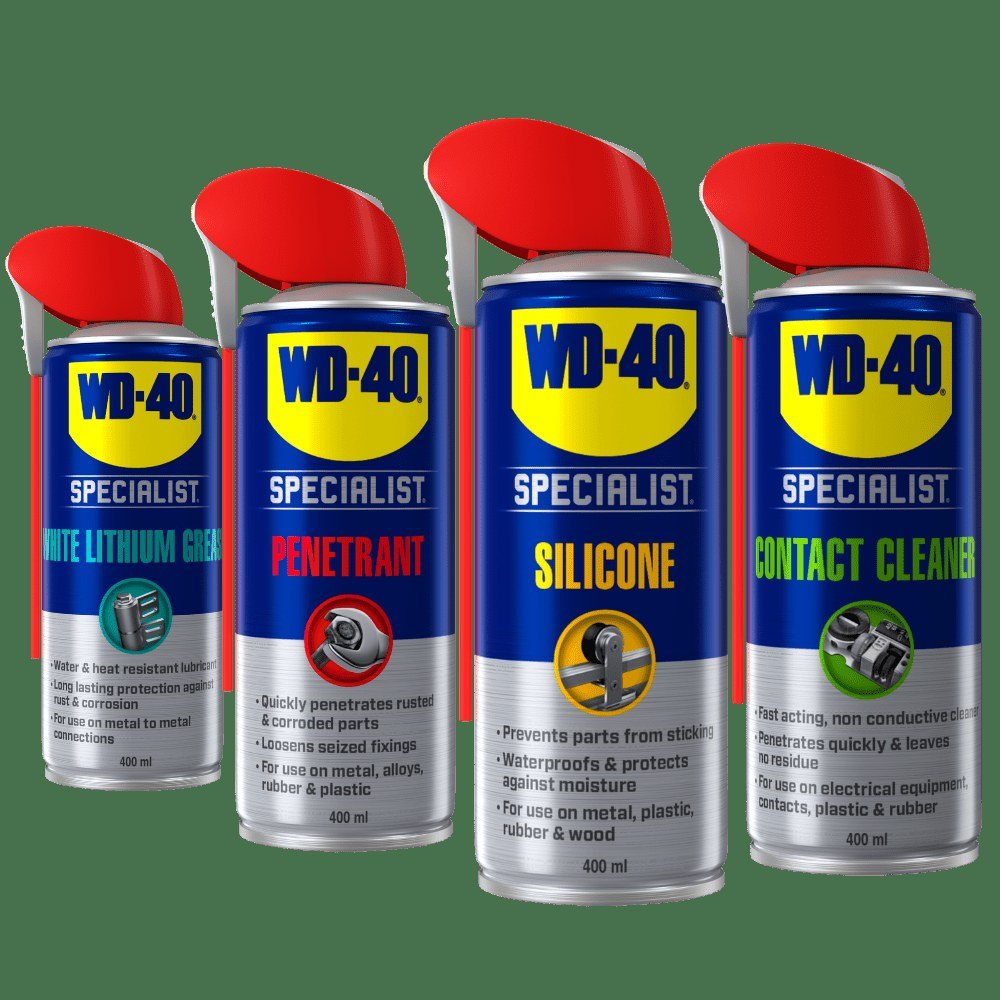
WD-40 Smart Straw: the straw gives a precise jet without spraying the basin.
What next
Checking the mixer once a year, or every six months with hard water, keeps the cartridge working. Clean the aerator as soon as the flow weakens and your mixer will last for years without replacement.
These uses come from the experience of WD-40 users in many countries. Always follow the instructions and warnings on the product label.
More guides in «How to use».