A broken chain happens to beginners and experienced riders alike: a hard shift under load, a crash, a stick caught in the drivetrain or simple metal fatigue. The good news is that you do not always need a new chain. You can remove the damaged section and rejoin the chain with a quick link or a new pin.
There is one exception: if the chain is old and already badly stretched, a repair only postpones the problem. Check it with a wear gauge and fit a new one if needed.
What you will need
Important: Keep all products away from brake rotors, pads and rims. Do not reuse links with bent plates: they can snap again under load.
Step 1
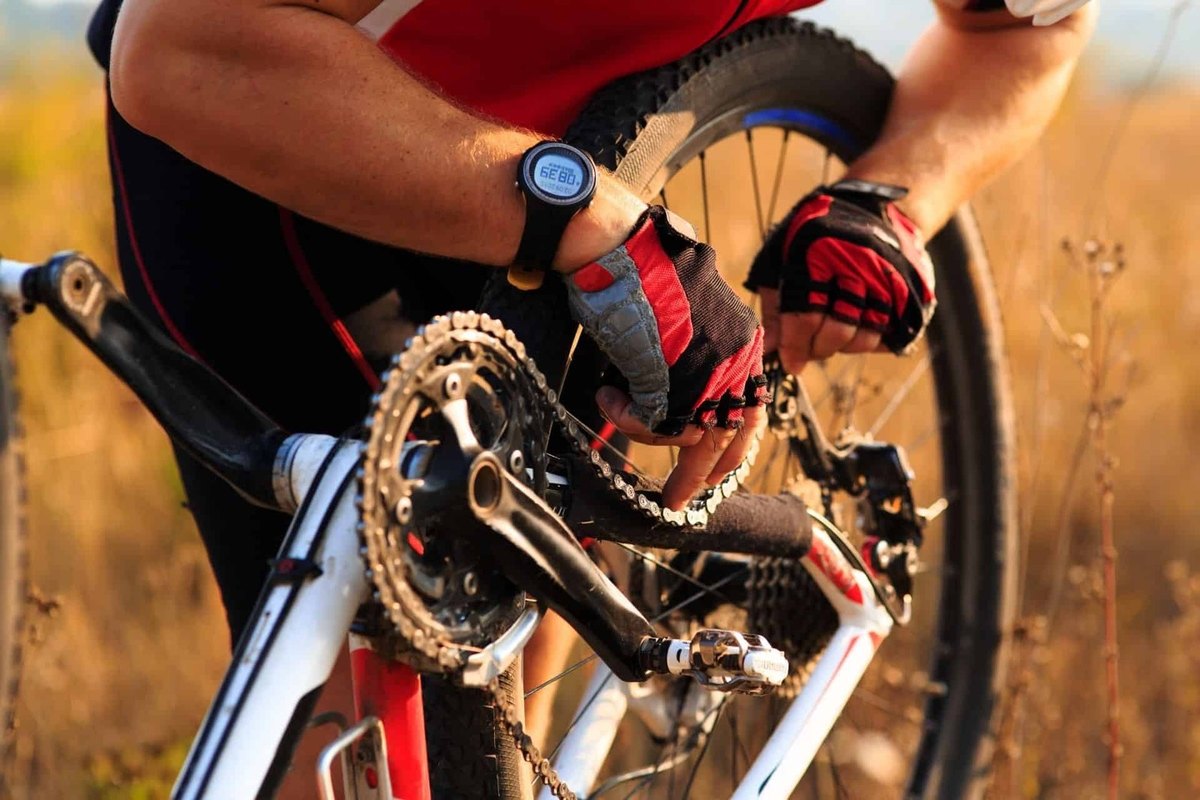
Take the chain off the bike
If the chain is still on the bike, shift into a middle gear to reduce tension. Lift the chain off the chainrings and cassette. If it has a quick link, open it, as this makes the job easier.
Step 2
Remove the damaged link
Find the broken or bent link and inspect its neighbours: the plates must be straight and free of cracks. Put the link in the chain tool and push the pin out just far enough for the link to separate.
Remember that links alternate between inner and outer. To fit a quick link, both ends must finish with inner links, so you may need to remove two links rather than one.

Step 3
Clean the chain
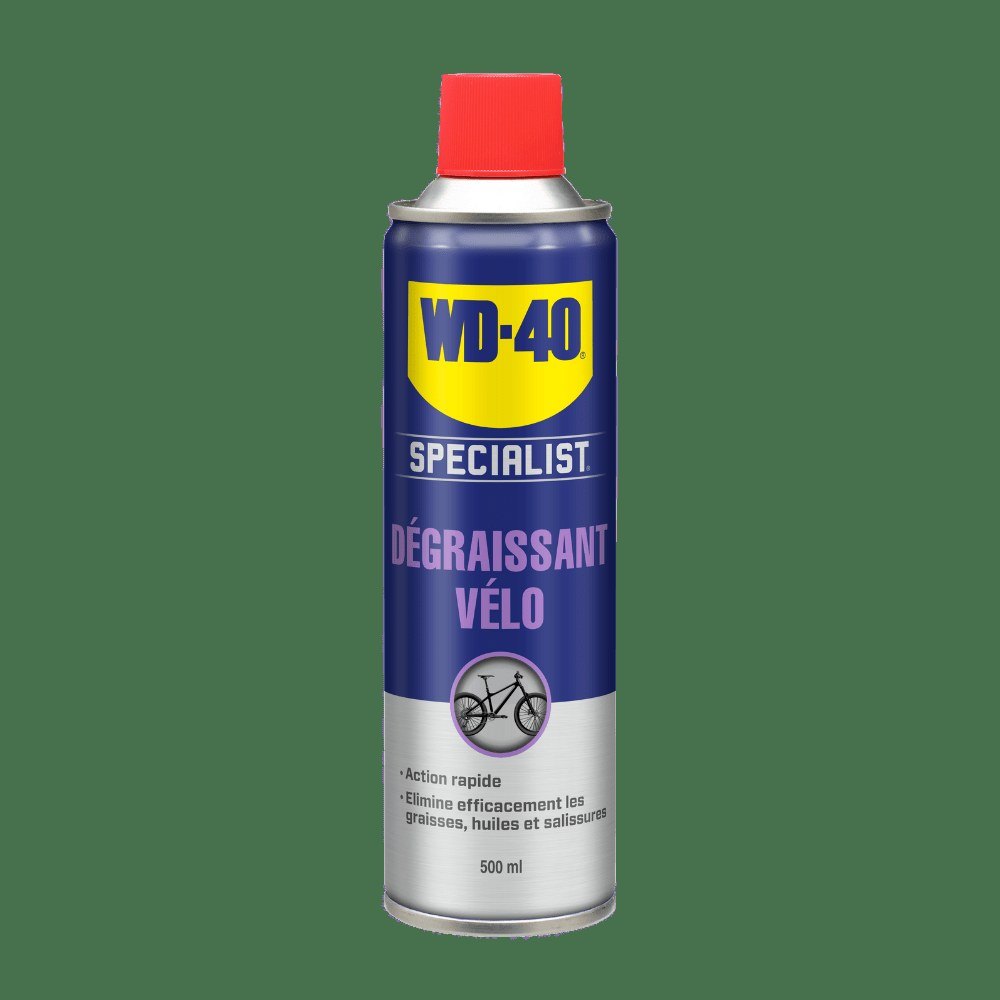
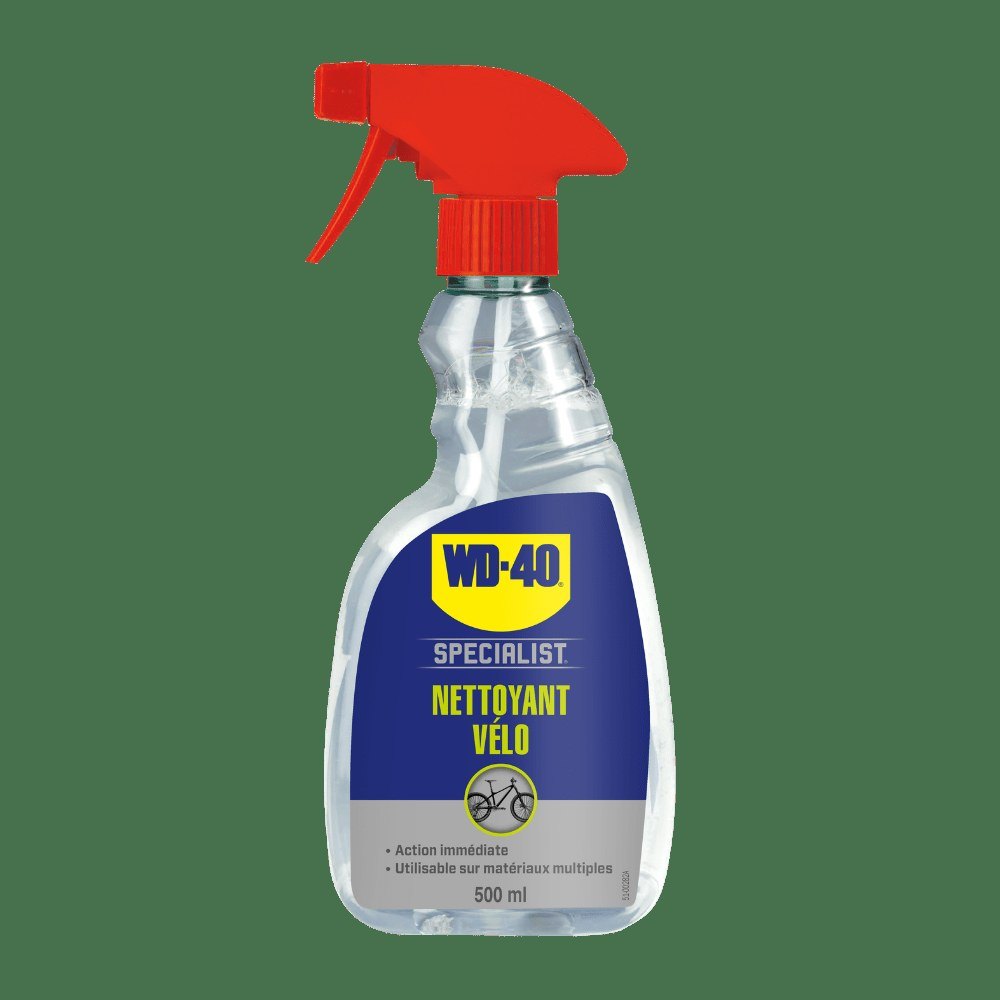
With the chain off, it is the perfect time to clean it. Spray WD-40 Multi-Use along its whole length, leave it for a few minutes to soften dirt, old lubricant and surface rust, then scrub every link with the brush. Wipe the chain dry with a rag.
Grit from spring puddles and winter road salt is especially abrasive.
Step 4
Rejoin the chain with a quick link
Route the chain over the cassette, through the derailleur jockey wheels and around the chainring, then drop it off the chainring so it hangs slack. Insert the two halves of the link into the end links, bring them together and engage them.
Put the chain back on the chainring, hold the rear wheel with the brake and push the pedal firmly until the link clicks into place.
Step 5
Or rivet a new pin
Without a quick link, join an outer and an inner link with a pin. You can reuse the old pin, but a new connecting pin made for your chain is more reliable.
Bring the links together on the bike, insert the pin and press it home evenly with the chain tool, without jerking. Then free the joint by flexing the chain from side to side so there is no stiff link.
Step 6
Lubricate and check
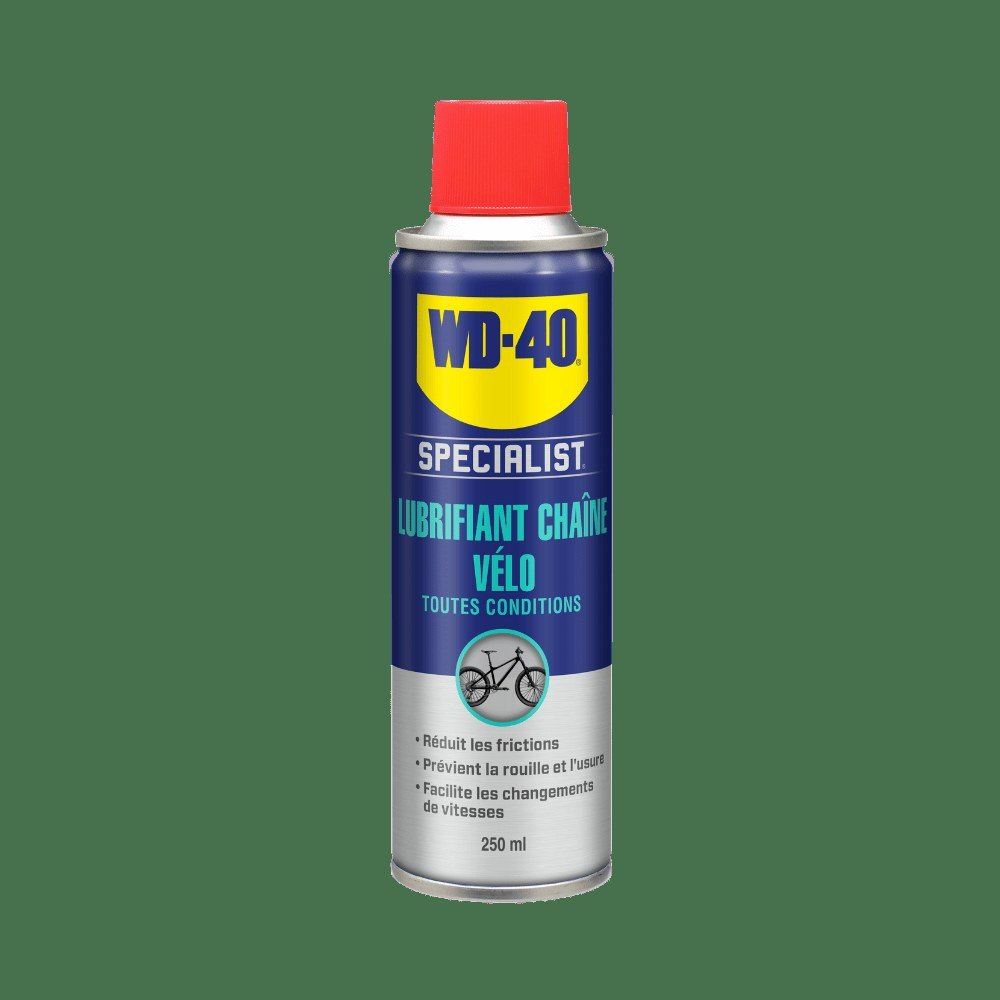
Apply WD-40 Specialist Bike Chain Lube to the inside of the chain while backpedalling, run through the gears and wipe off the excess. Make sure the chain does not skip in any gear and is not drum tight on the largest sprockets: after shortening this can happen, in which case fit a new chain.
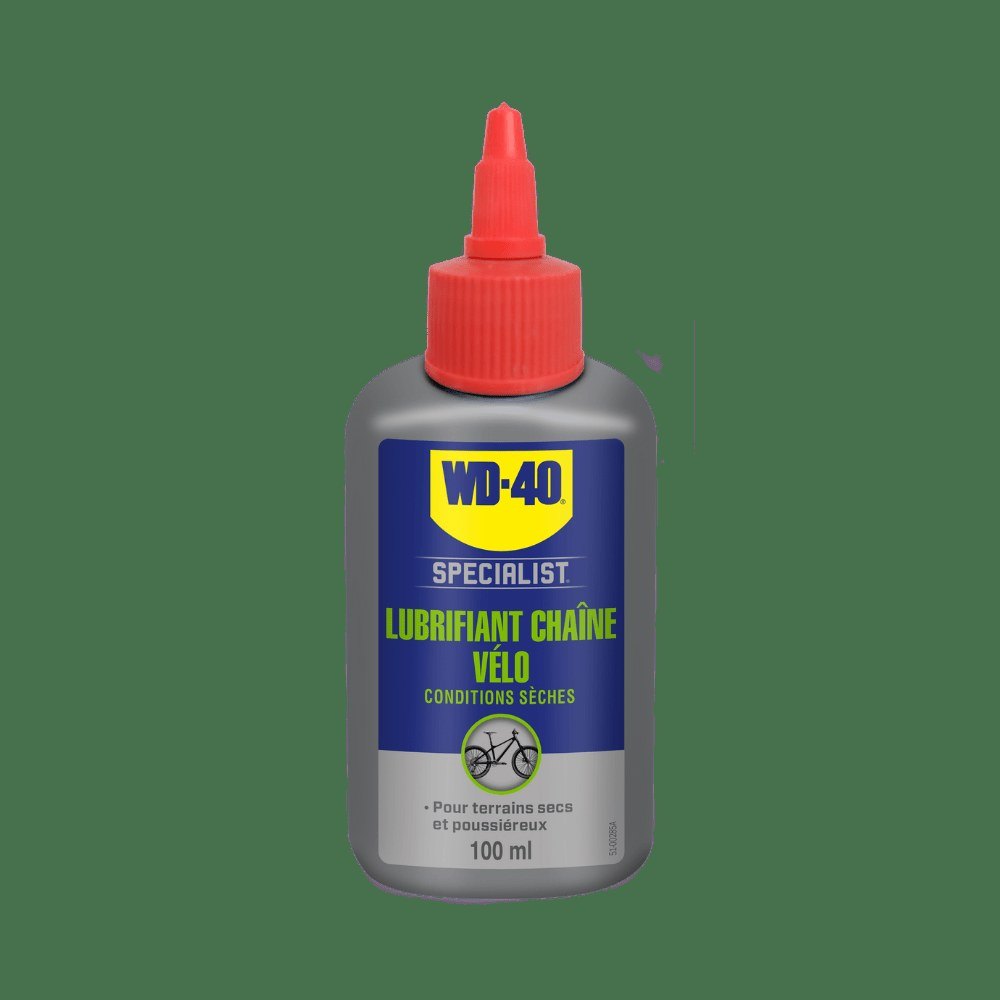
Tip: Carry a multitool with a chain breaker, a spare quick link and a
pocket-size WD-40 100 ml in your saddle bag: a snapped chain on the road then becomes a five minute fix.
What next
After the repair, keep an eye on the chain: clean and lubricate it every 150-300 km and after every wet ride. If the wear gauge shows stretch, do not wait for another break, replace the whole chain.
These uses come from the experience of WD-40 users in many countries. Always follow the instructions and warnings on the product label.
More guides in «How to use».