Even with good care a chain gradually stretches, and a crash or knock can snap it outright. A worn chain shifts poorly, skips under load and quickly wears out the cassette and chainrings, so it pays to replace it on time.
You can change a chain at home in about half an hour. Below are both joining methods: quick link and connecting pin.
What you will need
- work stand or hook to hang the bike
- new chain matching your drivetrain (number of speeds)
- quick link (optional but very handy)
- chain tool
- quick link pliers and a chain holder (or a bent spoke)
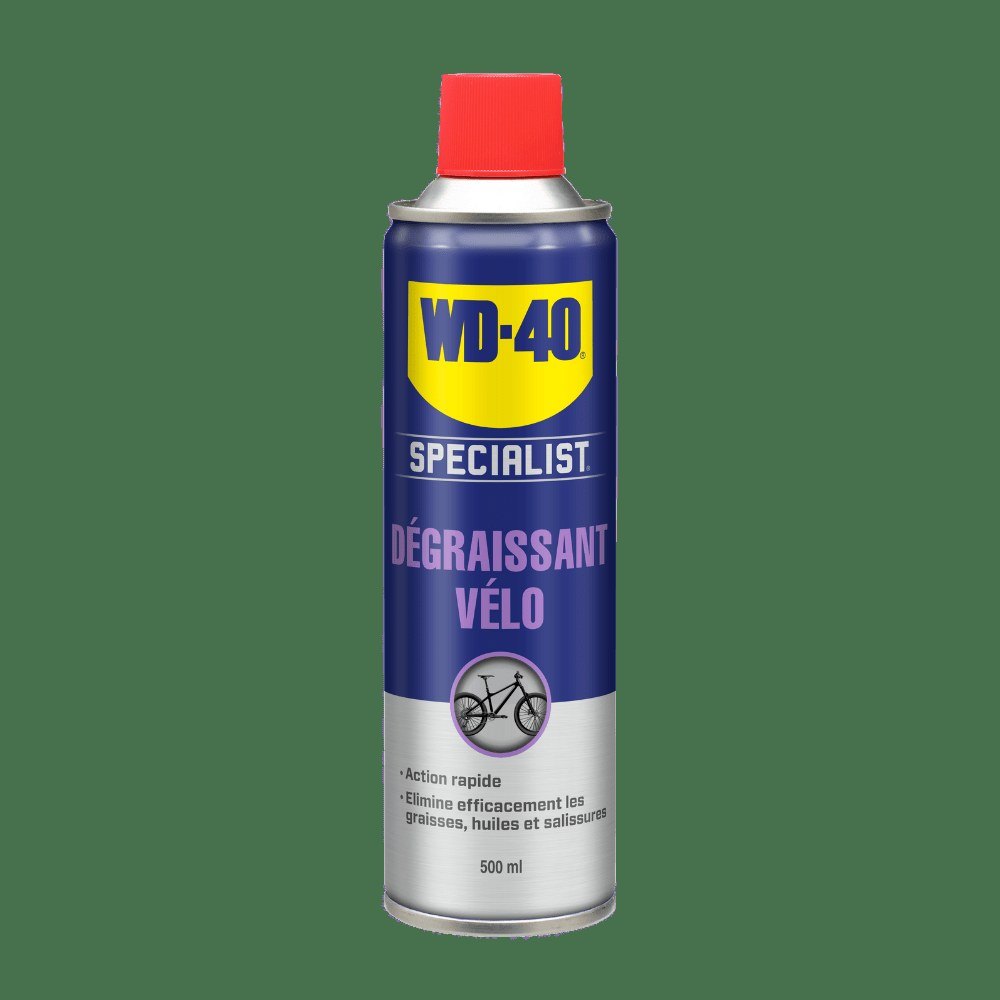
- WD-40 Multi-Use for cleaning the drivetrain
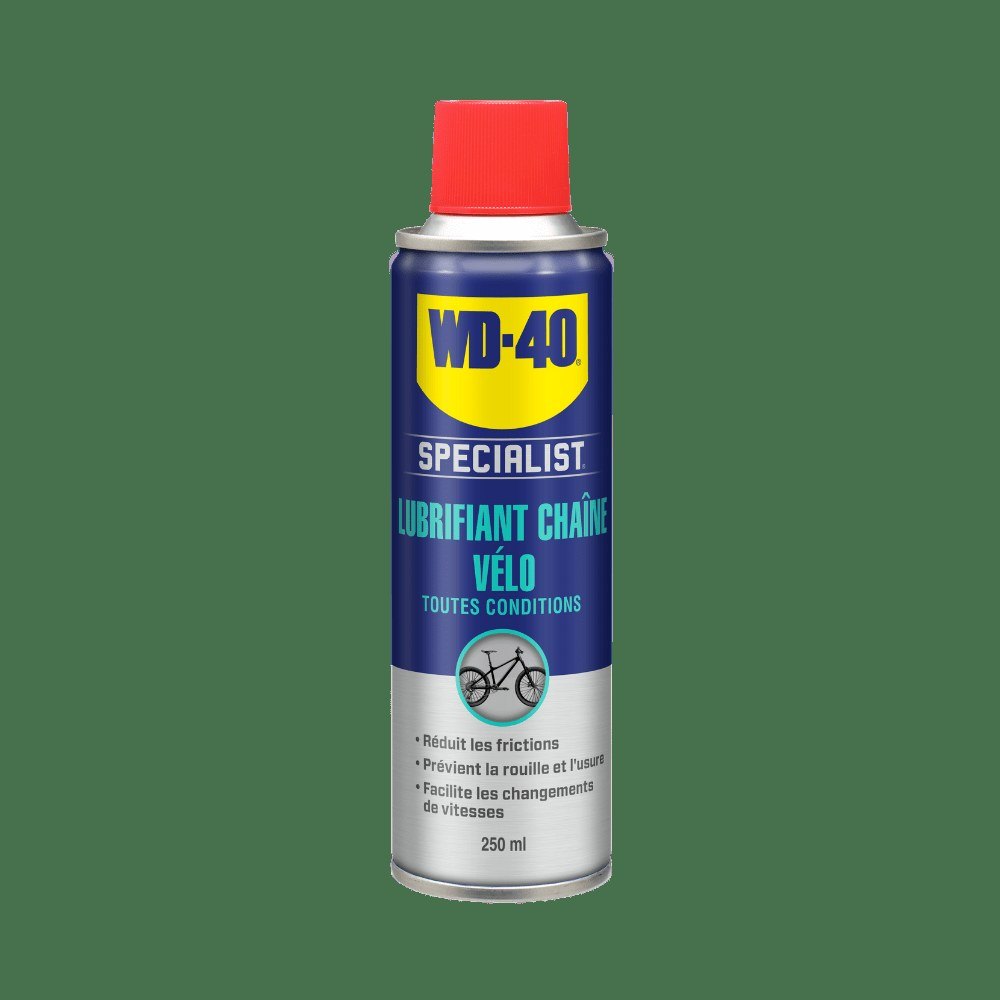
- WD-40 Specialist Bike Chain Lube
Important: Keep lubricant away from brake rotors, pads and rims: it seriously reduces braking power.
Step 1
Remove the old chain
Mount the bike on a stand. Drop the chain off the small chainring onto the bottom bracket shell to release tension so it hangs loose.
Place the chain tool on a pin between two links and turn the handle until the pin moves out. Do not push it all the way, just far enough to separate the chain. If the old chain has a quick link, simply open it with pliers. While the chain is off, wipe the chainrings, cassette and jockey wheels with WD-40 Multi-Use to remove dirt and old lubricant.
Step 2
Find the correct length
The easiest way is to lay the old chain next to the new one and shorten the new chain to the same number of links, provided the old one was the right length.
If you have nothing to compare with, wrap the chain around the largest chainring and largest cog, bypassing the derailleur, and add what the manufacturer specifies, usually one or two links. Then thread the chain through the front derailleur cage and rear jockey wheels.
Step 3
Join the chain with a quick link
Links alternate between inner and outer. A quick link replaces an outer link, so shorten the chain so that both ends finish with inner links.
Insert the two halves from each side, pull the ends together with a chain holder or bent spoke, and snap the link shut with pliers or a firm push on the pedal until it clicks.
Step 4
Or join it with a pin
Without a quick link, shorten the chain so one end has an outer link with a partly pushed out pin and the other an inner link. Bring them together and carefully press the pin back with the chain tool.
Never force the tool: if you feel resistance, the pin is probably misaligned.
Step 5
Check how the chain runs
Flex the joined links: if one is stiff, free it by working the chain from side to side. Backpedal and make sure no link jumps on the jockey wheels.
Shift into the largest chainring and largest cog: the chain must not be drum tight, and on the smallest combination the derailleur cage should not fold too far forward.
Step 6
Lubricate before you ride
Shake the can well and apply WD-40 Specialist Bike Chain Lube to the inside of the chain while slowly backpedalling. Run through the gears to spread it, then wipe off the excess with a cloth: the outside of the chain should feel almost dry.
Tip: Buy a chain wear gauge and check the chain monthly. Replacing the chain on time lets a cassette and chainrings outlast two or three chains instead of one.
What next
Lubricate the chain every 150-300 km and after every ride in rain or on muddy spring roads. If the bike lives on a balcony or in a cellar, protect the metal parts from damp with WD-40 Multi-Use.
These uses come from the experience of WD-40 users in many countries. Always follow the instructions and warnings on the product label.
More guides in «How to use».