A torn motorcycle seat looks bad and feels worse, and the real problem is water getting inside. The foam soaks it up like a sponge, takes ages to dry, then starts to go mouldy and crumble. You do not need a new seat: it can be recovered in a garage in a single evening.
The best time is winter or early spring, before the riding season starts.
What you will need
- motorcycle seat faux leather with spare margin, or a ready-made cover
- a piece of high-density foam matching the seat
- Allen keys and a flat screwdriver
- pliers, scissors, utility knife
- a fine-tooth hacksaw blade
- upholstery stapler and short staples
- neoprene contact adhesive, fine sandpaper
- a large spring clamp
- WD-40 Multi-Use with the WD-40 Smart Straw
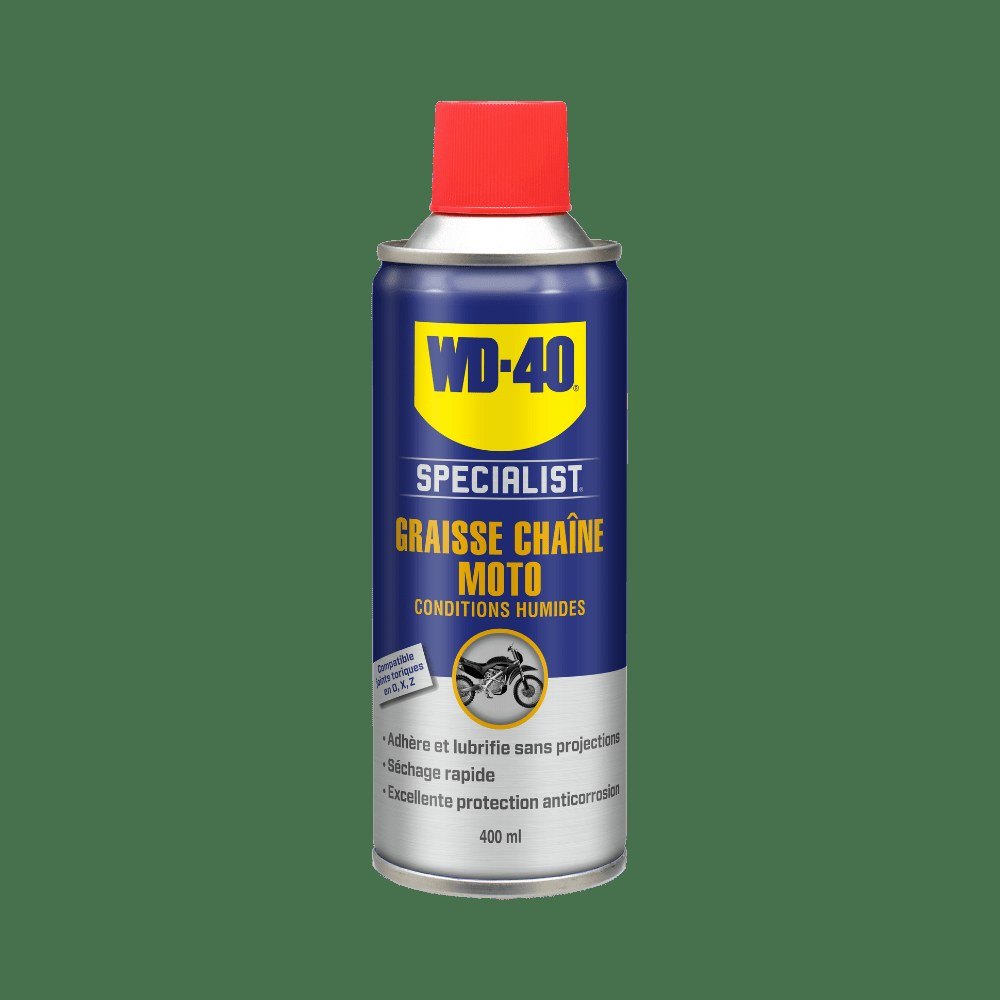
- WD-40 Specialist White Lithium Grease for the seat lock
Important: Staples must be shorter than the thickness of the plastic seat base, otherwise the points will come through and cut the new cover or you. Never put any lubricant on the top of the seat: it would become slippery, which is dangerous when riding.
Step 1
Remove the seat
Fixings vary by model: usually the seat is held by a few Allen bolts and a lock latch, with fixings hidden near the rear mudguard and number plate. After winter the bolts are often seized by road salt and moisture.
If a bolt will not move, apply WD-40 Multi-Use to the thread through the WD-40 Smart Straw and wait a few minutes.

Step 2
Strip the old cover
Turn the seat over, lift the staples with a flat screwdriver and pull them out with pliers.
Keep the old cover: it is a ready-made pattern for cutting the new one.
Step 3
Dry and repair the foam
If the foam is damp, hang it in a dry, ventilated place and let it dry completely. Never work on wet foam: the glue will not hold and mould will grow under the new cover.
Cut out damaged or mouldy areas with the fine-tooth blade. Use the same blade to cut inserts from new foam of the same density, check the fit and glue them in with neoprene adhesive. Once dry, trim with a knife and smooth with fine sandpaper so there are no steps.
Step 4
Cut the new cover
You can buy a ready-made cover for your model or cut one yourself from faux leather. Lay the old cover on the material, trace around it and add a few centimetres of margin all round so you have something to pull on when stretching.
Step 5
Stretch and staple the cover
Start at the front of the seat, nearest the handlebars, and fix the cover with a few staples in the centre. Then pull the material sideways and staple alternately on both sides, working from the centre outwards. A spring clamp holds the fabric on one side while you work on the other.
Watch for wrinkles and keep any seam straight.
Step 6
Refit the seat and grease the lock
Before refitting, clean and grease the seat lock and latch with WD-40 Specialist White Lithium Grease: it resists rain wash-off and keeps the lock working smoothly. Fit the seat, tighten the bolts and check it does not rock.
Finally wipe the cover with a damp cloth and a mild cleaner.
Tip: Seams and staple holes are the weakest points. If the bike often stands in the rain, cover the seat with a cover or even a plastic bag: the foam will last many times longer.
What next
Inspect the seat at the start and end of each season. Patch small holes straight away, before water reaches the foam. During seasonal servicing treat the lock and hinges with WD-40 Multi-Use so they do not seize.
These uses come from the experience of WD-40 users in many countries. Always follow the instructions and warnings on the product label.
More guides in «How to use».