Changing a motorcycle tyre in your own garage is perfectly doable with the right tools, patience and a bit of strength. Poor fitting can damage the tyre, rim or brakes, and on the road it is a safety issue, so take each step carefully.
The best time is before the season in spring, or as soon as tread wear approaches the indicators. After winter storage, inspect the rim as well: salt and garage damp leave corrosion that must be cleaned off before the new tyre goes on.
What you will need
- new tyre of the correct size and ratings
- centre stand or bike lift
- valve core tool and pressure gauge
- 3 tyre levers and rim protectors
- bead breaker or a clamp
- tyre fitting paste or soapy water
- WD-40 Multi-Use and a microfibre cloth
- WD-40 Specialist White Lithium Grease for the axle
- compressor or pump
Important: Never put lubricant on the tread, sidewalls, brake discs or pads. Use only tyre fitting paste or soapy water to seat the bead, and always have the wheel balanced after fitting.
Step 1
Prepare the bike and remove the wheel
Park on firm, level ground, switch off the engine and let the exhaust cool. Use a centre stand or lift so the wheel hangs freely.
Undo the axle and remove or move the caliper aside without pulling the brake lever. For the rear wheel, slacken the chain and lift it off the sprocket. If the axle nut is seized, apply WD-40 Multi-Use to the thread using the WD-40 Smart Straw and leave it for a few minutes, keeping it off the disc.

Step 2
Deflate the tyre
Remove the valve cap and press the valve core with the core tool to release the air. Once the pressure is gone, unscrew the core completely and put it somewhere safe.
If the cap or core is stiff with dirt, spray a little WD-40 Multi-Use on it and wait.
Step 3
Break the bead and remove the old tyre
Use a bead breaker or clamp to push the tyre bead off the rim seat on both sides, all the way round. You will hear a pop as it releases. Opposite the valve, push the bead into the rim's central well and apply fitting paste to the bead.
Insert a lever between bead and rim, using a rim protector to avoid scratches, and with a second lever a few centimetres along gradually lift the bead over the edge. Work round until the first bead is off, then remove the second the same way. On tubed wheels, take care not to damage the tube.
Step 4
Clean the rim
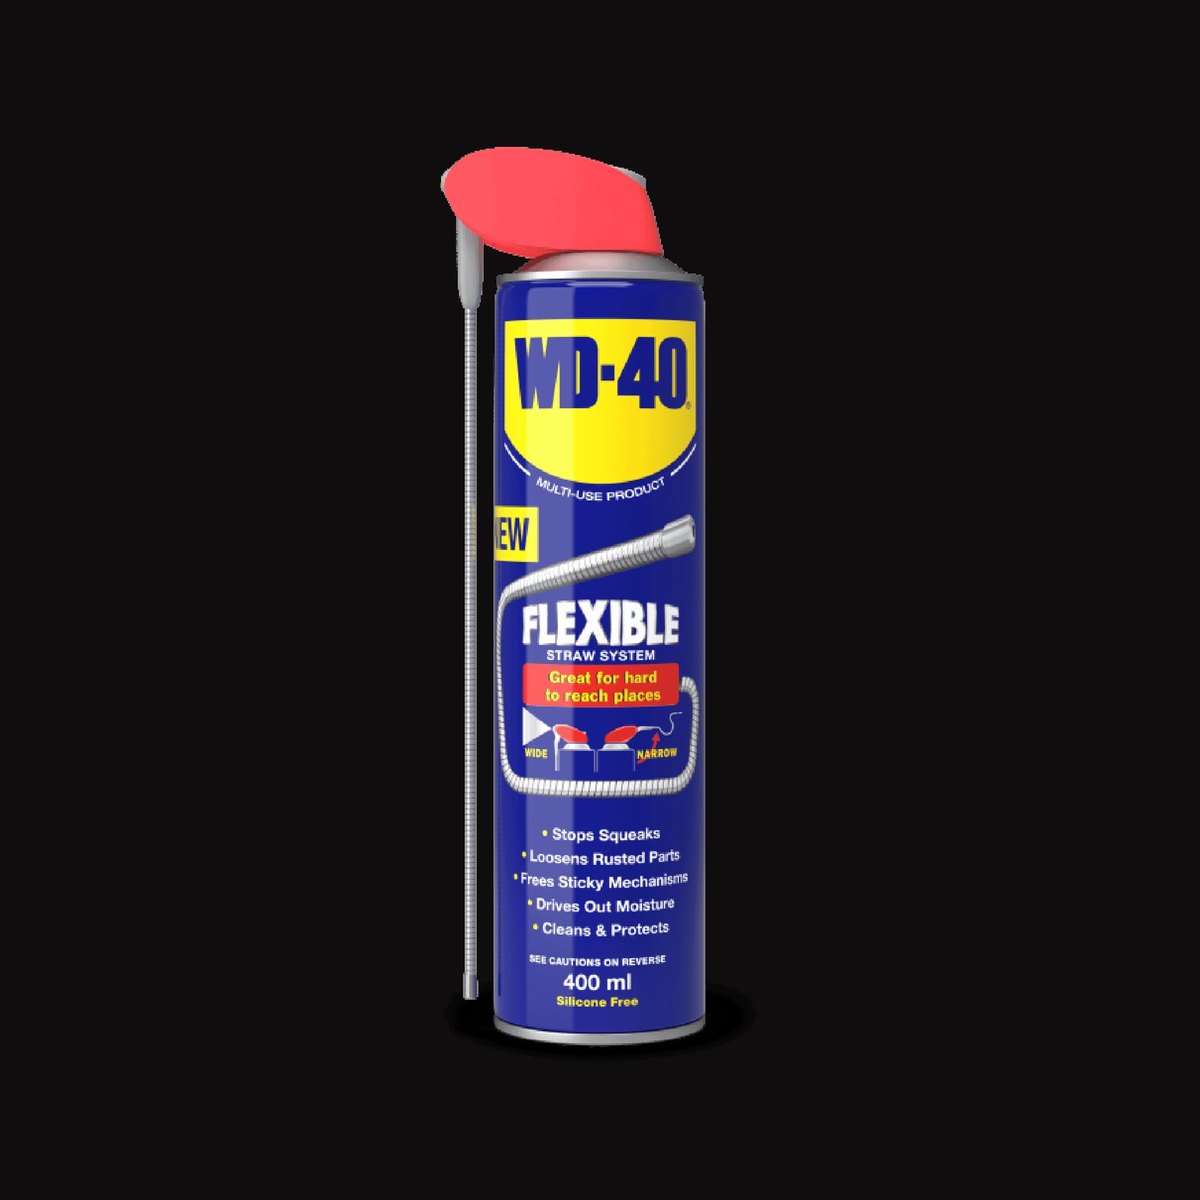
Inspect the rim: dirt, old rubber residue and corrosion stop the tyre seating properly and holding pressure. Spray WD-40 Multi-Use onto a microfibre cloth and wipe the bead seats and well: it dissolves grime and displaces moisture.
Then wipe the bead seats dry with a clean cloth so no film remains. Check the inside of the new tyre for debris too.
Step 5
Fit the new tyre
Check the rotation arrow on the sidewall and the light-spot mark, usually aligned with the valve. Apply fitting paste or soapy water to both beads.
Push the first bead onto the rim by hand, using a lever for the last section. Work the second bead on gradually with several levers, holding the fitted part down in the well with your knee. Take small bites so the bead is not damaged.
Step 6
Inflate and refit the wheel
Refit the valve core and inflate gradually with a compressor. The beads should pop onto their seats: check that the moulded line on the sidewall sits an even distance from the rim all round. Then set the pressure recommended by the motorcycle maker.
Before refitting, wipe the axle and apply a thin coat of WD-40 Specialist White Lithium Grease. Reassemble, tighten the axle and caliper to the specified torque, adjust the chain and pump the brake a few times to seat the pads.
Step 7
Check and bed in
Have the wheel balanced, or you will get vibration at speed. Lower the bike, recheck every fixing and the pressure, and refit the valve cap.
Ride gently for the first few miles: a new tyre has a smooth surface and only reaches full grip once scrubbed in. Avoid hard lean angles and braking, especially on wet roads.
Tip: In cold weather, leave the new tyre in a warm room or in the sun for a few hours first. Warm rubber is much softer and goes onto the rim far more easily.
What next
Check pressure weekly and after every long ride, and the tread before each season. The chain, axle and cables need regular care too, and WD-40 Multi-Use helps protect chrome and metal parts from corrosion after wet roads.
These uses come from the experience of WD-40 users in many countries. Always follow the instructions and warnings on the product label.
More guides in «How to use».