Even with careful maintenance, time leaves its mark: a motorcycle headlight lens turns dull and yellow and collects a film of road grime, insects and deposits. This is not just about looks. A cloudy headlight lights the road less well at night and makes the bike harder for other drivers to see, which is a direct safety risk.
Surface deposits, ingrained dirt and light dullness can be removed at home in half an hour, with no trip to a workshop. If the lens has yellowed deep into the plastic or developed a network of fine cracks, it will need professional sanding and polishing.
What you will need
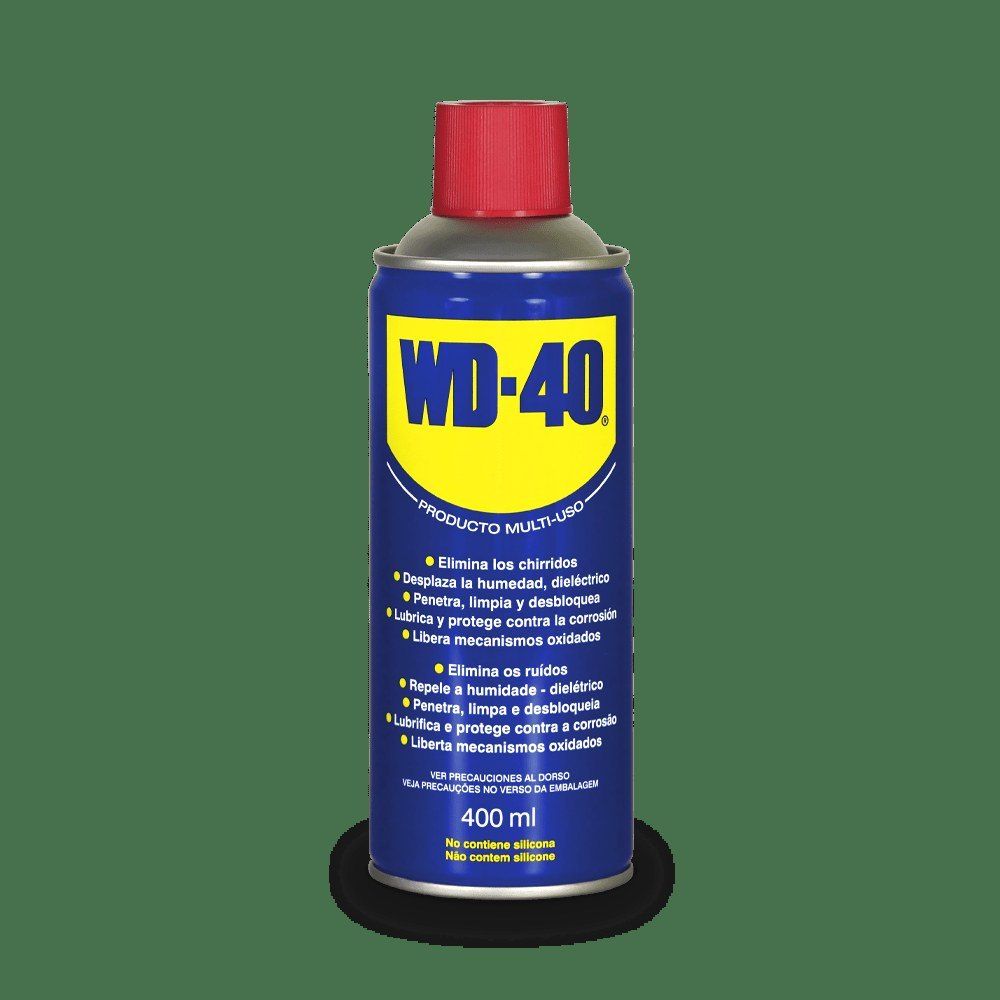
- WD-40 Multi-Use 400 ml
- Microfibre cloths (2-3)
- A bucket of warm water with mild shampoo and a soft sponge
- A hose with gentle water pressure
- Protective gloves
Important: Most headlight lenses are polycarbonate. Avoid solvents, abrasive pastes and stiff brushes unless really needed, and test the product on the edge of the lens first. Work on a cold headlight with the ignition off.
Step 1
Wash the motorcycle
Start with a general wash to remove dust and grit that would scratch the plastic when you wipe it. Wet the bike with a gentle stream from the hose, apply mild shampoo, go over it with a sponge and rinse. Let it dry or wipe it with microfibre.
Step 2
Apply the product to the headlight
Put on gloves and spray WD-40 Multi-Use onto a microfibre cloth rather than directly onto the headlight. Spread it over the whole lens. Wait a few minutes while it softens dried insects, road film and dirt in the fine pores of the plastic.
Step 3
Wipe in circular motions
Using a clean cloth, gently wipe the headlight in circular motions. The product has already lifted the dirt from the surface, so there is no need to rub hard and little risk of scratching the lens. Gradually the headlight clears and the shine returns.
Step 4
Repeat if needed
If you are not yet happy with the result, repeat the application and wiping. Two rounds are usually enough to remove surface deposits. If the lens is still yellow within the plastic itself, the material has oxidised and only polishing with a dedicated kit will help.
Step 5
Wash off the residue
Wash the headlight with a sponge and warm soapy water to remove excess product, then dry it with microfibre. A clean, dry surface with no film gives the best light output and attracts less dust.
Tip: Wipe the rubber seal around the headlight and the plastic surround with
WD-40 Specialist Silicone applied to a cloth. The rubber will not dry out and the surround will look fresh.
What next
Clean the headlight every few motorway rides, when insects build up, and before the season of night riding. Park the bike in the shade or under a cover: UV light is the main cause of yellowing lenses.
These uses come from the experience of WD-40 users in many countries. Always follow the instructions and warnings on the product label.
More guides in «How to use».