A motorcycle that spends the winter in an unheated garage with a half-empty tank often greets spring with rust inside. Moist air gets into the tank, condensation forms on the walls and the steel starts to rust. Flakes of rust then clog the fuel tap, filter, carburettor or injectors.
You can clean the tank yourself in two ways: mechanically, using nails, or chemically, with a mild acid. Combining both gives the best result. Before you start, check your motorcycle manual to make sure this procedure suits your tank, especially if it has a factory internal coating.
What you will need
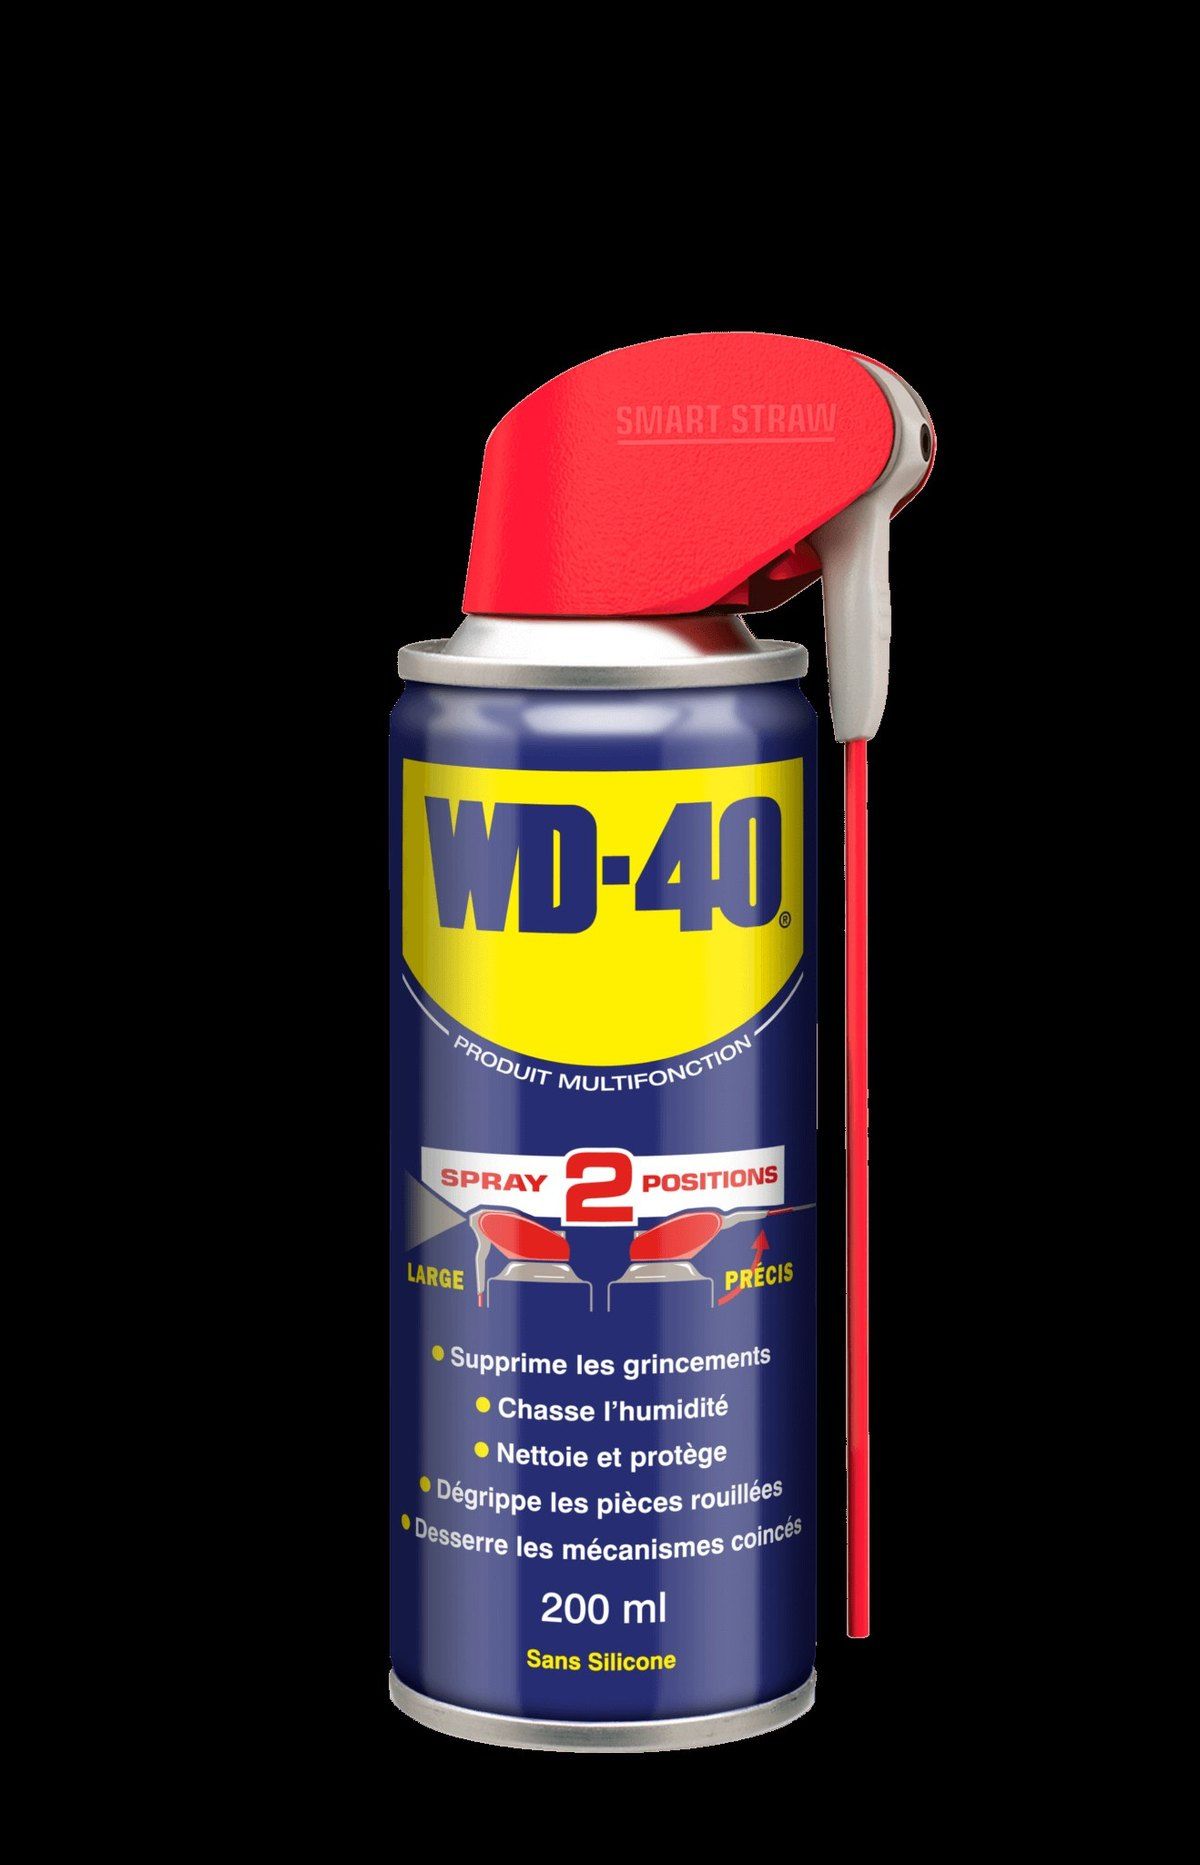
- WD-40 Specialist Penetrant for seized bolts
- WD-40 Smart Straw for the filler cap and lock
- Allen keys and screwdrivers
- Containers for petrol and rinse water, rags, masking tape
- Galvanised roofing nails
- White vinegar and distilled water
- A compressor or blower without heat
- Safety glasses and gloves
Important: Petrol vapour is explosive. Work outdoors or in a well-ventilated space with no smoking, open flames, heaters or sparks. Take drained fuel to a collection point and never pour it on the ground. Wipe vinegar off painted surfaces immediately.
Step 1
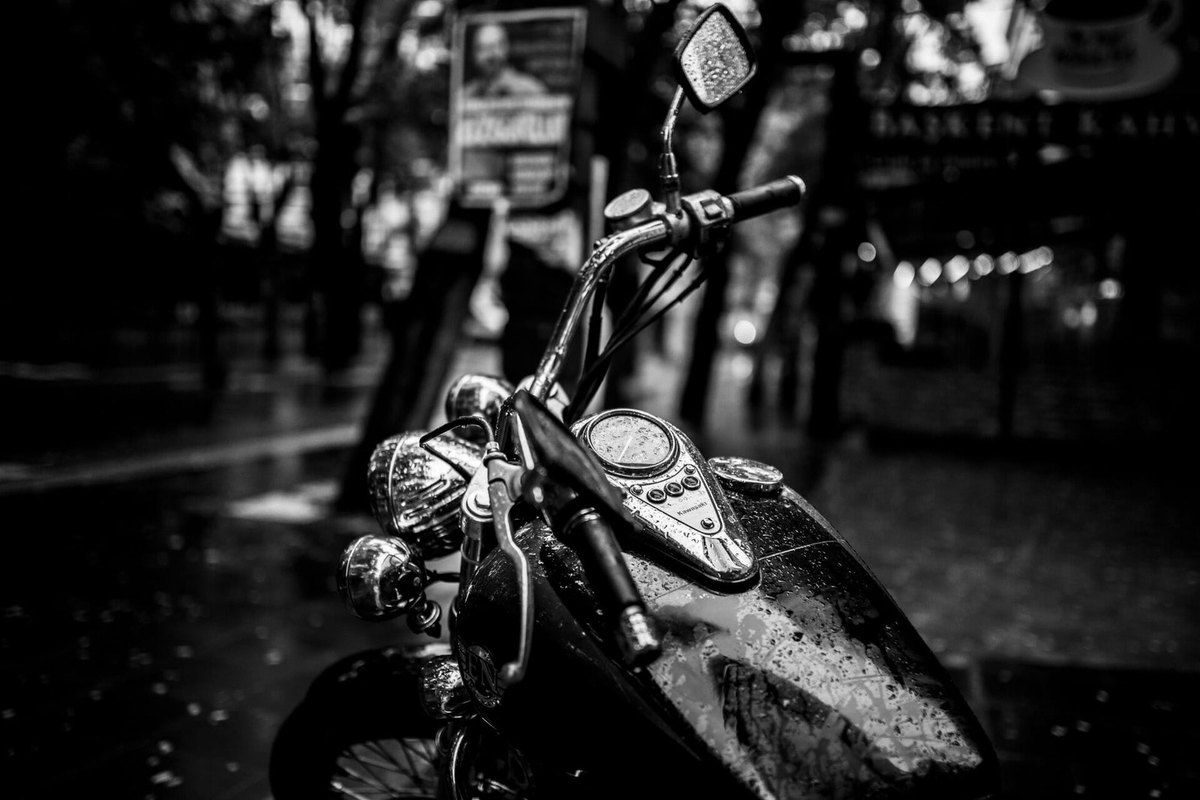
Remove the tank
If your bike has a fuel tap, turn it to OFF. The procedure depends on the model, but usually you remove the seat and side panels, then undo the bolts at the base of the tank. If the bolts are seized, apply WD-40 Specialist Penetrant and wait 5-10 minutes.
Disconnect the breather hose, the fuel level sender connector and the fuel hoses from the tap. If there is no tap, drain the petrol from the hose into a container. Lift the tank off and lay it on a soft cloth so the paint does not get scratched.
Step 2
Drain and flush
Open the filler and drain any remaining petrol. Plug the outlet with a rag and tape. Pour in water, shake the tank vigorously and empty the water and debris into a bowl. Repeat until the water runs clean, then let the tank dry.
Step 3
Remove rust mechanically
Fill the tank about halfway with galvanised nails. Cover the filler opening with a rag and tape instead of the cap, so the nails cannot damage it. Shake and turn the tank in every direction: the nails scour the walls and knock off the rust layer. Tip out the nails and rinse the tank with distilled water until it runs clear.
Step 4
Finish with vinegar
If rust remains, fill the tank to the brim with white vinegar and leave it for a few days. The acid dissolves the remaining rust. Drain the vinegar and rinse the tank several times with distilled water, shaking it to wash out the flakes. For a badly neglected tank, combine both methods: nails first, then vinegar.
Step 5
Dry the tank quickly
Bare, unprotected steel develops fresh surface rust within hours, so dry the tank straight away. Blow it out with cold air from a compressor or blower, keeping the filler open. Never use heaters or open flames. Check with a torch that the inside is dry and no nails are left behind.
Step 6
Refit and care for the fittings
Refit the tank and reconnect all hoses and the connector. Fit a new fuel filter first if your bike has one, as fine particles may keep coming out of the tank for a while. Fill up straight away so the walls are not left dry.
Treat the filler cap hinge and lock through the straw of WD-40 Smart Straw so they work smoothly. You can wipe the outside of the tank with WD-40 Specialist Silicone for shine and dirt resistance, keeping it off the seat and grips.
Tip: To stop rust coming back, store the bike for winter with a full tank: less air inside means less condensation. In autumn, treat the tank mountings and other metal parts with
WD-40 Multi-Use.
What next
For the first few fill-ups after cleaning, check the fuel filter and tap. If the tank walls have holes rusted through, take it to a specialist. Regular winter preparation will keep the tank sound for years.
These uses come from the experience of WD-40 users in many countries. Always follow the instructions and warnings on the product label.
More guides in «How to use».