Chain refusing to climb to a bigger sprocket, skipping two at once, rattling or falling off? The usual culprits are a stretched cable, knocked limit screws or a dirty drivetrain. It happens most in spring, after a winter in a damp garage or on a balcony.
It takes about half an hour with Allen keys and a screwdriver. Work in order: inspect and clean first, then the rear derailleur, then the front.
What you will need
Important: Keep all lubricants off brake discs, pads and the rim braking surface. When turning the pedals on a stand, keep your fingers away from the chain and sprockets.
Step 1
Secure the bike and inspect the drivetrain
Put the bike on a stand so the rear wheel and pedals turn freely. Look at the rear derailleur from behind: the jockey wheels should hang exactly vertical below the sprockets. If the derailleur leans, the hanger is bent and must be straightened or replaced before any adjustment.
Check the jockey wheels for broken teeth and the cable for fraying.
Step 2
Clean the drivetrain
There is no point adjusting a dirty drivetrain. Apply WD-40 Multi-Use to the chain, jockey wheels, sprockets and derailleur pivots, leave it a few minutes, then clean with a brush and cloth while backpedalling.
It dissolves old grime, displaces moisture and helps lift early rust on the pivots.
Step 3
Set the rear limit screws
Shift to the smallest sprocket and loosen the cable clamp bolt. Use the H (high) screw to line the jockey wheel up exactly under the smallest sprocket.
Push the derailleur by hand towards the largest sprocket and use the L (low) screw to stop it exactly beneath it, so the chain cannot drop into the spokes. Pull the cable taut by hand and clamp it.
Step 4
Adjust cable tension
Turn the pedals and shift up one gear at a time. If the chain is reluctant to climb, add tension by turning the barrel adjuster on the shifter or derailleur a quarter turn anticlockwise. If it is slow to drop to smaller sprockets, back it off.
Run through every gear up and down: the chain should move on the first click, quietly and without hesitation.
Step 5
Set up the front derailleur
The front cage should sit parallel to the chainrings and 1-3 mm above the teeth of the big ring. Set the L limit on the small ring first, then the H limit on the big ring.
The chain should not rub the cage on the extreme rear sprockets. Fine-tune cable tension with the barrel adjuster.
Step 6
Lubricate the chain and pivots
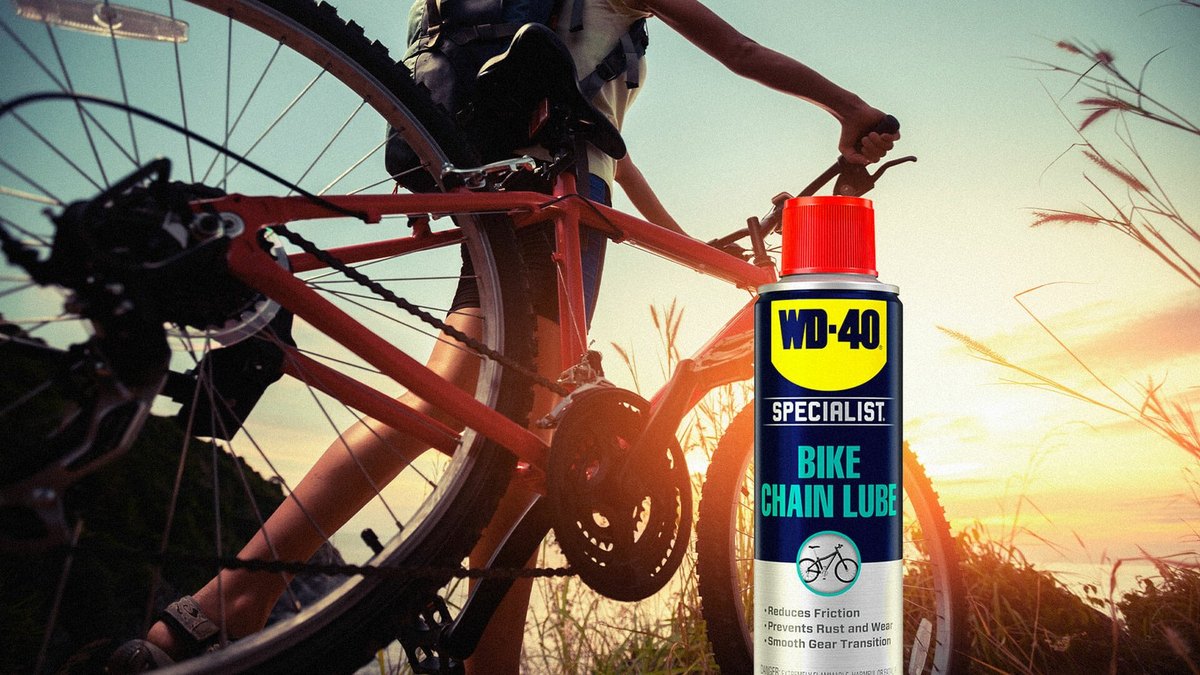
Apply WD-40 Bike chain lube to the inside of each link while backpedalling, then wipe off the excess after a few minutes.
Treat the derailleur pivots, jockey wheel axles and cable entry points with WD-40 Smart Straw through the thin straw so they move freely and do not rust.

Tip: If shifting is crisp on the stand but goes off on the road, check the outer cable: a kink or dirt inside causes friction. New cables are inexpensive and often fix it for good.
What next
Check shifting monthly and after any crash or knock to the derailleur. A new cable stretches over the first 100-200 km, so re-tension it with the barrel adjuster after fitting. Clean and lube the chain after wet rides and treat the pivots with WD-40 Multi-Use monthly.
These uses come from the experience of WD-40 users in many countries. Always follow the instructions and warnings on the product label.
More guides in «How to use».