More riding in warm weather also means more punctures. Glass on the verge, thorns and bits of wire left after roadworks all take their toll. A patch will get you home, but fitting a new tube is more reliable and takes 15-20 minutes at home.
The key is having the right tools and a tube of the correct size: wheel diameter (26, 27.5, 28 or 29 inches), tyre width and valve type (Presta or Schrader).
What you will need
- new inner tube to match the tyre and valve
- pump with a gauge
- 2-3 tyre levers
- spanners or Allen keys if there is no quick release
- bike stand or old newspaper for the floor
- WD-40 Multi-Use for the axle and quick release
- WD-40 Bike Chain Lube (on request)
Important: Never apply lubricant to brake discs, pads, rim braking surfaces or the tyre tread. If any gets there by accident, degrease the surface thoroughly before riding.
Step 1
Set up the bike
Work outdoors or in a garage with all your tools laid out. A bike stand is easiest; otherwise turn the bike upside down on its saddle and handlebars, with cardboard or newspaper underneath.
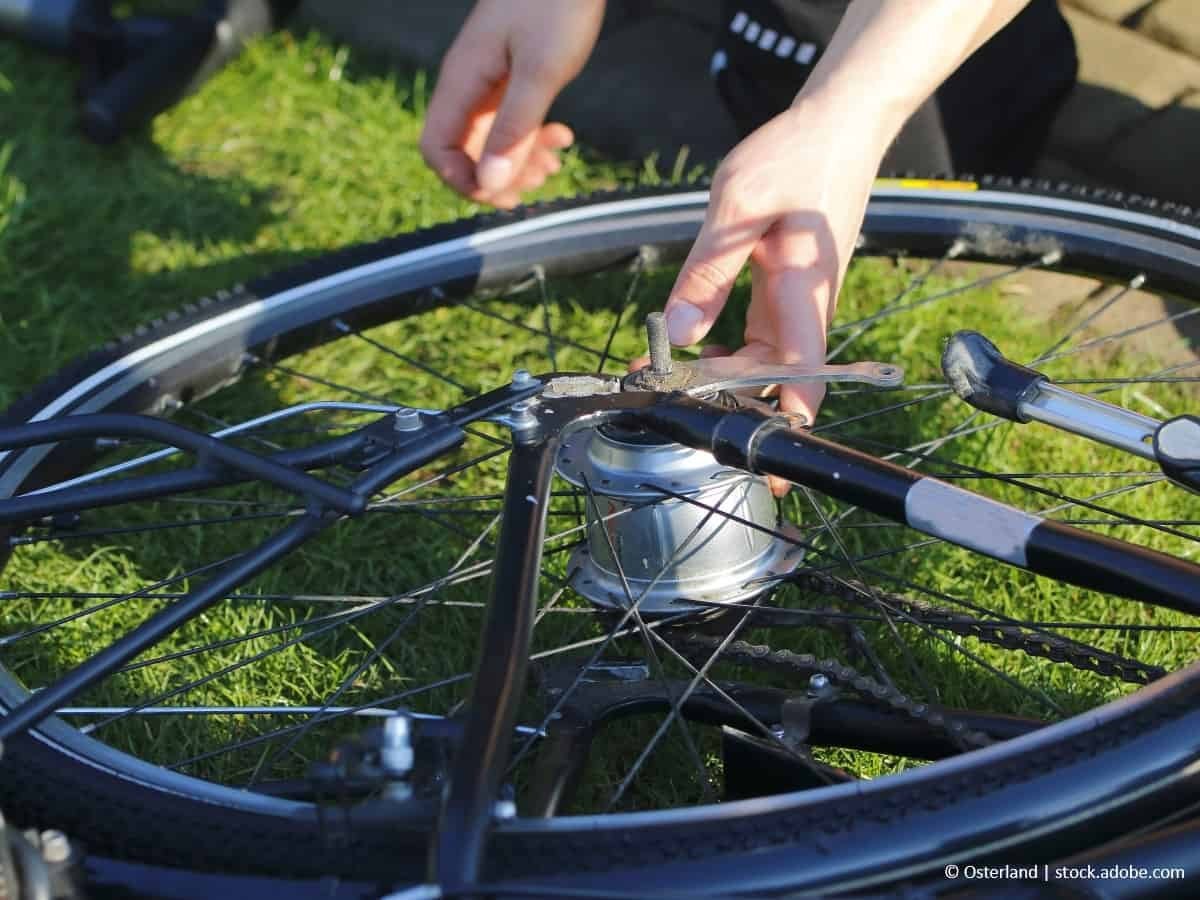
Before removing the rear wheel, shift the chain onto the smallest sprocket: the wheel comes out more easily and the derailleur will not need readjusting afterwards.
Step 2
Remove the wheel
If you have rim brakes, open or slacken them. Open the quick release or undo the axle nuts with a spanner. For the rear wheel, pull the derailleur back and lift the chain off the sprocket.
If nuts or the quick release are seized with dirt and winter salt, spray them with WD-40 Multi-Use and wait a few minutes. WD-40 Smart Straw lets you aim it into the thread without getting it on the disc or pads.
Step 3
Remove the tyre and tube
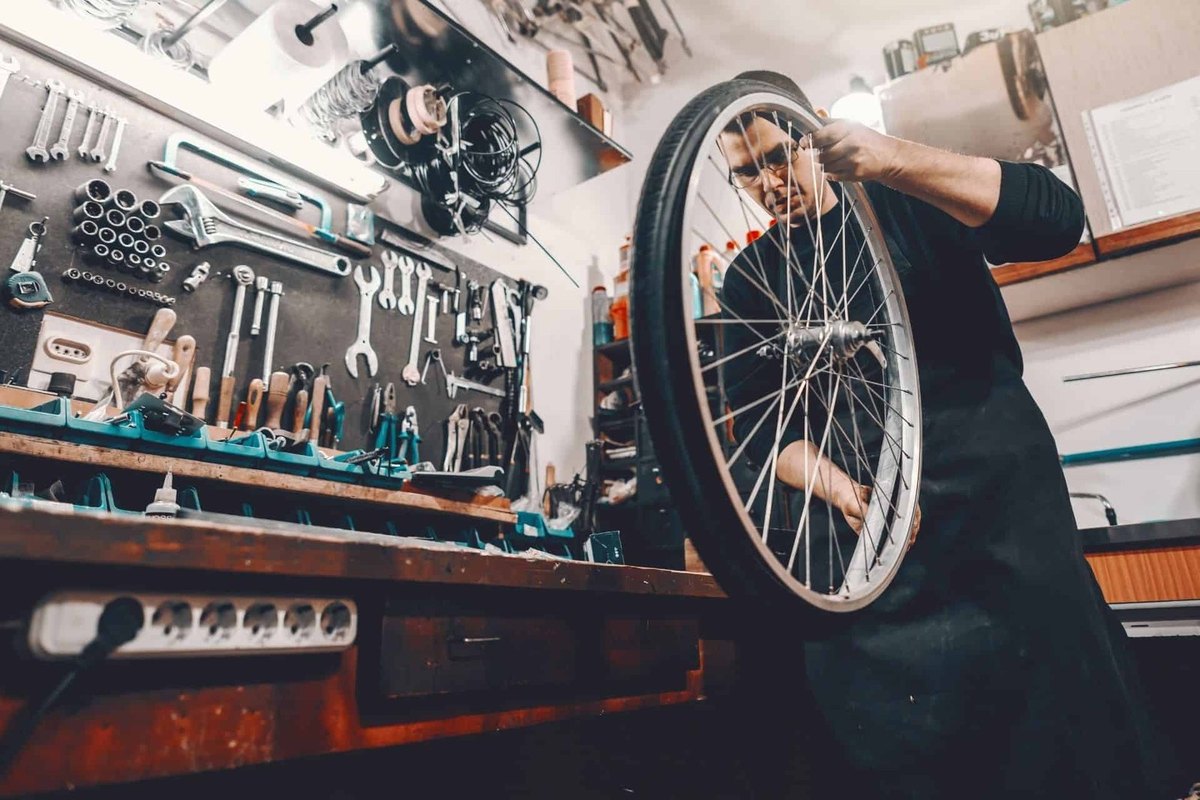
Take off the valve cap and let out any remaining air. Insert a tyre lever between the rim and tyre bead opposite the valve, lever the bead over and hook the lever onto a spoke. Insert a second lever nearby and run it round until one bead is completely off the rim.
Pull the tube out starting opposite the valve, and remove the valve from the rim hole last.
Step 4
Find the cause of the puncture
Inflate the old tube and dip it in a bucket of water: bubbles will show the damage. Lining it up with the tyre tells you where the culprit is.
Carefully run a gloved hand around the inside of the tyre: a thorn, glass or wire left there will puncture the new tube too. Check the rim tape fully covers the spoke holes. A porous or cracked tube or tyre is another common cause of repeated flats.
Step 5
Fit the new tube
Inflate the new tube slightly, to about a third, so it takes shape and does not twist. Push the valve through the rim hole, then tuck the tube evenly inside the tyre all the way round.
Push the tyre bead back onto the rim by hand, starting at the valve and working both ways. A lever can help with the last, tightest section, but be careful not to pinch the tube. Check the rotation arrow on the tyre sidewall.
Step 6
Inflate and refit the wheel
Inflate to the recommended pressure on the sidewall, which differs a lot between city, road and mountain bikes. At half pressure spin the wheel and check the bead sits evenly all round.
Fit the wheel into the frame or fork, put the chain back on the rear sprocket, tighten the quick release or nuts and reset the brakes. Check the wheel spins freely and the brakes work.
Step 7
Clean and lubricate the chain
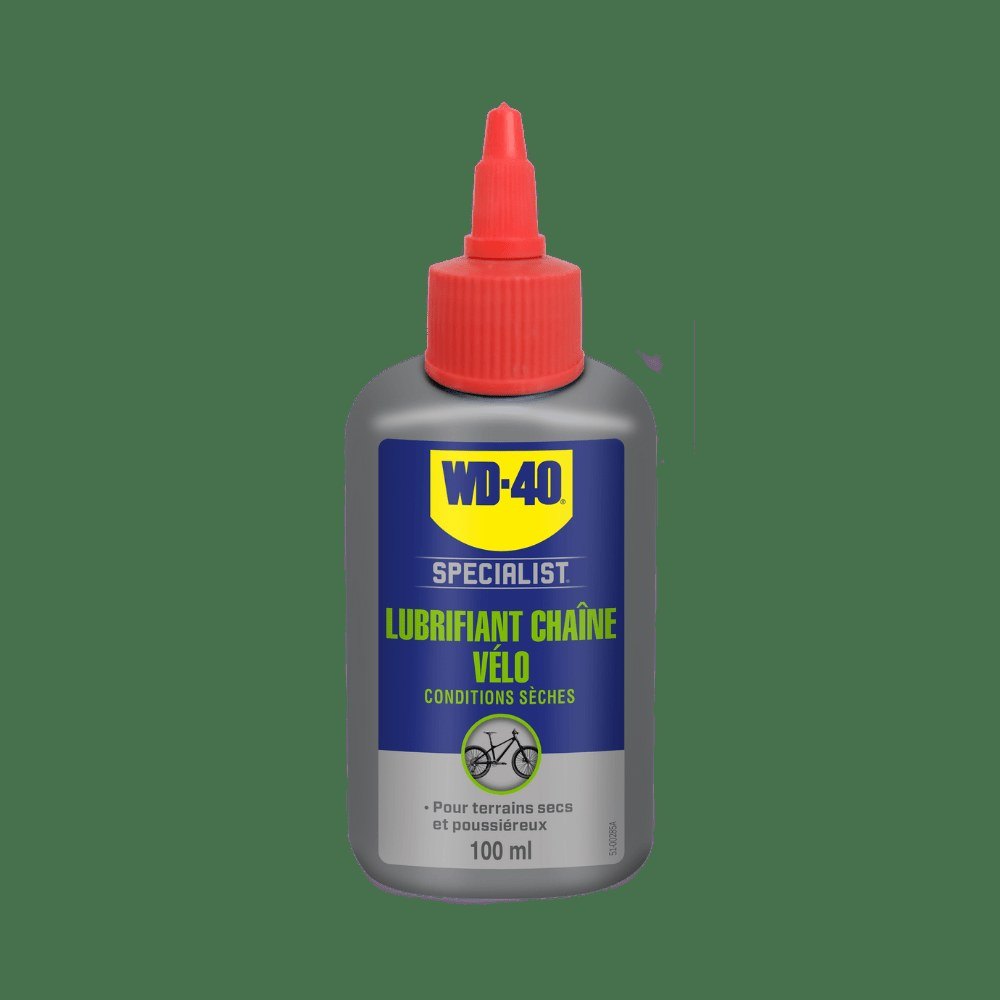
With the wheel back on, it is a good moment to look after the chain. Wipe off grime with a cloth and WD-40 Multi-Use, shielding the rotor and rim, and let it dry.
Then apply a dedicated chain lubricant such as WD-40 Bike Chain Lube, one drop per link, turn the pedals and wipe off the excess.
Tip: Carry a spare tube, two tyre levers, a mini pump and a pocket can of WD-40: swapping a tube at the roadside is quicker than hunting for a patch and glue.
What next
After fitting, check the pressure every couple of days for the first week to make sure the tube holds. See our guide to bicycle tyre pressure for the right figures, and keep WD-40 Multi-Use to hand for the rest of the bike.
These uses come from the experience of WD-40 users in many countries. Always follow the instructions and warnings on the product label.
More guides in «How to use».