Electric scooters are now everyday city transport, and their small wheels wear quickly: kerbs, potholes, broken glass and tram tracks are hard on both tyre and tube. A service shop can do the job, but with some care you can also do it yourself.
Scooter wheels come in three types: tubed, tubeless and solid. Below we cover the most common, a pneumatic wheel with an inner tube. The rear hub-motor wheel takes longer because you have to deal with the motor cable and the brake.
What you will need
Important: Switch the scooter off and disconnect the battery if possible before you start. Keep lubricant off the brake disc, pads and tyre tread. Never wet or damage the lithium battery.
Step 1
Remove the front wheel
Switch the scooter off and put it on a stand so the wheels hang freely. Carefully prise off the trim covers over the axle bolts without breaking the plastic clips.
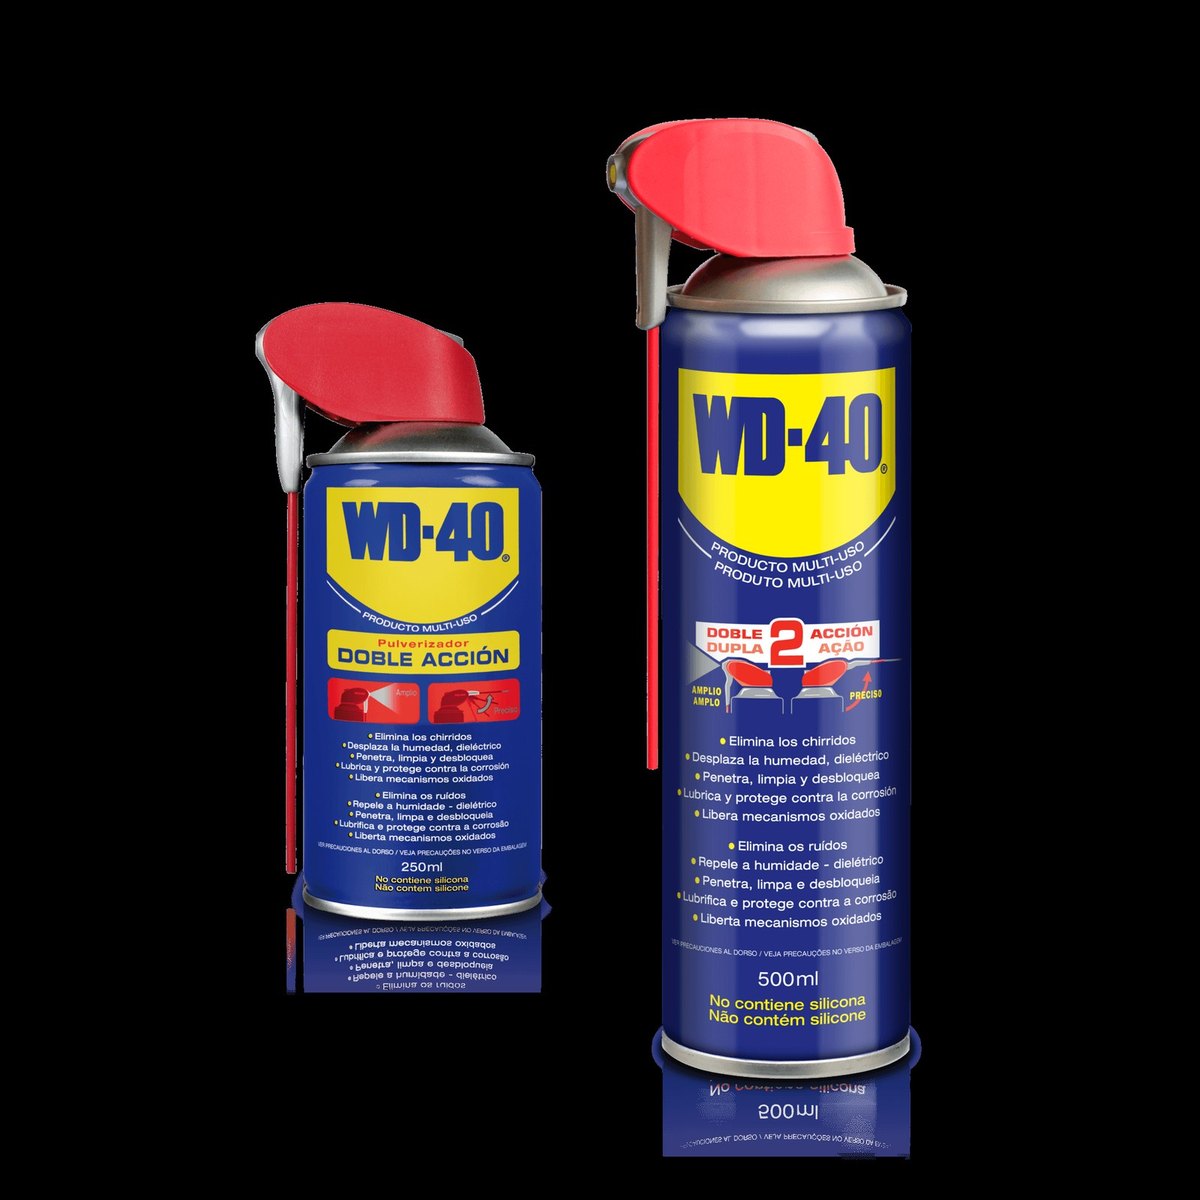
Loosen and remove the bolts or nuts on both sides of the axle with an Allen key or spanner and take the wheel out. If fixings are seized with dirt and winter road salt, spray them with WD-40 Multi-Use and leave it a few minutes: it penetrates the thread and loosens rust.

Step 2
Remove the rear hub-motor wheel
The rear wheel comes off the same way, but first remove the caliper or brake mechanism and carefully disconnect the motor cable. Take a photo of the cable routing, washers and spacers so you can reassemble correctly.
As the disc and brake pads sit close to the hub motor, apply penetrant precisely with the WD-40 Smart Straw and cover the disc with a rag.
Step 3
Remove the tyre and inner tube
Let all the air out through the valve. Insert a tyre lever between rim and tyre, lever the bead over and run it round. Small scooter tyres are very tight, so use two or three levers and take your time.
A screwdriver is a poor substitute: it easily cuts the tube and scratches the rim. Remove the old tube and feel inside the tyre for glass or thorns.
Step 4
Clean the rim and parts
Dust, dirt and sand clog the axle, bearings and motor connector. Spray WD-40 Multi-Use onto a rag, wipe the rim, axle and seats, leave it a few minutes and wipe off the residue with the dirt. It displaces moisture and protects the metal from corrosion.
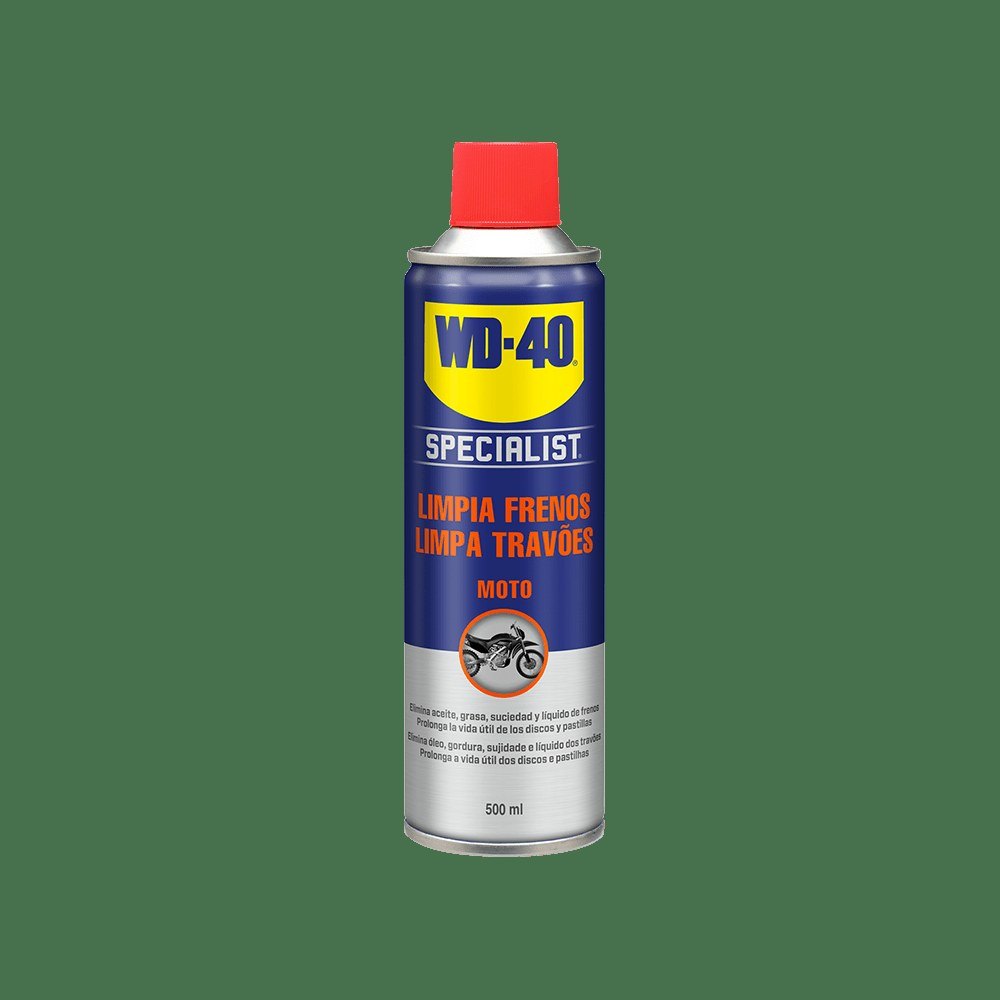
Treat the motor cable connector with WD-40 Specialist Contact Cleaner: it removes dust and oxidation and evaporates quickly without leaving a film. Wipe the rim bead seat dry after cleaning.
Step 5
Fit the new tyre and tube
Inflate the tube slightly so it takes shape, push the valve through the rim and tuck the tube into the tyre. Wet the tyre beads with soapy water so the tyre slides on and seats evenly.
Push the bead on by hand and use a lever for the last section, taking care not to pinch the tube. Check the valve is straight and inflate to the pressure shown on the sidewall or in the scooter manual.
Step 6
Reassemble and test
Refit the wheel in reverse order: washers and spacers in place, bolts tightened evenly, motor cable reconnected, brake and trim covers refitted.
Check the wheel spins freely and the brake works without rubbing. Take a short test ride at low speed. If you feel vibration, check the tyre seating and axle tightness again.
Tip: If you get frequent punctures, consider switching to tubeless tyres with sealant or to solid tyres. Solid tyres are puncture-proof but give a harsher ride.
What next
Check tyre pressure weekly: a soft scooter tyre wears faster and punctures more often. After riding on wet, salted streets, wipe exposed metal parts with WD-40 Multi-Use, and look after a squeaky folding mechanism as described in our scooter maintenance guide.
These uses come from the experience of WD-40 users in many countries. Always follow the instructions and warnings on the product label.
More guides in «How to use».