The radiator lowers the temperature of the coolant circulating through the engine. Coolant is a mix of water and antifreeze with additives that prevent corrosion and scale. Over the years the additives wear out, deposits build up inside, and the outside of the radiator core clogs with dust, seed fluff, insects and road dirt. The result is an engine that overheats in summer traffic and a heater that struggles in winter.
To avoid expensive repairs, service the cooling system regularly, broadly every two to three years, and clean the outside of the core every season. The job is not complicated, but it does need care.
What you will need
Important: Never open the expansion tank cap on a hot engine: pressurised coolant can scald. Coolant is toxic: collect it in a container and keep it away from children and pets.
Step 1
Clean the engine bay
On a dirty engine you cannot see leaks or cracks. Cover the alternator and fuse box with plastic, apply WD-40 Specialist Degreaser to oily surfaces, let it work, then rinse or wipe it off. The cleaner the bay, the easier it is to spot where coolant is escaping.
Step 2
Inspect the hoses and clean the core
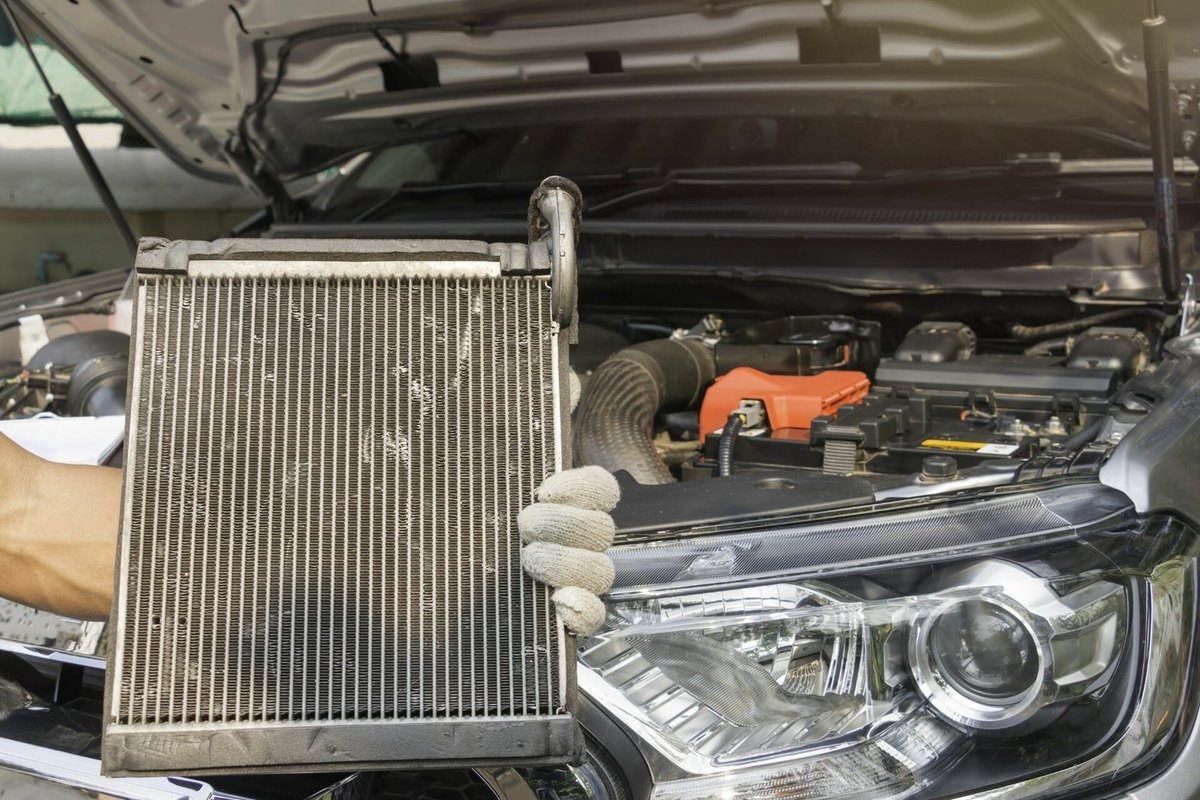
Check the hoses into and out of the radiator and those to the expansion tank and engine. They should not be soft, cracked or swollen, and the clips must be tight. Dried coolant residue around joints points to a leak.
Clean the radiator core with a soft brush, then with a gentle stream of water or air from the inside out, that is from the engine side. Strong pressure bends the thin fins, so keep a pressure washer well back or do not use one at all. Clean the fan and temperature sensor connectors with WD-40 Specialist Contact Cleaner.
Step 3
Drain the coolant
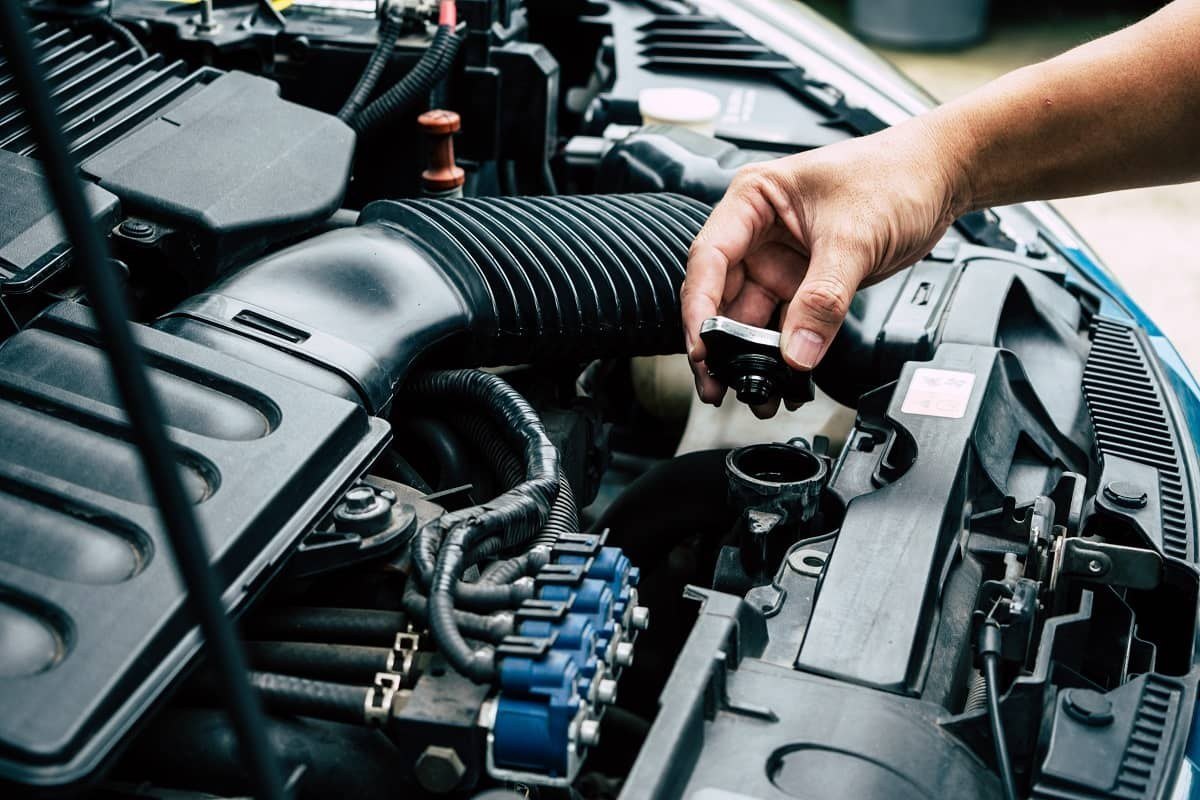
The engine must be cold. If possible, raise the front of the car onto secure stands and place a large container under the radiator. Remove the expansion tank cap and open the drain tap at the bottom of the radiator or disconnect the lower hose. If the tap or clip is seized, treat it with WD-40 Multi-Use and wait a few minutes. Open any bleed screws so the coolant drains faster.
Step 4
Flush the system
Close the drain tap or refit the hose and tighten the bleed screws. Fill the system with distilled water through the expansion tank, start the engine and run it with the heater on full until it warms up and the thermostat opens. Switch off, let it cool and drain the water.
If the water comes out dirty or rusty, repeat the flush. Chemical flushes for descaling are available, but they are strong products: use them strictly as directed and always rinse the system thoroughly with water afterwards.
Step 5
Refill with fresh coolant
Always check the coolant type in the owner's manual: mixing incompatible coolants can create sludge and damage the system. Fill slowly to let air escape, then warm the engine, bleed out air pockets and top up to the mark with the engine cold. Dilute concentrate so the frost protection suits a real winter.
Step 6
Check and protect the fixings
After the first drive, check the joints again for leaks and recheck the level. Make sure the fan cuts in when the engine is hot. Give the hose clips, radiator mounting bolts and drain tap a thin coat of WD-40 Multi-Use on the outside to protect them from corrosion caused by salt and moisture.
Tip: In summer, after motorway trips and during the season of airborne seed fluff, check the front of the radiator and air conditioning condenser: a layer of fluff and insects noticeably reduces cooling and takes only minutes to brush off.
What next
Clean the outside every season, check the coolant level monthly and flush and replace the coolant every two to three years or as the manufacturer specifies. Keep Contact Cleaner handy for battery terminals and connectors under the bonnet.
These uses come from the experience of WD-40 users in many countries. Always follow the instructions and warnings on the product label.
More guides in «How to use».