A clean fridge is about more than looks. It affects how fresh your food stays, whether it smells and how much electricity the appliance uses. A blocked drain hole, dust on the condenser or a tired door seal all make the compressor run longer and shorten its life.
Repairs to the sealed refrigerant circuit and compressor are a job for a service centre. Everything else, from washing the compartments to caring for hinges and outer surfaces, is easy to do yourself in a single afternoon.
What you will need
Important: Always unplug the fridge before cleaning. Do not use WD-40 technical products inside the compartments or on shelves, containers or any surface that touches food: clean the interior only with water and a mild detergent.
Step 1
Unplug and empty the fridge
Pull out the plug and move the food to a cool bag, or outside if it is cold. Leave a freezer with built-up ice open, with towels underneath, and let the ice melt on its own. Never chip at it with a knife, as it is easy to puncture a wall containing refrigerant pipes.

Step 2
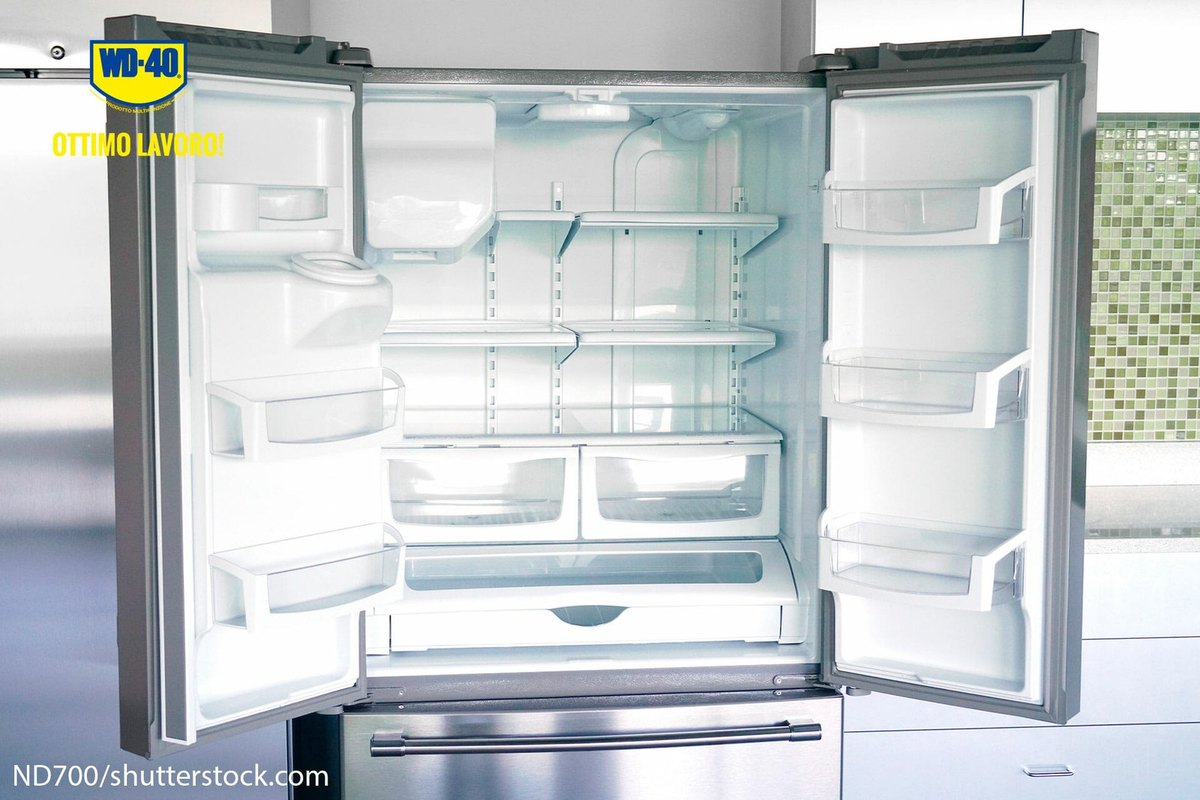
Wash the compartments, shelves and drain
Wash shelves and drawers in warm water with a mild detergent. Wipe the walls with a solution of bicarbonate of soda, then with water and vinegar to remove odours. Dry everything.
At the bottom of the back wall of the fridge compartment there is a drain hole that carries away water after automatic defrosting. If it is blocked, water pools at the bottom and an unpleasant smell develops. Clear it gently with a soft wire or a purpose-made cleaning brush and flush with warm water.
Step 3
Check the light and the door seal
If the light only works some of the time, the push switch in the door frame is often corroded. With the fridge unplugged, remove its cover if possible and treat the contacts with WD-40 Specialist Contact Cleaner, which dissolves oxidation and dries without residue.
Wash the door seal with warm water and vinegar, especially in the folds, and dry it. Lightly treat the outer face of the rubber that touches the cabinet with WD-40 Specialist Silicone to keep it supple. If the seal has hardened and lets air in, it should be replaced.
Step 4
Clean the condenser and check for noise
The condenser grille at the back or bottom of the fridge collects dust, which stops the appliance releasing heat efficiently. Pull the fridge out and vacuum the grille with a soft brush attachment. If the dust is greasy and will not come off, treat it with WD-40 Specialist Degreaser and wipe it down.
If the fridge hums or rattles only when the compressor starts and stops, check and tighten the compressor mountings on their rubber dampers and level the feet.
Step 5
Deal with rust and the outer surfaces
Rust usually appears on the outer edges of the door and around the hinges, where condensation collects. Clean back the affected areas, remove loose old paint, apply an anti-corrosion primer and touch up with appliance paint.
Treat metal hinges, brackets and unpainted external metal parts with WD-40 Multi-Use and wipe off the excess: it displaces moisture, protects against corrosion and stops squeaks. It also helps lift sticker and tape residue from the outer doors.
Step 6
Switch on and restock
Plug the fridge back in and let it reach its working temperature for a few hours before returning the food. Do not pack the shelves too tightly or push food against the back wall: air needs to circulate freely.
Tip: Keep an open glass of bicarbonate of soda on a shelf and replace it monthly: it absorbs odours well between deep cleans.
What next
Give the fridge a thorough clean every three to four months and defrost a freezer without frost-free technology once the ice is more than a few millimetres thick. Clean the condenser grille twice a year and treat the hinges at the first squeak.
These uses come from the experience of WD-40 users in many countries. Always follow the instructions and warnings on the product label.
More guides in «How to use».