Automatic irrigation is convenient: the lawn, beds and borders get water even when you are away. In return, the system needs regular, if infrequent, care, because sprinklers sit on or in the soil.
There are two main types. Above-ground sprinklers stand on a base or spike and can be moved around. Pop-up sprinklers sit flush with the lawn: water pressure raises the head, and a spring pulls it back down after watering. The main service is done at the end of the season, before the frosts.
What you will need
Important: Before dismantling pop-up sprinklers, shut off the water supply and release the pressure in the system. Disconnect a mains-powered controller.
Step 1
Clean above-ground sprinklers
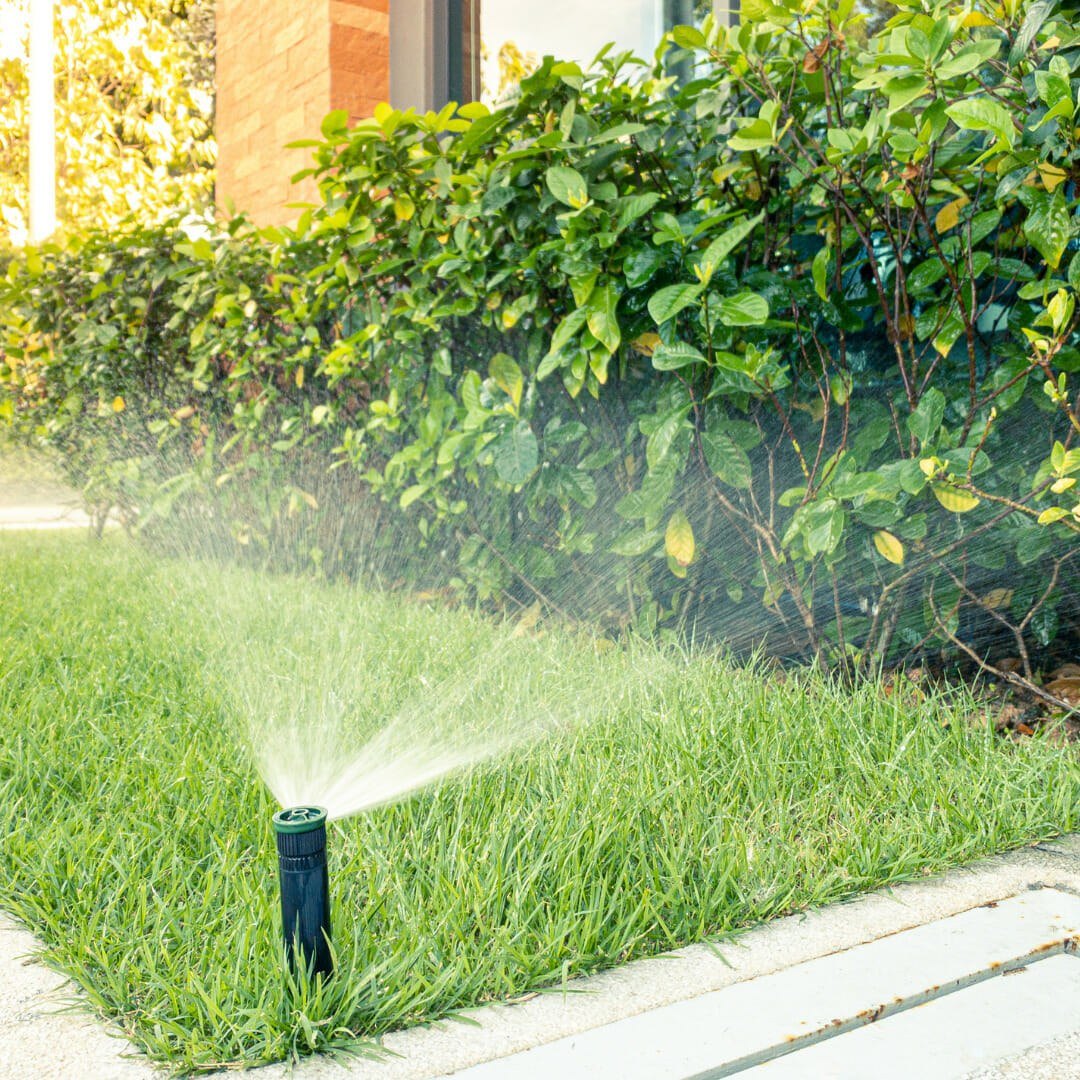
Take the sprinkler apart as far as its design allows, rinse with water and dry. Nozzles blocked by limescale from hard water can be soaked in vinegar for an hour and cleared with a fine needle.
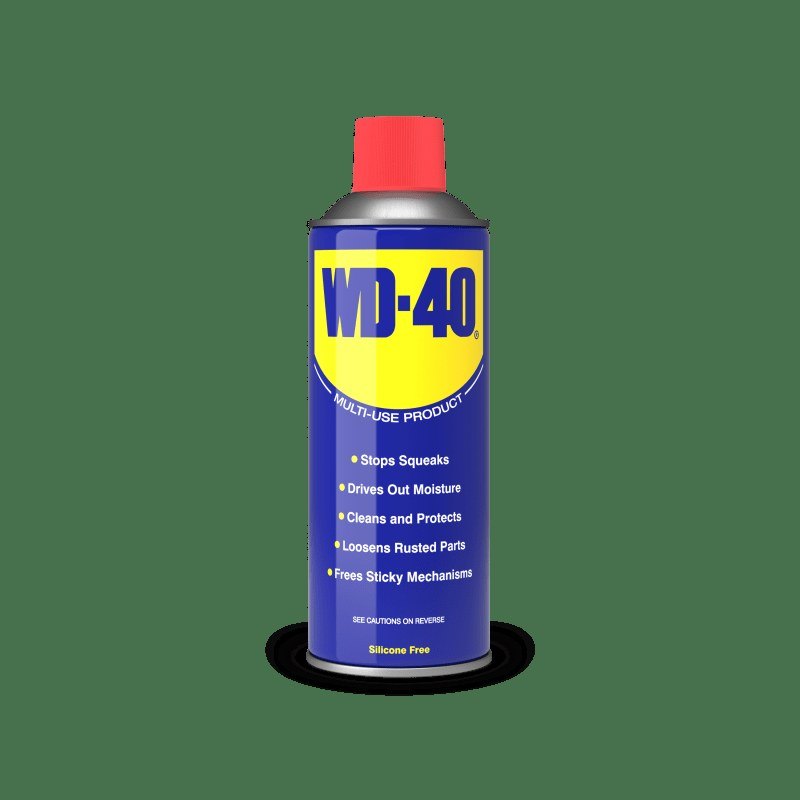
Treat the dry parts with WD-40 Multi-Use, which cleans and lubricates. Heads with a spray mechanism, such as moving arms, preset sectors or an impact hammer, also benefit from WD-40 Specialist Silicone. Use Multi-Use on tripods and telescopic stands too.
Step 2
Remove the pop-up heads
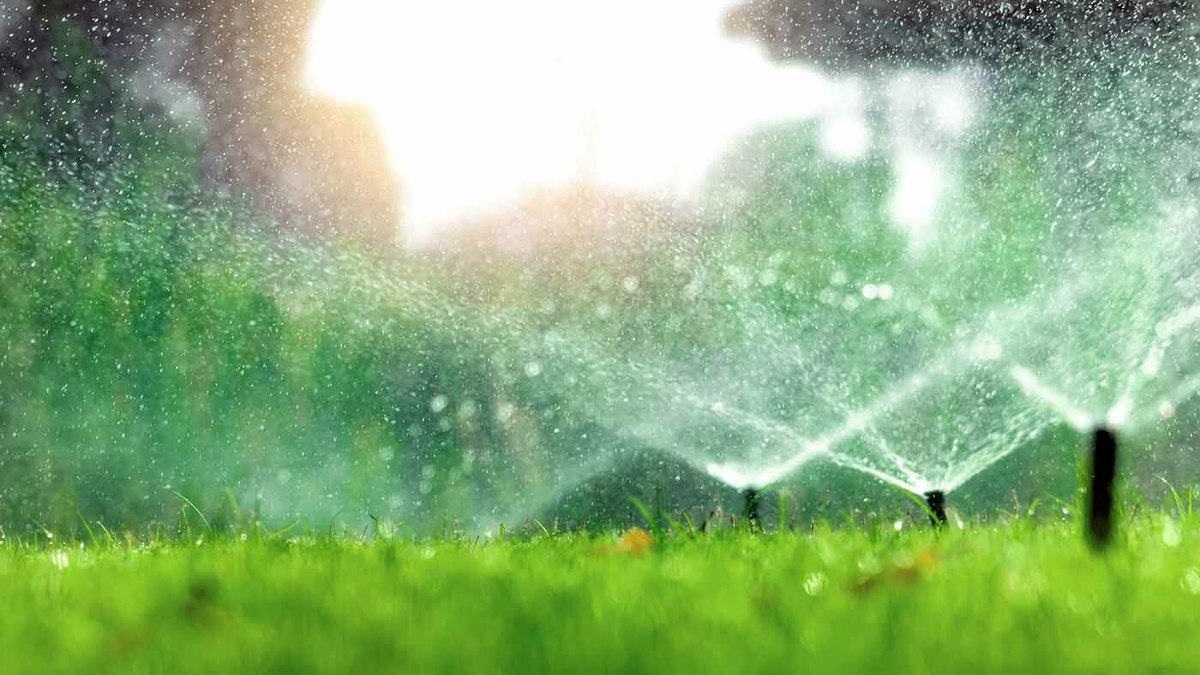
With the water off, unscrew the pop-up sprinklers from their housings and empty them. Plug the threaded opening in the ground straight away so no soil gets in.
Unscrew the adjustable head and check for sand, grit or roots inside. Rinse and dry the parts and treat everything with WD-40 Multi-Use before reassembly.
Step 3
Lubricate the spring body
The telescopic body contains a steel spring that retracts the head after watering. The riser slides through a ring-shaped opening, and friction there must be minimal, or the head sticks up or fails to rise.
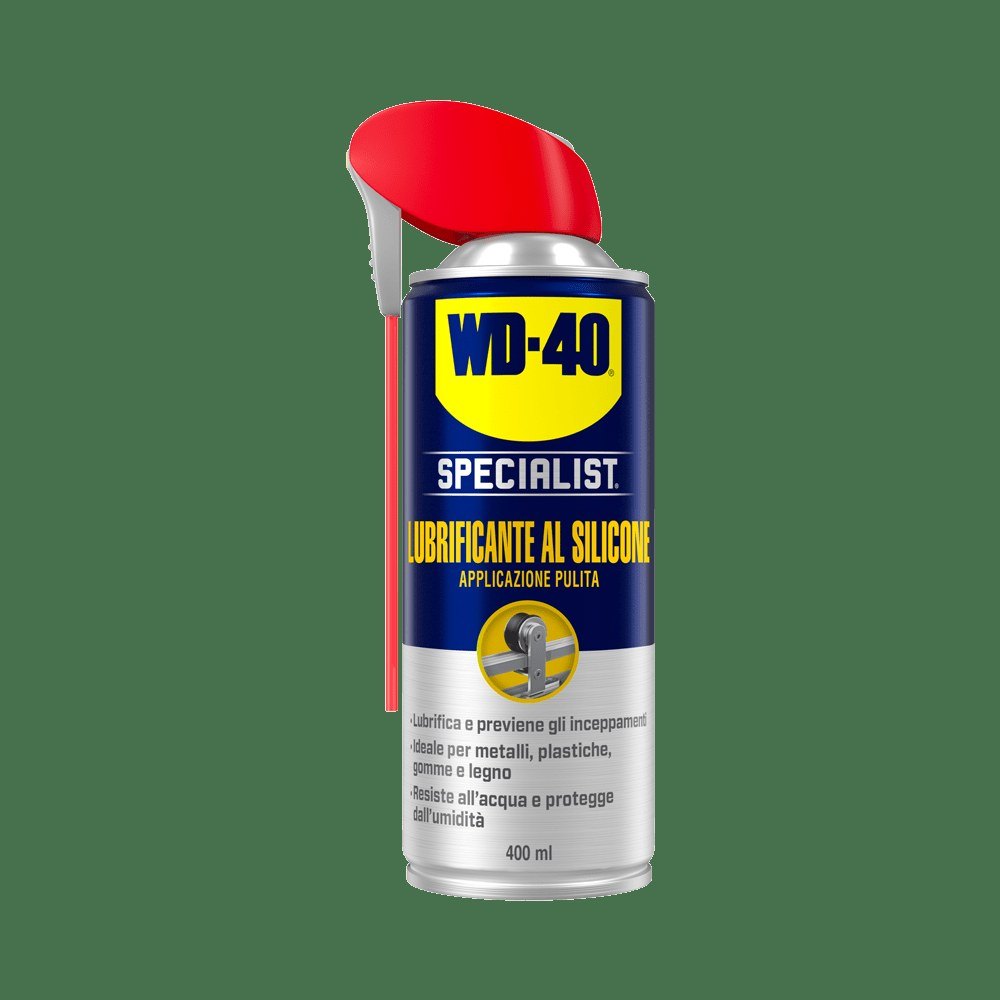
After cleaning, apply a few drops of silicone lubricant to the riser and push it in and out several times to spread it. During heavy watering periods, repeat every few weeks.
Step 4
Rinse the filters
Clogged filters are the most common cause of weak or uneven spray. On most sprinklers the head unscrews easily to reveal a mesh filter underneath.
Take it out, rinse it under running water with a soft brush and refit it. Check filters several times a season, especially if you use well or borehole water.
Step 5
Service the irrigation controller
If the system has an outdoor programmable controller, remove the batteries at the end of the season unless it runs from the mains.
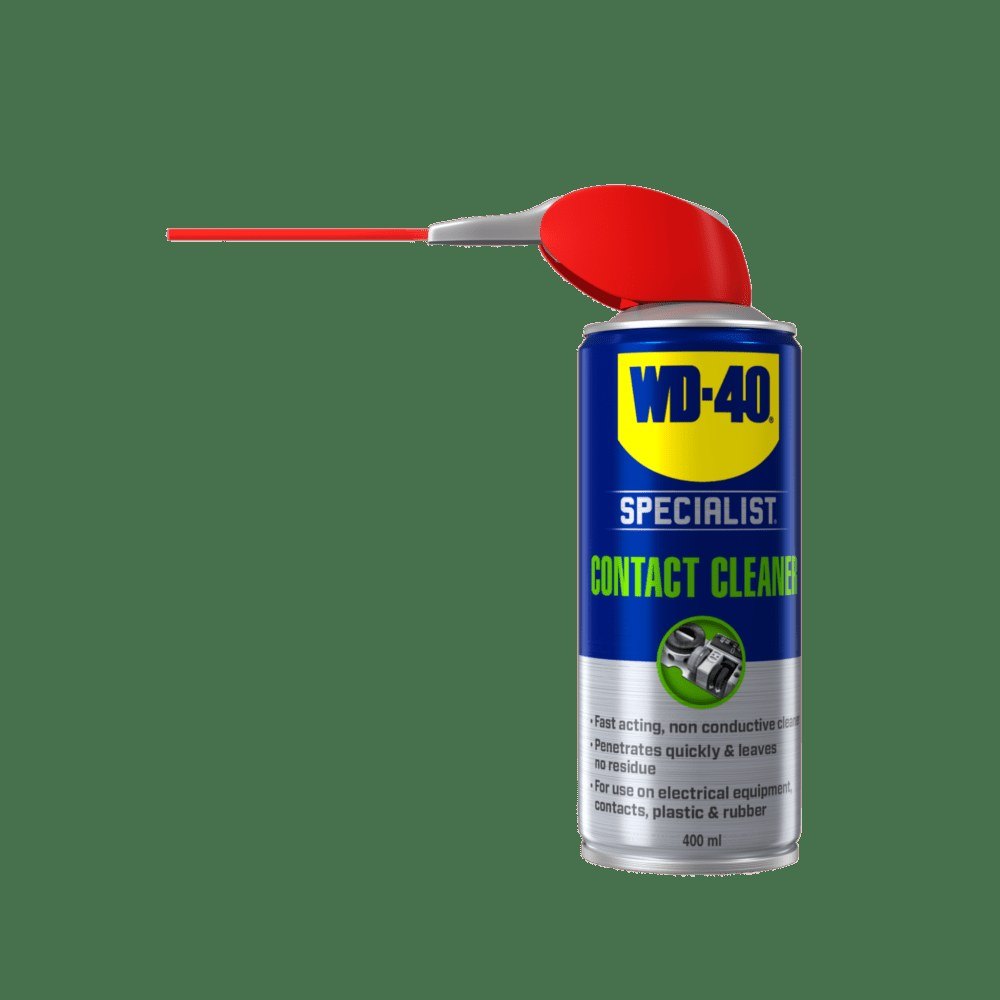
Treat accessible circuit boards and contacts with WD-40 Specialist Contact Cleaner to remove moisture and oxidation; it dries fast and leaves no residue. Give the controller's water connections a light coat of silicone lubricant.
Step 6
Prepare the pipes for frost
Undamaged underground pipes need no special care. Frost does most harm where pipes surface, near the controller and the sprinklers, so lag those sections with insulation.
Over winter, the system must not stay under pressure. Drain the water, open the drain valves and, if possible, blow the lines through with a compressor so ice cannot split pipes and fittings.
Tip: In spring, before the first watering, run the system for a few minutes with the pop-up heads removed. The flow flushes out sand that collected over winter so it does not block the nozzles.
What next
Check the filters several times a season and do the full clean and lubrication in autumn before the frosts. In spring your sprinklers will then work straight away, without sticking or leaking.
These uses come from the experience of WD-40 users in many countries. Always follow the instructions and warnings on the product label.
More guides in «How to use».