Winter means rain, sleet, thaws and hard frosts for a garden trampoline. Moisture gets into the springs and frame joints, and in spring you are greeted by rust, squeaks and mould on the mat. Rusty springs and a damaged mat are a real hazard for children.
A trampoline is made of several materials: a metal frame, steel springs, a fabric mat, foam padding and a safety net. Each needs its own care, but the whole job takes no more than a weekend day.
What you will need
- a soft broom or leaf blower
- a bucket of lukewarm water, a soft sponge and cloths
- a rubber mallet
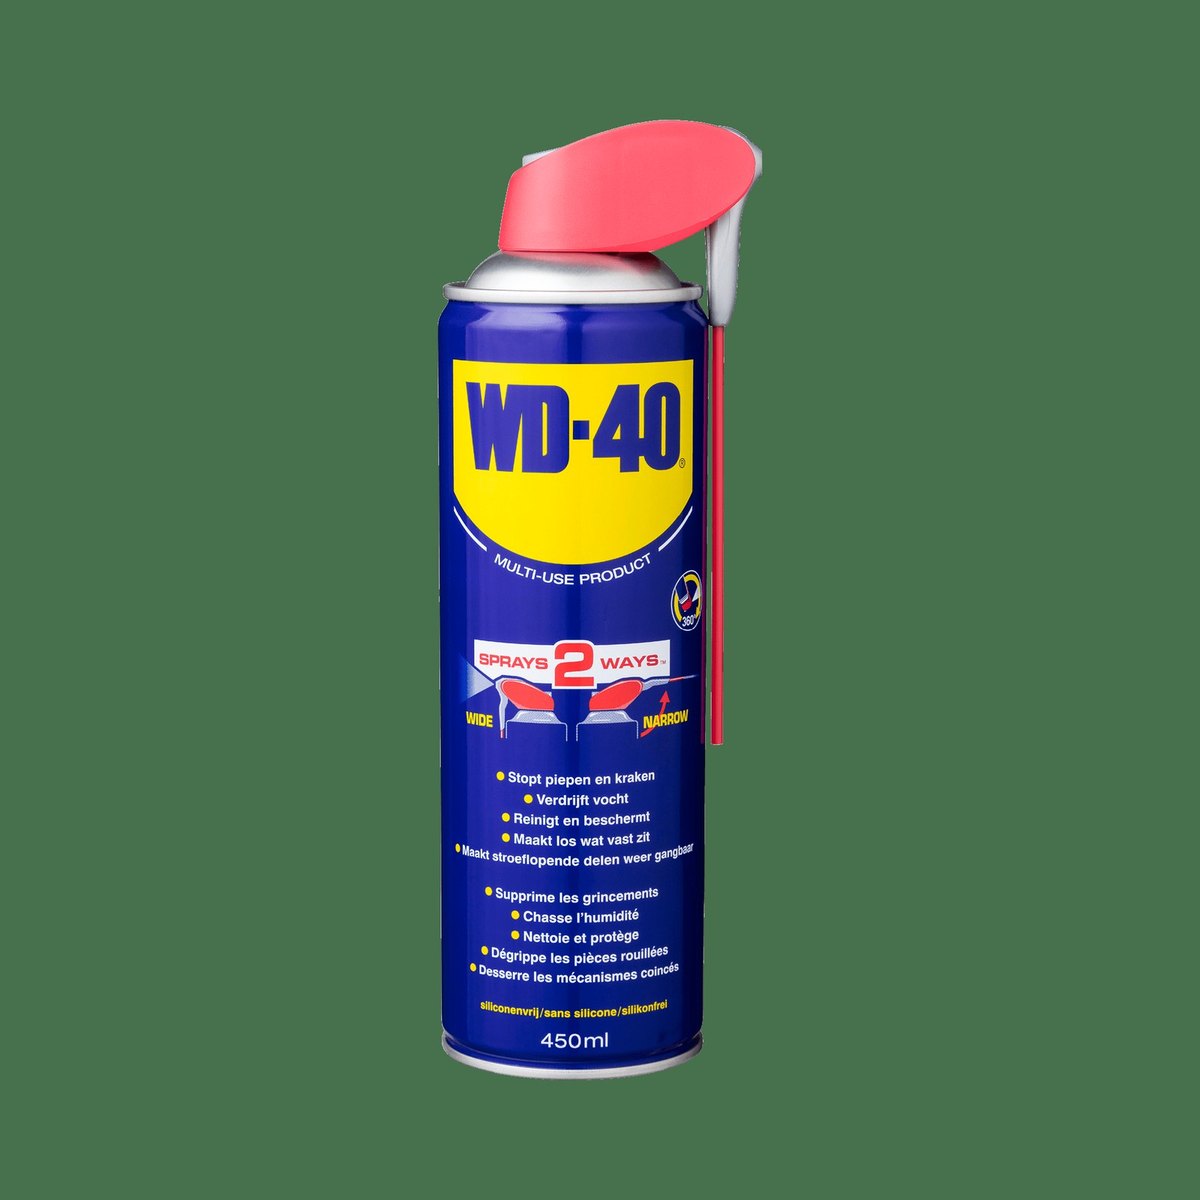
- WD-40 Multi-Use
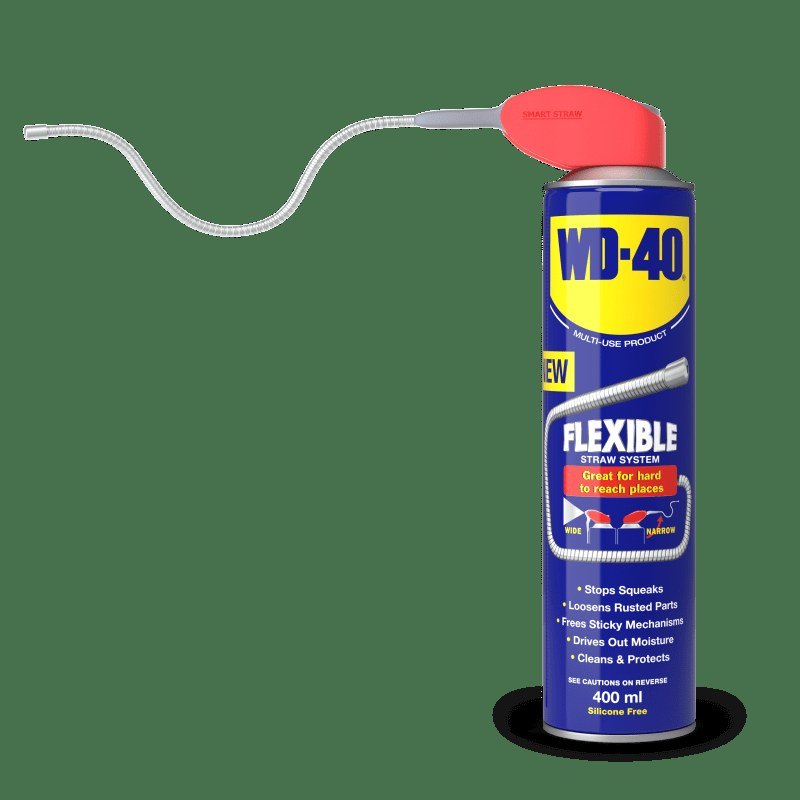
- WD-40 Smart Straw for precise treatment of the springs
- a heavy-duty PVC winter cover if the trampoline stays outside
Important: Do not spray WD-40 on the mat, padding or net: it is meant for the metal parts, and a slippery mat is dangerous. Only treat the trampoline when it is completely dry.
Step 1
Clean the trampoline
Sweep off leaves and twigs with a soft broom or blow them away. Do this before every jumping session too, as small debris wears the fabric.
Wash any marks on the mat with lukewarm water and a soft sponge or cloth. Do not use soap, harsh cleaners or abrasive pads, as they damage the mat surface. Let the trampoline dry completely, otherwise mould will grow under the cover.

Step 2
Inspect and protect the metal parts
Check every spring: any that are stretched, rusty or have bent hooks are best replaced before spring. Inspect the frame, joints and bolts.
Spray the springs and frame thoroughly with WD-40 Multi-Use, and use the WD-40 Smart Straw to reach the hooks and spring holes. Wipe off the excess with a dry cloth. It displaces moisture, protects metal from rust and dirt and also lubricates the springs, so the trampoline will not squeak in spring.

Step 3
Dismantle and store the trampoline
If nobody will jump over winter, the best option is to take the trampoline apart and store it in a shed, garage or cellar. This is especially worthwhile if the frame has no anti-rust coating.
Remove the net and padding first, dry them and fold them carefully. If the frame uses push-fit joints, simply pull the sections apart, tapping gently with a rubber mallet if needed. Store every part clean and dry; keeping the springs in a separate bag makes life easier.
Step 4
Or cover the trampoline
If you lack the time or space to dismantle it, fit a dedicated heavy-duty PVC winter cover. Take the safety net down first and store it indoors: it will last longer and the mat will be better protected.
Pull the cover over and secure it, and anchor the trampoline against strong winds. After heavy snowfall, brush the snow off so it does not overload the springs. On a sunny winter day the cover comes off in moments if anyone wants to jump.
Tip: Mark the order of the frame sections with a marker or a photo as you dismantle. Reassembly in spring will take minutes, and joints treated with WD-40 beforehand come apart and go back together with no effort.
What next
In spring, before the first jump, check the springs again, clean the mat and refresh the metal protection with WD-40 Multi-Use. The same steps work for a swing set and other garden equipment that spends the winter outdoors.
These uses come from the experience of WD-40 users in many countries. Always follow the instructions and warnings on the product label.
More guides in «How to use».