In autumn, spades, rakes, secateurs and the lawnmower move into the shed or garage for months. A winter of thaws, damp and temperature swings is hard on metal: put tools away dirty and wet, and in spring you will find rusty blades, seized joints and an engine that will not start.
An hour's work in October or November will keep your tools going for many seasons. Here is how to do it, step by step.
What you will need
Important: Before servicing petrol equipment, pull off the spark plug cap; unplug electric tools or remove the battery. Always wear thick gloves when handling blades and chains.
Step 1
Take stock
Gather all your tools and check each one: cracked handles, loose fixings, blunt blades, the first spots of rust. Fix small problems now, dispose of anything beyond repair, and note what to buy before spring.
Step 2
Clean off soil and plant matter
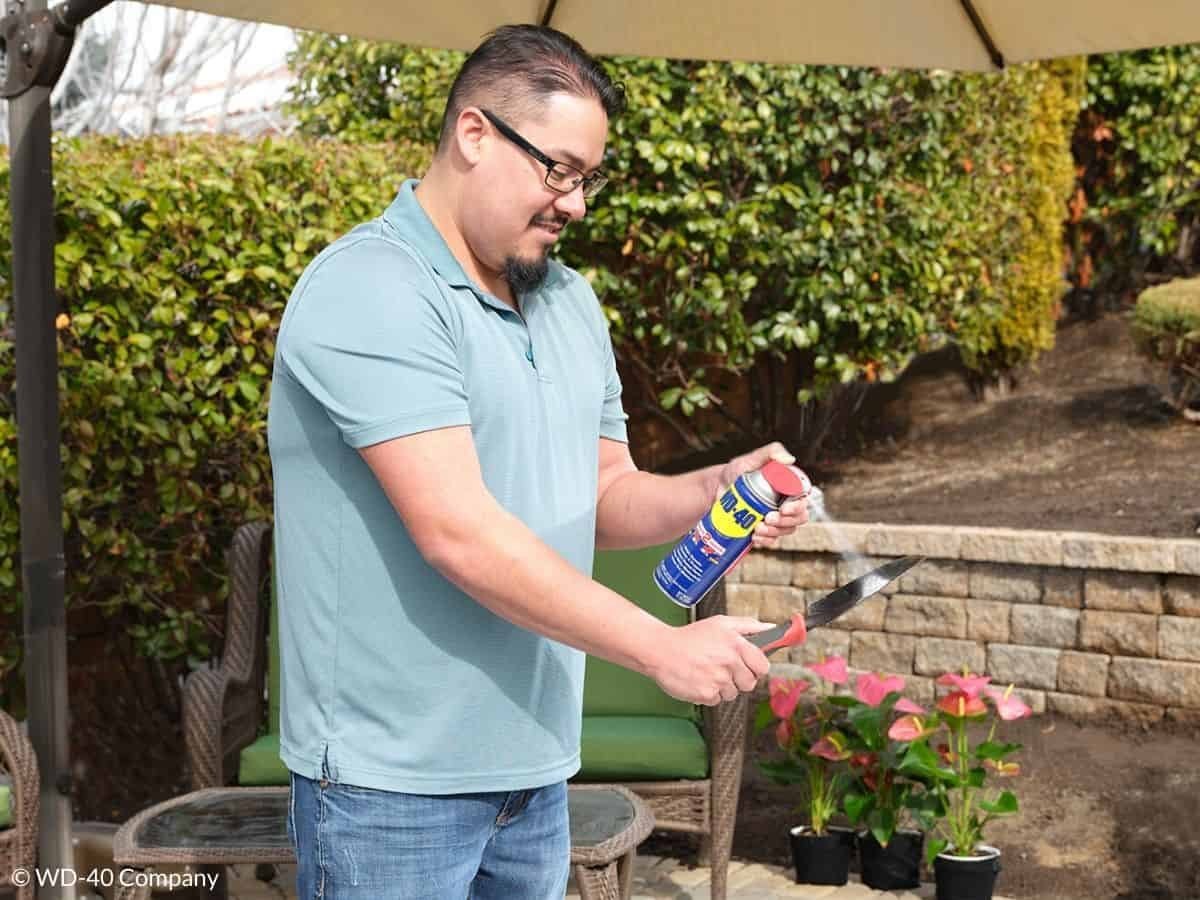
Scrape off caked soil with a blunt knife or scraper, then wash away the rest with soapy water and a brush. Be especially thorough removing plant residue and sap from secateur and shear blades, as disease spores overwinter there and spread to healthy plants in spring.
Clean mower and trimmer housings dry with a brush, not a hose. WD-40 Multi-Use softens old grime and resin.
Step 3
Prepare powered equipment
Petrol left in the tank all winter oxidises and leaves deposits that make the engine run poorly in spring. Drain the fuel or run the engine until it stops.
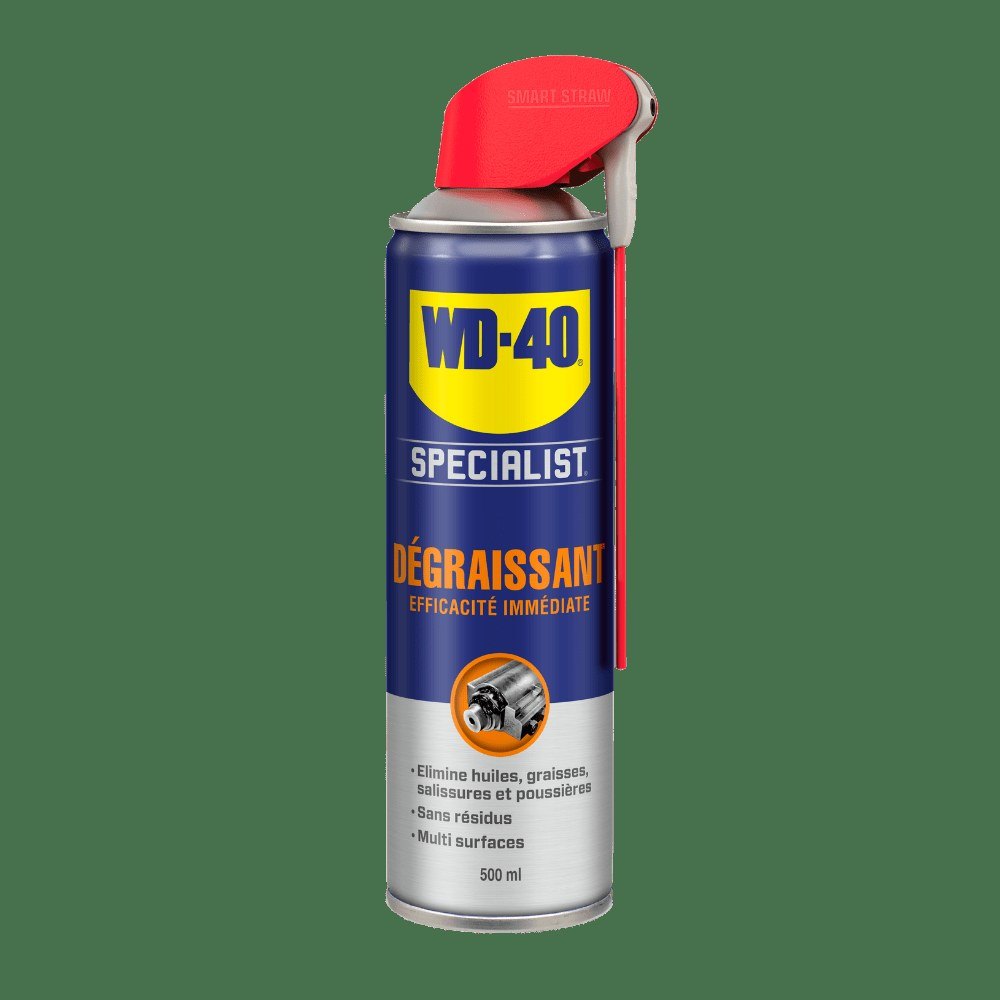
Clean the mower deck and blades, and the saw bar and chain. Lubricate the chain with WD-40 Specialist White Lithium Grease, turn it by hand wearing a glove and wipe off the excess.
Step 4
Look after the blades
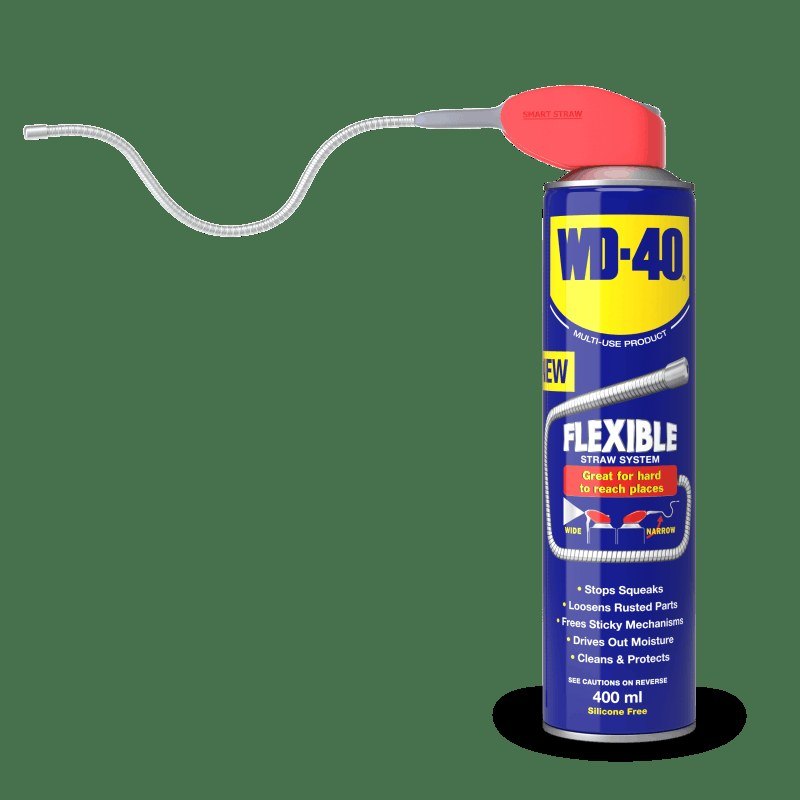
Clean resin and sap off the blades and sharpen them if needed, so they are ready to use straight away in spring. Lubricate the secateur pivot and spring through the WD-40 Smart Straw and squeeze the handles a few times.
Step 5
Remove rust
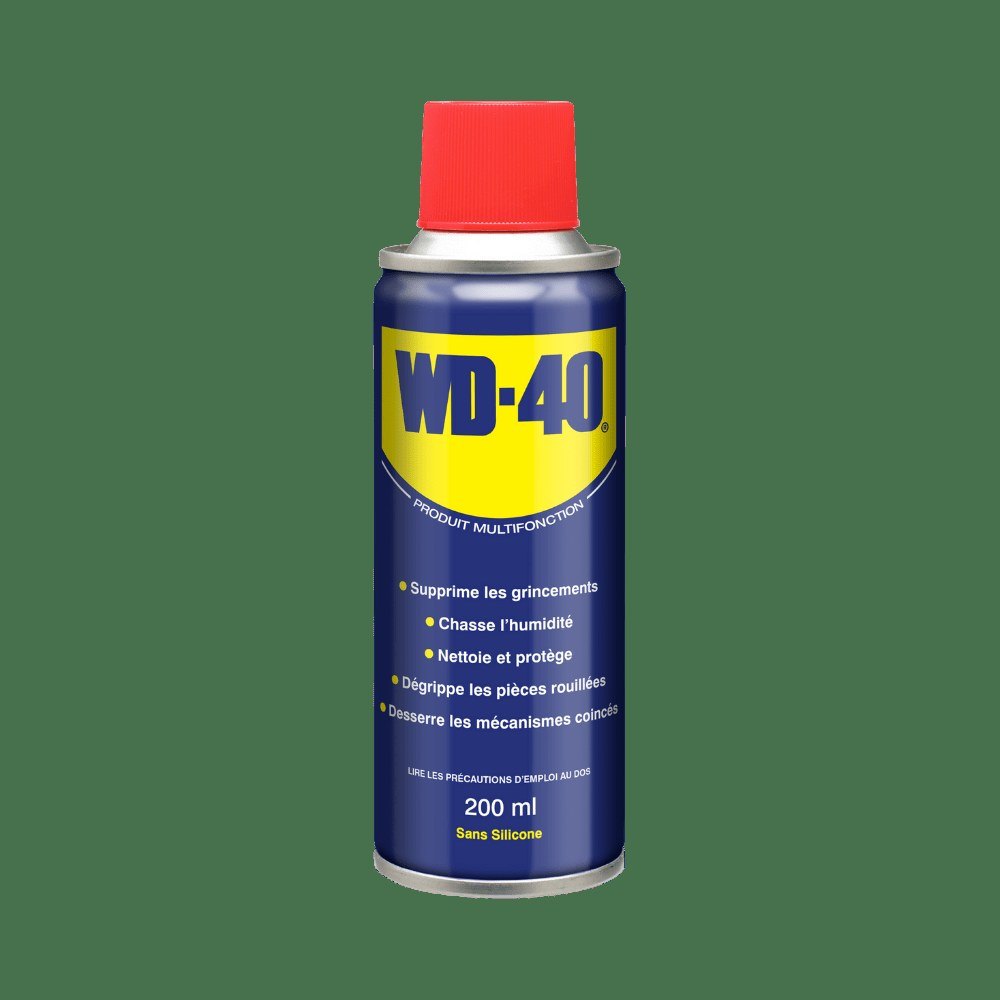
Soak rust spots with WD-40 Multi-Use, wait a few minutes and scrub them off with a wire scourer or brush. Treat seized nuts and pivots with WD-40 Specialist Penetrant first. The sooner you tackle rust, the less metal it eats away.
Step 6
Dry and protect the metal
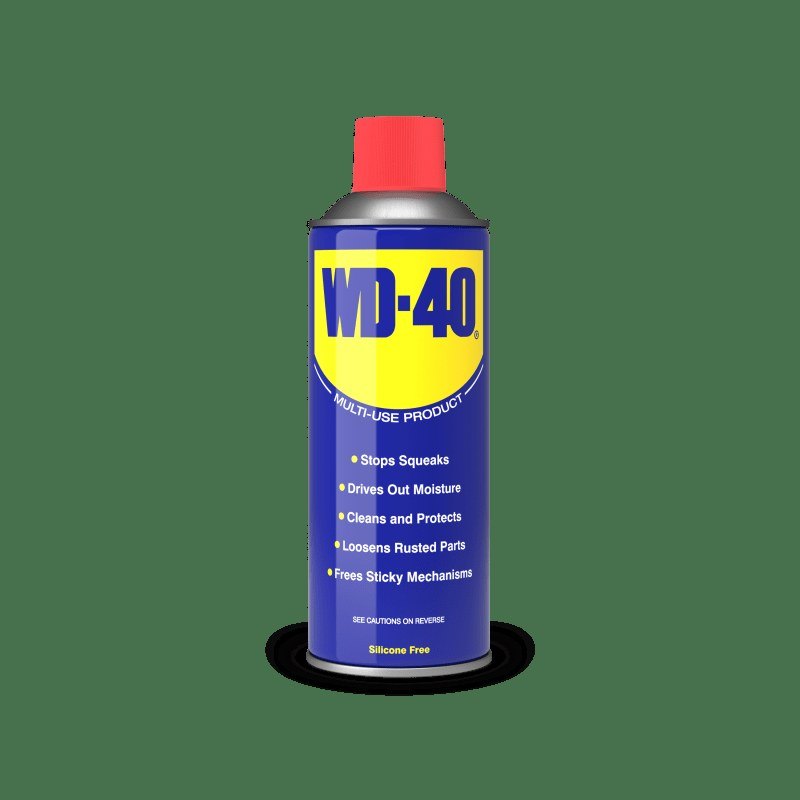
Wipe each tool completely dry, paying attention to gaps and the spaces between moving parts. Then apply a thin coat of WD-40 Multi-Use to all metal surfaces: it displaces moisture, protects against corrosion and keeps joints moving freely.
Sand any splinters off wooden handles and treat them with wood preservative or wax.
Step 7
Store somewhere dry
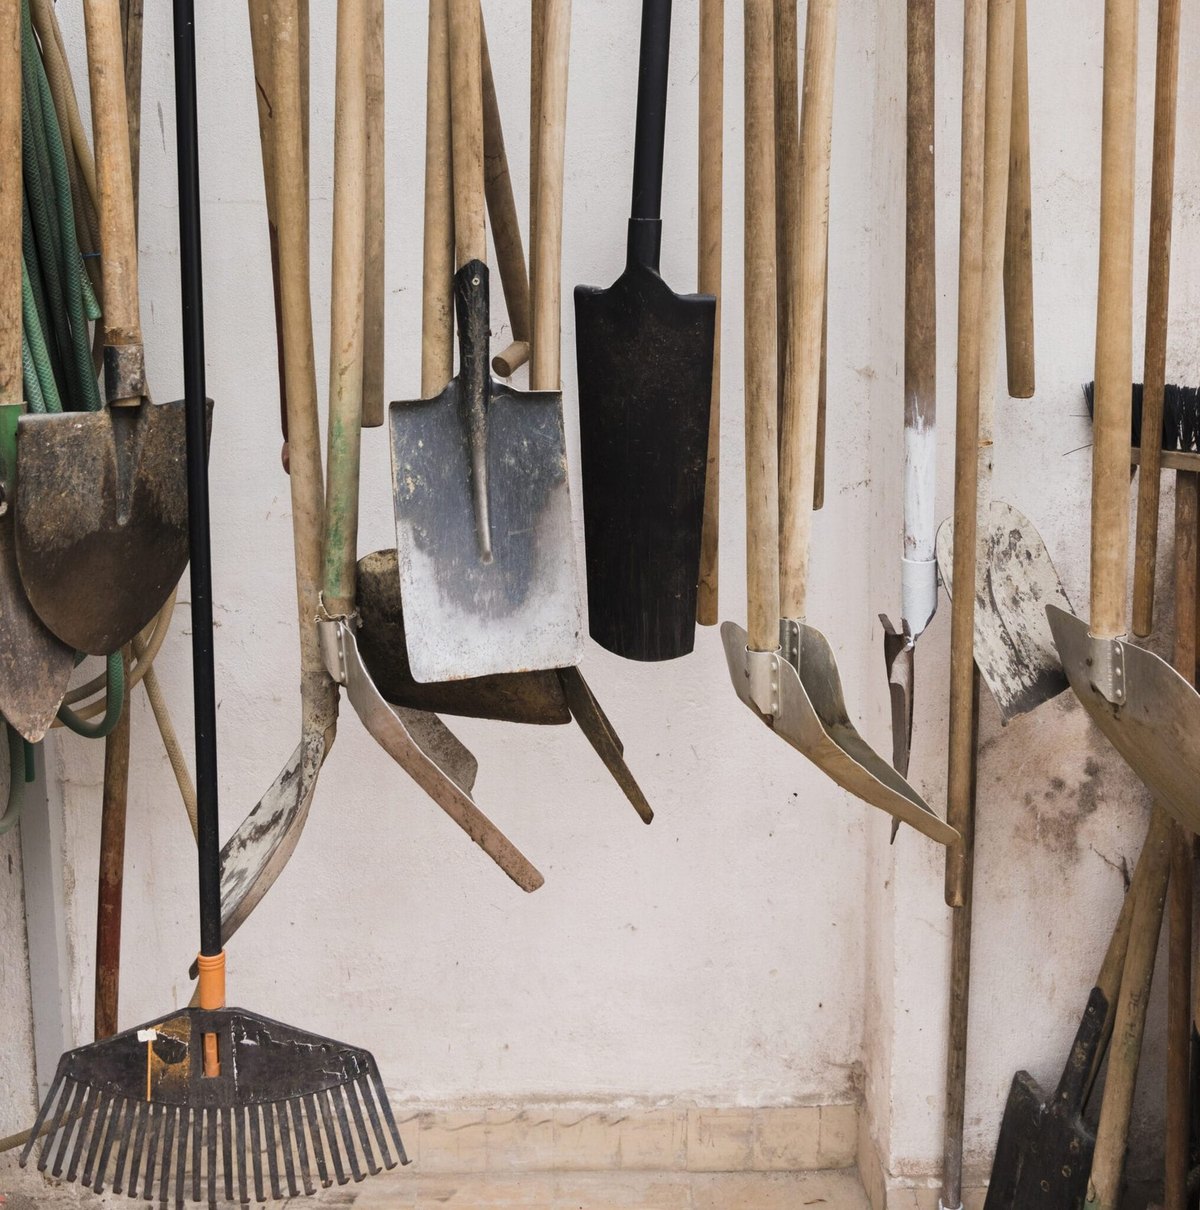
Put small tools in a box and hang larger ones on the wall so blades do not stand on a cold floor. Cover powered equipment with a cloth against dust and bring batteries indoors where it is warm.
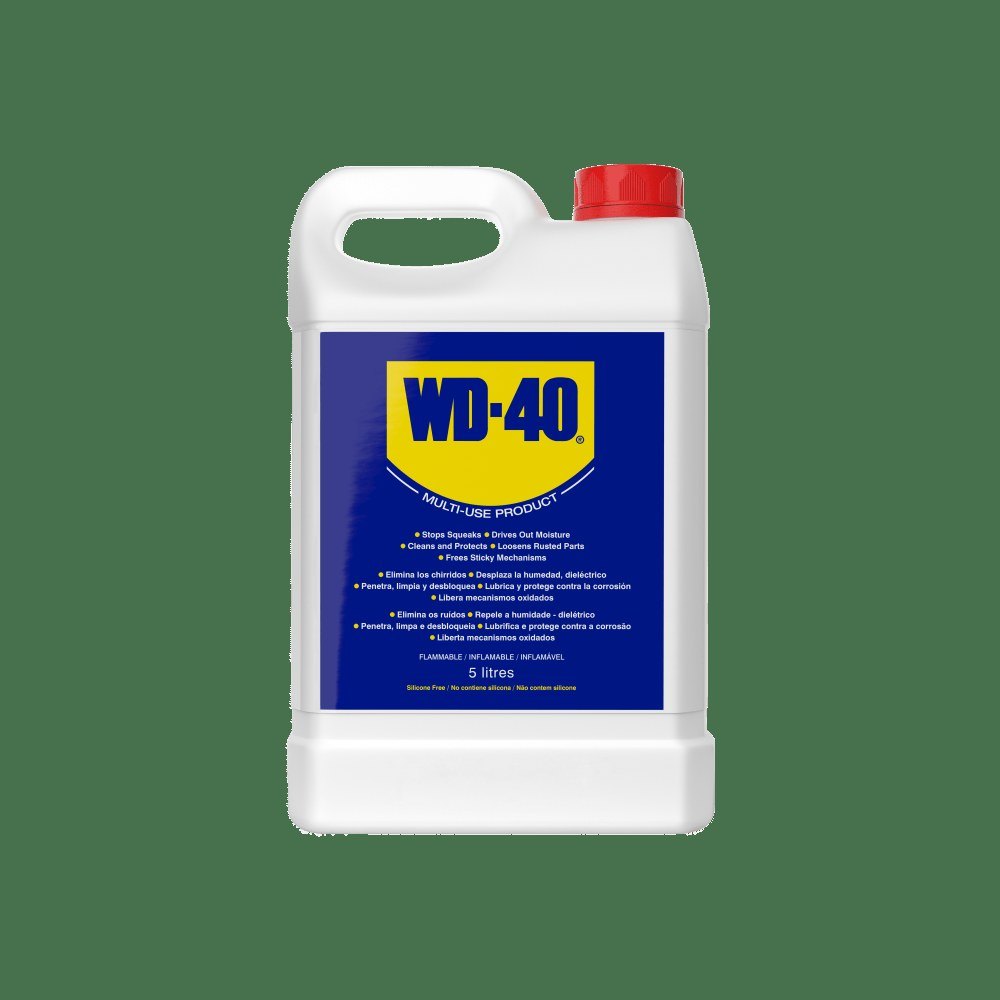
Tip: A bucket of dry sand mixed with a little
WD-40 Multi-Use is ideal for storing spades and hoes: blades pushed into it stay dry and protected all winter.
What next
In spring, simply wipe off any excess product and check the blades are sharp. During the season, give blades a quick spray of WD-40 Multi-Use after working in wet soil.
These uses come from the experience of WD-40 users in many countries. Always follow the instructions and warnings on the product label.
More guides in «How to use».