In summer an air conditioner runs almost non-stop, and in city flats it draws in dust, poplar fluff, cooking fumes and pet hair along with the air. All of this settles on the filters and the thin fins of the heat exchanger. The air gets less cool, a musty smell appears, and the compressor runs longer and uses more electricity.
Basic cleaning of the indoor unit takes 30-40 minutes and can be done at home. Refrigerant repairs, regassing and any work on the outdoor unit at height are a job for a service technician, but the filters, fins and drain are well within an owner's reach.
What you will need
Important: Before any work, switch the unit off with the remote and unplug it or turn off its circuit breaker. Do not spray products onto the control board or fan motor, and wear safety glasses.
Step 1
Disconnect the power
Switch the air conditioner off with the remote and wait for the louvres to close. Then unplug it or switch off its breaker in the consumer unit. Never work on a unit that is connected to the mains, even for a quick wipe.
Set up the stepladder and lay plastic sheeting or an old towel under the unit so drips do not reach the wall or floor.
Step 2
Open the front panel and remove the filters
Fixings vary from model to model, so check the manual first. Usually the front panel lifts up and locks open, and the mesh filters slide out downwards.
Shake off loose dust over a bag, then wash the filters in warm water with a mild detergent and a soft brush. Let them dry fully in the shade, not on a radiator or with a hairdryer.
Step 3
Clean the heat exchanger fins
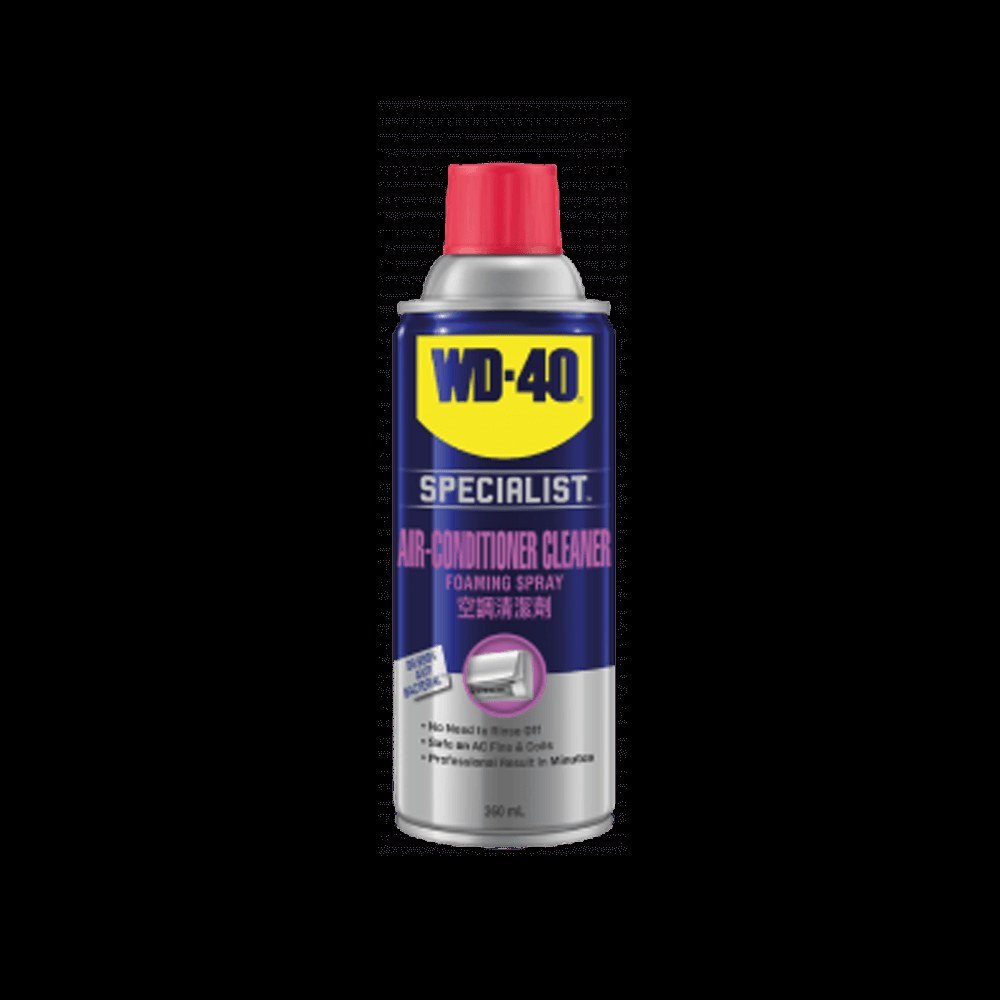
Apply WD-40 Specialist Air-Conditioner Cleaner evenly over the fins, working left to right and top to bottom along the ribs. The foam gets between the thin plates and lifts dirt that a brush cannot reach.
Leave it to work for a few minutes as directed on the label. There is no need to rinse: the loosened dirt drains away with the condensate. Do not scrape the fins with anything hard, as they bend easily.
Step 4
Wipe the casing and check the connections
Wipe the louvres, casing and panel with a damp, well wrung-out microfibre cloth. No water should run inside the unit.
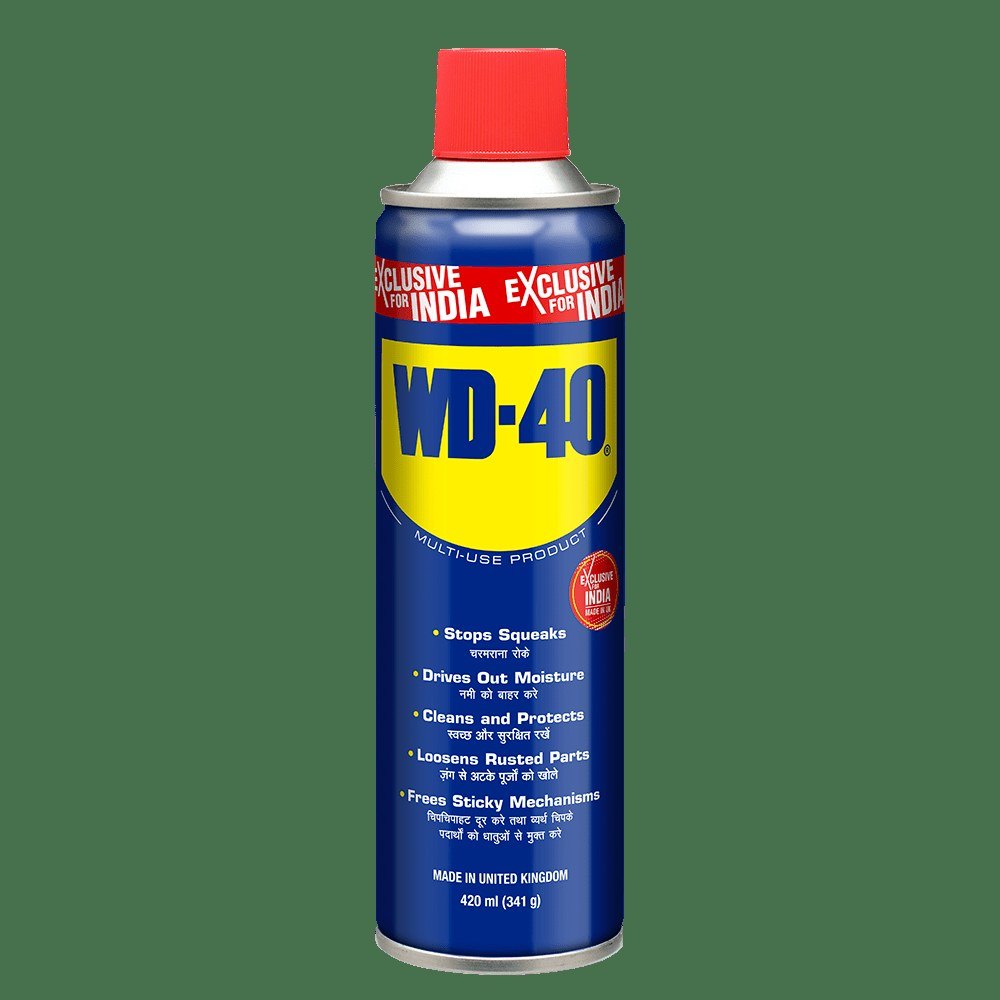
If terminals or connectors you can safely reach without dismantling show dust or moisture, treat them with WD-40 Specialist Contact Cleaner. It evaporates quickly and leaves no residue. Rusty panel screws can be treated with WD-40 Multi-Use so they come undone easily next time.
Step 5
Reassemble and flush the drain
Refit the dry filters and close the panel until it clicks. Restore the power and run the unit in cooling mode for about 15 minutes.
During this time the condensate carries the dissolved dirt out through the drain hose. Check that water flows freely outside and nothing drips into the room.
Tip: In damp weather, after each cooling season run the unit for 20-30 minutes in fan or dry mode. The heat exchanger dries out and mould with an unpleasant smell will not develop inside.
What next
Wash the filters every 2-3 weeks of active use and clean the fins at the start and end of the season. Every 1-2 years have a technician check the refrigerant and clean the outdoor unit. Keep WD-40 Multi-Use to hand for rusty fixings and balcony hinges.
These uses come from the experience of WD-40 users in many countries. Always follow the instructions and warnings on the product label.
More guides in «How to use».