A portable air conditioner draws in warm room air, cools it and returns it, while the heat is vented outside through a flexible hose in the window. Inside are a compressor, fan and heat exchanger, and condensate collects in a tray that needs emptying from time to time. Many models can also heat.
Because these units are often wheeled between rooms and the kitchen, they quickly collect dust, greasy film and dirt on the wheels. Regular cleaning takes about 30 minutes and brings back quiet running and proper cooling.
What you will need
Important: Before cleaning, switch the unit off, unplug it and drain the condensate tray. Do not let water get inside the casing.
Step 1
Clean the casing and control panel
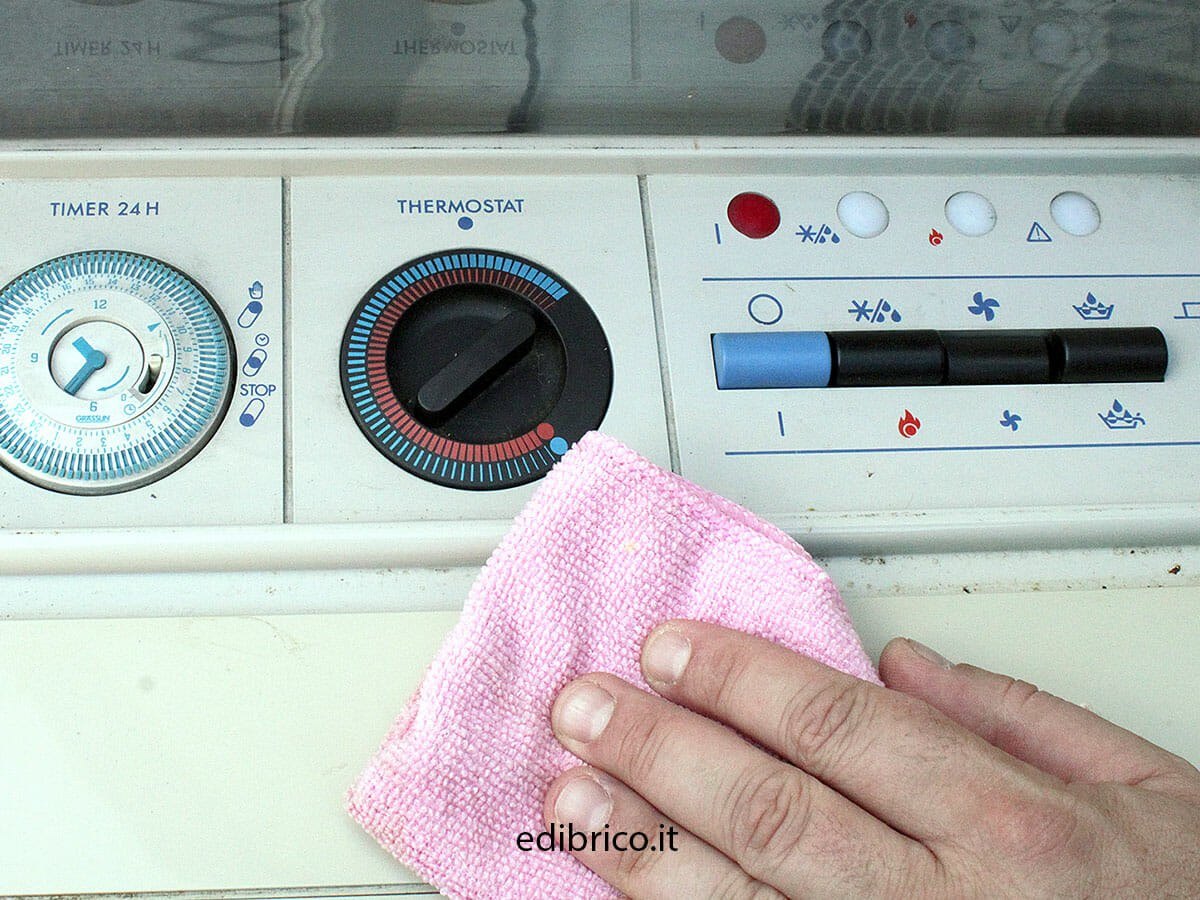
Dust is not the only thing that settles on the casing: a greasy film builds up too, especially in a kitchen. Dampen a microfibre cloth in warm water with a drop of washing-up liquid and wring it out well.
Wipe the casing, grilles and buttons. The cloth should be barely damp, because liquid running inside can damage the electronics. Finish with a dry cloth.
Step 2
Clean the air filter
The filter usually sits behind a cover on the back or side panel. Clean it about every two weeks and replace a worn or torn filter with the correct one for your model.
Vacuum the filter, or if it is very dirty, wash it in warm soapy water, rinse and let it dry completely before refitting. You can also treat it with a household disinfectant after washing.
Step 3
Clean and lubricate the wheels
Remove any hair and threads wound round the wheels, wipe them with a damp soapy cloth and let them dry.
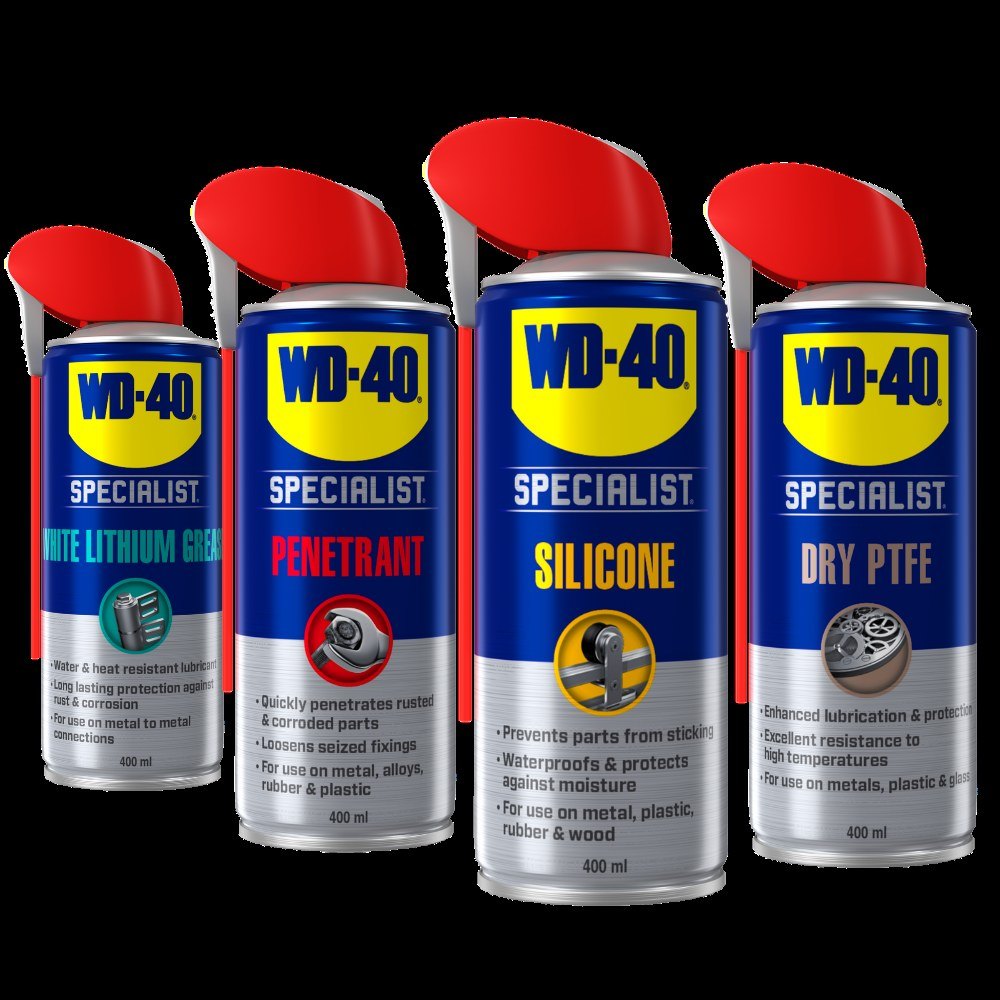
Apply a little WD-40 Specialist Silicone to the wheel axles and spin each wheel a few times. Wipe off any excess straight away so no slippery marks are left on the floor. The wheels will roll quietly and easily.
Step 4
Service the internal parts
If the unit has become noisy or cools less well, or after a few years of use, it is worth looking inside. Photograph each stage of dismantling and keep screws in separate containers so you can reassemble everything in reverse order.
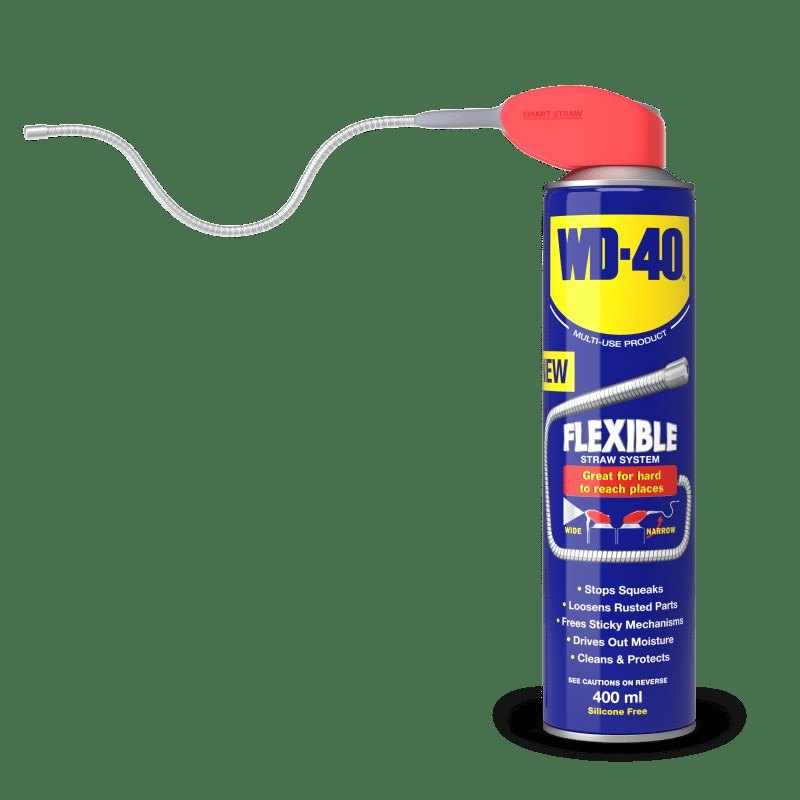
Brush dust off the fan blades with a dry brush first, then vacuum the interior thoroughly. Treat metal parts with rust spots with WD-40 Multi-Use and wipe off the excess. If the unit is under warranty, leave dismantling to a service centre.
Step 5
Treat connectors and contacts
Connectors, terminals and plugs inside the unit collect dust and condensation. Spray them with WD-40 Specialist Contact Cleaner: it dissolves dirt, grease and moisture, evaporates quickly, leaves no residue and is safe on metals and most plastics.
Allow a few minutes to dry, reassemble the casing, refit the filter and switch the unit on to check it.
Tip: Before storing it for winter, run the unit in fan mode for an hour to dry the heat exchanger, drain all the condensate and put a cover over it. Indoor humidity is high in autumn, and a unit stored damp will greet you with a mouldy smell in spring.
What next
Clean the filter every two weeks in season, the wheels and casing once a month, and the internal parts once a year or at the first sign of trouble. WD-40 Multi-Use is handy for rusty window kit fixings and other small metal parts around the home.
These uses come from the experience of WD-40 users in many countries. Always follow the instructions and warnings on the product label.
More guides in «How to use».