Hard starting, hesitation when you open the throttle, uneven revs and lost power often point to an injection problem. Poor fuel and long winter lay-ups leave deposits on the injector filter and nozzle, so the spray pattern becomes uneven and the mixture in the cylinder runs lean.
Sometimes a fuel additive is enough, but it is more reliable to remove the injectors, test them and clean them by hand. An experienced owner with basic tools and a multimeter can do it. If in doubt, leave the job to a workshop.
What you will need
Important: Work on a cold engine in a ventilated area with no flames or sparks. Before dismantling, relieve fuel system pressure as described in your motorcycle manual and disconnect the battery. Only energise an injector in short pulses to avoid overheating the coil.
Step 1
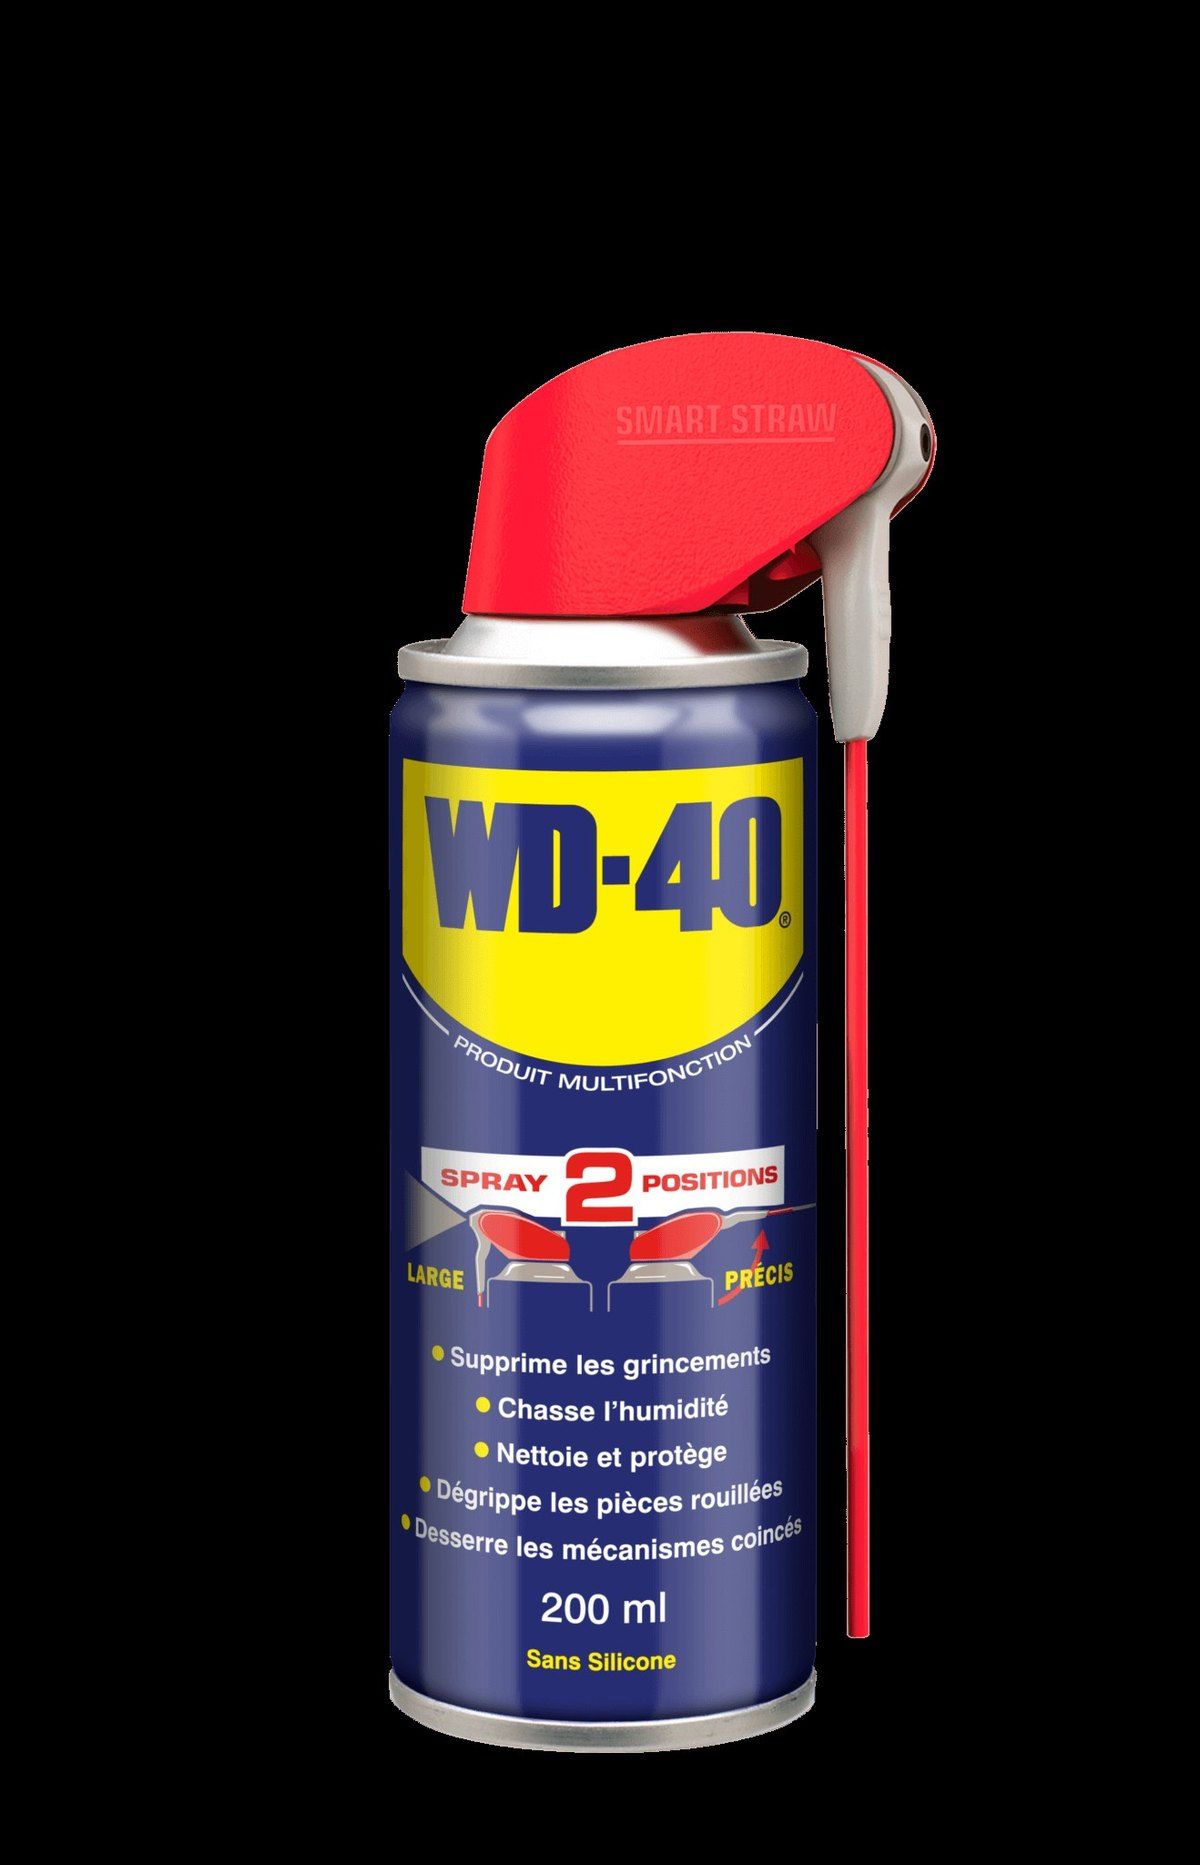
Try an additive first
The simplest method, with no dismantling, is to add an injector cleaning additive to the tank when you fill up. It works as prevention but does not tell you the real condition of the injectors. If the symptoms persist after a tank or two, move on to removing them.
Step 2
Remove the injectors
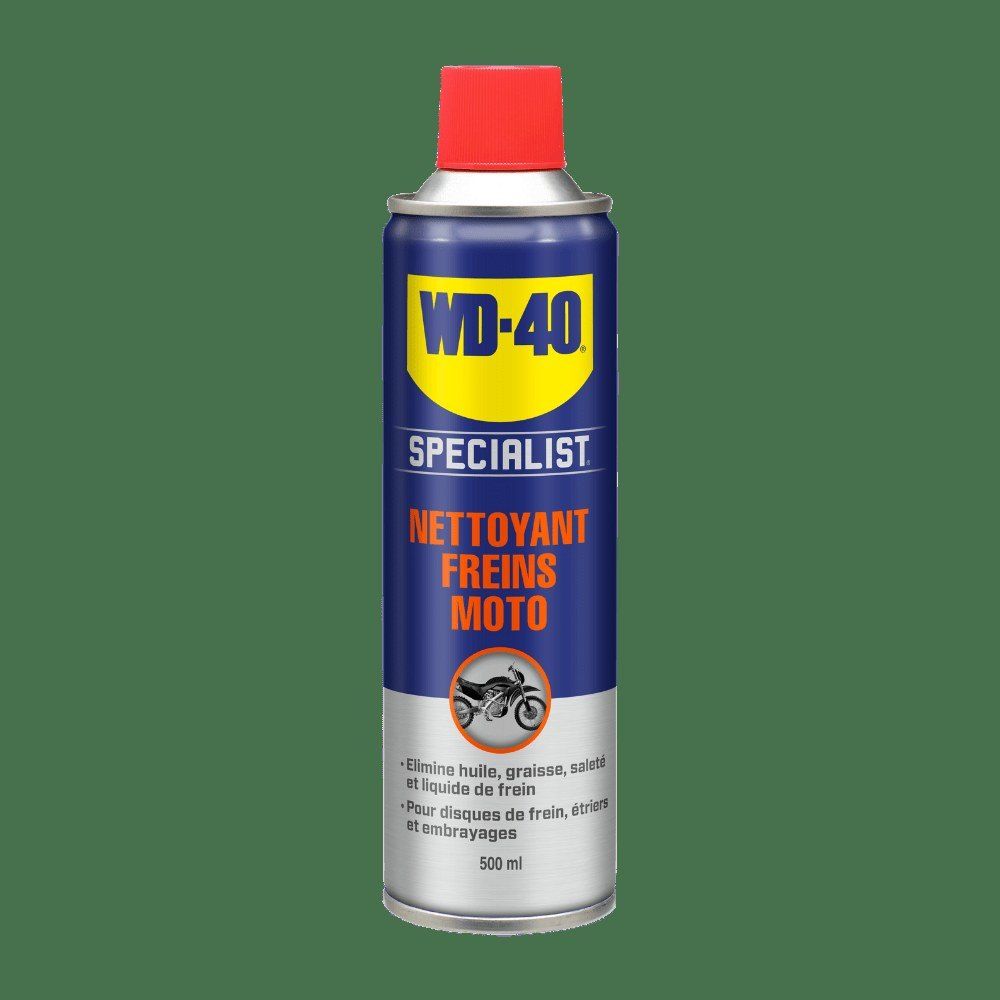
Disconnect the battery and gain access to the fuel rail. Disconnect the fuel line and the injector connectors. If the rail bolts are seized, apply WD-40 Specialist Penetrant and wait a few minutes. Remove the rail with the injectors, then take the injectors out. Number them so each goes back in its own place.
Step 3
Test the injectors
Measure the coil resistance of each injector with a multimeter, placing the probes on the terminals. Compare the reading with your motorcycle manufacturer's figure: if it differs significantly, the injector needs replacing and cleaning will not help.
The spray pattern is best checked on a test bench that feeds fuel under pressure and triggers the injector. A streaky or jet-like spray instead of a fine mist indicates fouling.
Step 4
Clean the injectors
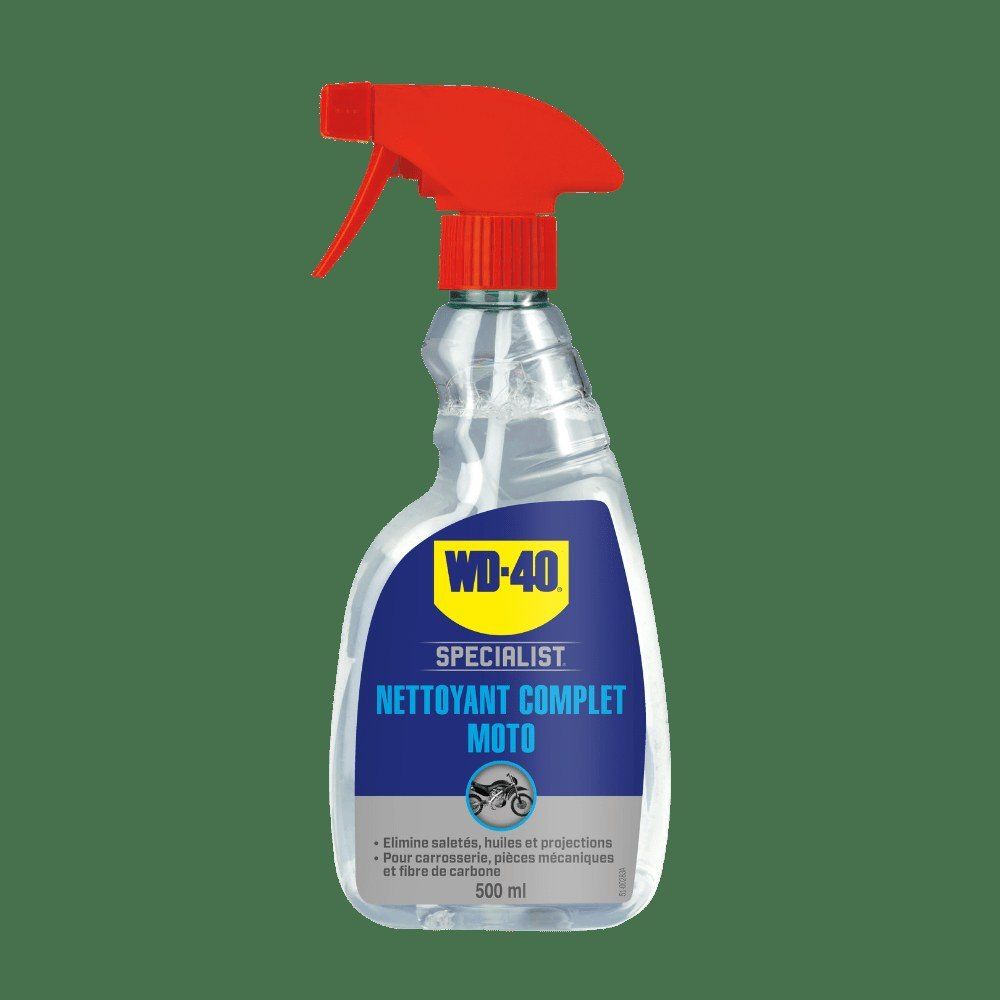
With an ultrasonic test bench, simply run the cleaning programme. Without one, you can flush each injector by hand. Connect one injector terminal to a 12 V battery and the other through a push button, so the circuit only closes when you press it. Hold the injector over an empty bottle.
Fit a syringe or tube tightly to the injector inlet and insert the straw of WD-40 Smart Straw at the other end. The joint must be airtight to build pressure. Spray the product and open the injector with short presses of the button until the outlet spray is even and clean. Clean the connector terminals with WD-40 Specialist Contact Cleaner.
Step 5
Retest and refit
Test the injectors again as in step 3. If the spray is still uneven, replace the faulty injector. Before reassembly, always fit new O-rings and filter baskets at the inlet of each injector. Refit the injectors in their places, reconnect the rail, connectors and battery, switch the ignition on for a few seconds so the pump builds pressure, and check for leaks before starting the engine.
Tip: Before winter storage, fill up with fresh fuel and ride a few kilometres. Deposits form fastest from old petrol left standing in the system for months.
What next
Clean the injectors by hand when symptoms appear, and use an additive as prevention a few times a season. Once a year, treat connectors under the seat and near the engine, where moisture gets in, with WD-40 Specialist Contact Cleaner, and metal fixings with WD-40 Smart Straw.
These uses come from the experience of WD-40 users in many countries. Always follow the instructions and warnings on the product label.
More guides in «How to use».