Most riders clean and lube the chain regularly but forget the sprockets. Yet the large rear sprocket builds up a layer of dirt, grit and old lube that acts like sandpaper and speeds up wear of the whole drive.
A full clean with the sprocket removed is worth doing once a season, for example during spring preparation. It is also the moment to check the teeth and decide whether the chain kit needs replacing.
What you will need
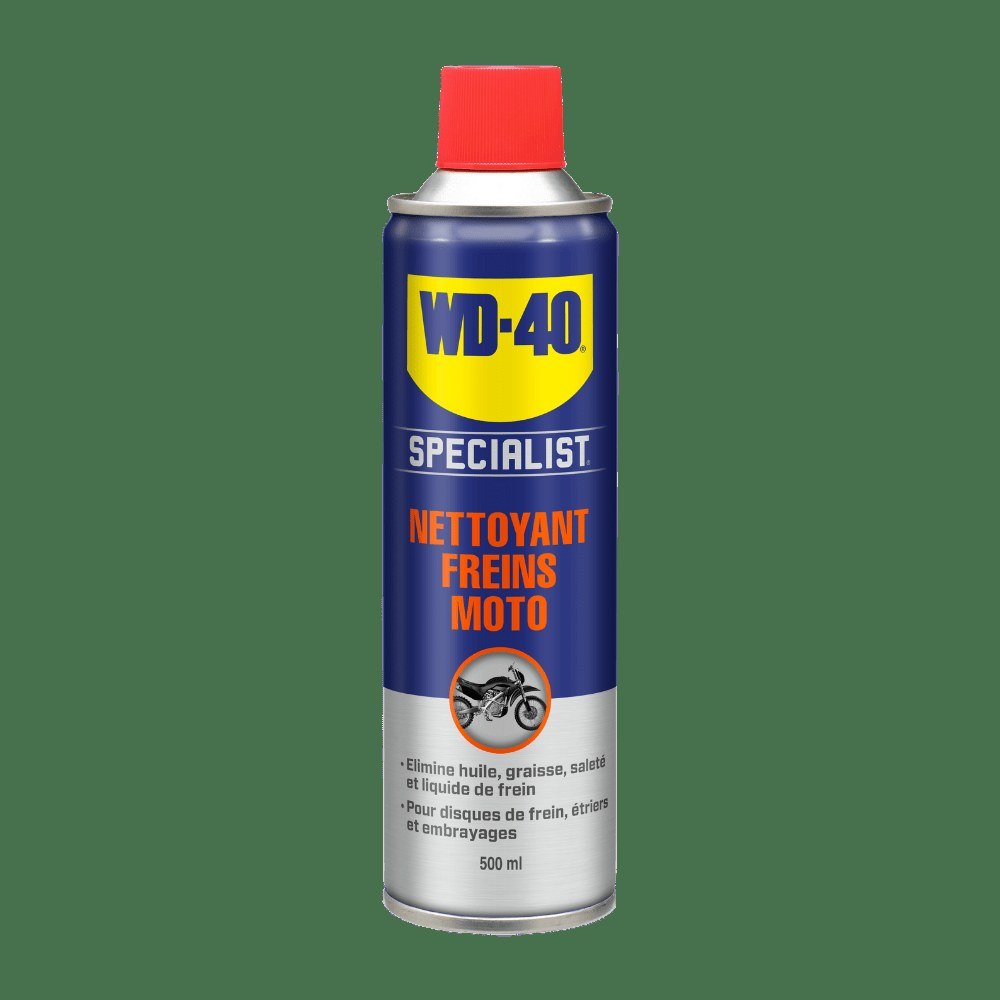
Important: Work only with the engine off, and never turn the wheel by hand near the sprockets with the engine running. Keep cleaner and lubricant off the brake disc, pads and tyre; with the wheel out, put a cloth or cardboard under the disc.
Step 1
Prepare the motorcycle
Park on firm, level ground in a garage or outside and lift the rear wheel on a paddock stand. Wear gloves: sprocket teeth are sharp and the grime on them is abrasive.
Step 2
Remove the rear wheel
Undo the axle nut; if it is seized, apply WD-40 Specialist Penetrant and wait 5-10 minutes. Remove the nut, washer and adjuster, slide out the axle and free the rear brake caliper.
Push the wheel forward, lift the chain off the sprocket and roll the wheel out. Note the order of the axle spacers.
Step 3
Take off the sprocket
Lay the wheel on a bench sprocket side up, with cardboard under the brake disc. Depending on the design, the sprocket lifts out with its cush drive carrier or unbolts from its studs.
Sprocket nuts are very tight, so treat them with penetrant first if needed. Check whether threadlocker has been used.
Step 4
Clean the sprocket
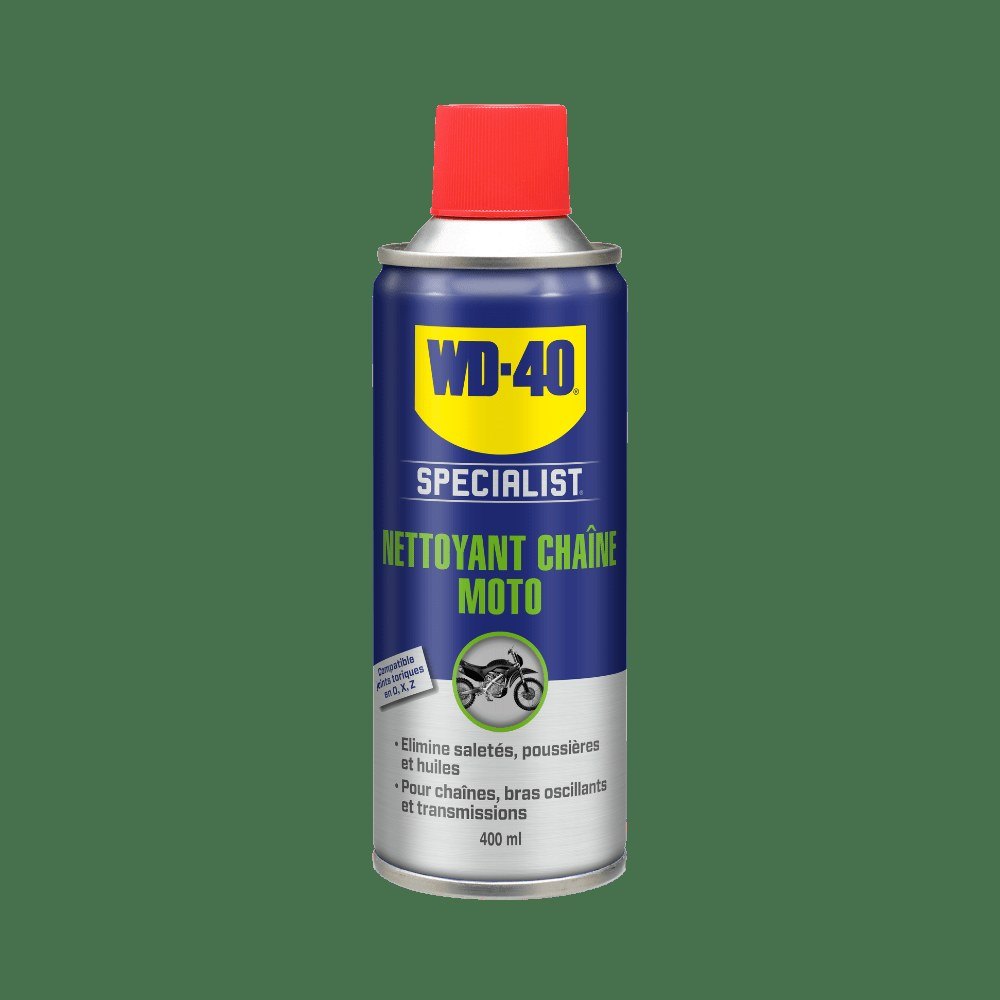
Place the sprocket in the tub and spray both faces and the teeth generously with WD-40 Multi-Use. Leave it a few minutes to dissolve old lube and dirt, then scrub between the teeth with the brush.
Repeat if it is very dirty, then wipe dry with a clean cloth. Clean the carrier and as much of the front sprocket as you can reach in the same way.
Step 5
Check for wear
Clean teeth should be symmetrical. If they are hooked, pointed or lopsided, the sprocket needs replacing, ideally as a kit with the chain and front sprocket: an old chain quickly wears out a new sprocket.
Step 6
Reassemble and lubricate
Refit the sprocket and tighten the nuts in a cross pattern with a torque wrench to the figure in the owner's manual. Refit the wheel, loop the chain on, insert the axle (tap it home with a rubber mallet if needed) and replace the spacers and caliper.
Adjust chain slack to the manual, tighten the axle and lube the inside of the chain with WD-40 Specialist Motorcycle Chain Lube. Check the brake before riding.
Tip: Lube the chain after a ride while it is still warm: the lube penetrates the gaps between the O-rings better and has time to set overnight, so less of it flings onto the wheel.
What next
Clean the chain and sprockets every 500-800 km, after rain and after every ride on salted roads, and remove the sprocket for a deep clean once a season. For a quick clean between lubes, use WD-40 Multi-Use on a cloth.
These uses come from the experience of WD-40 users in many countries. Always follow the instructions and warnings on the product label.
More guides in «How to use».