A thread lets two parts hold together firmly and still come apart when needed. Cutting one in a garage or workshop is not difficult, but it demands precision: a tap started at an angle or a dry cut quickly ruins both the part and the tool.
Metric threads are the most common: the letter M followed by the diameter in millimetres (M6 means 6 mm). Imperial threads turn up on older or imported equipment. Internal threads are cut with taps, external threads on a rod with a die.
What you will need
- WD-40 Specialist Cutting Oil for drilling and threading
- WD-40 Multi-Use for cleaning and protection
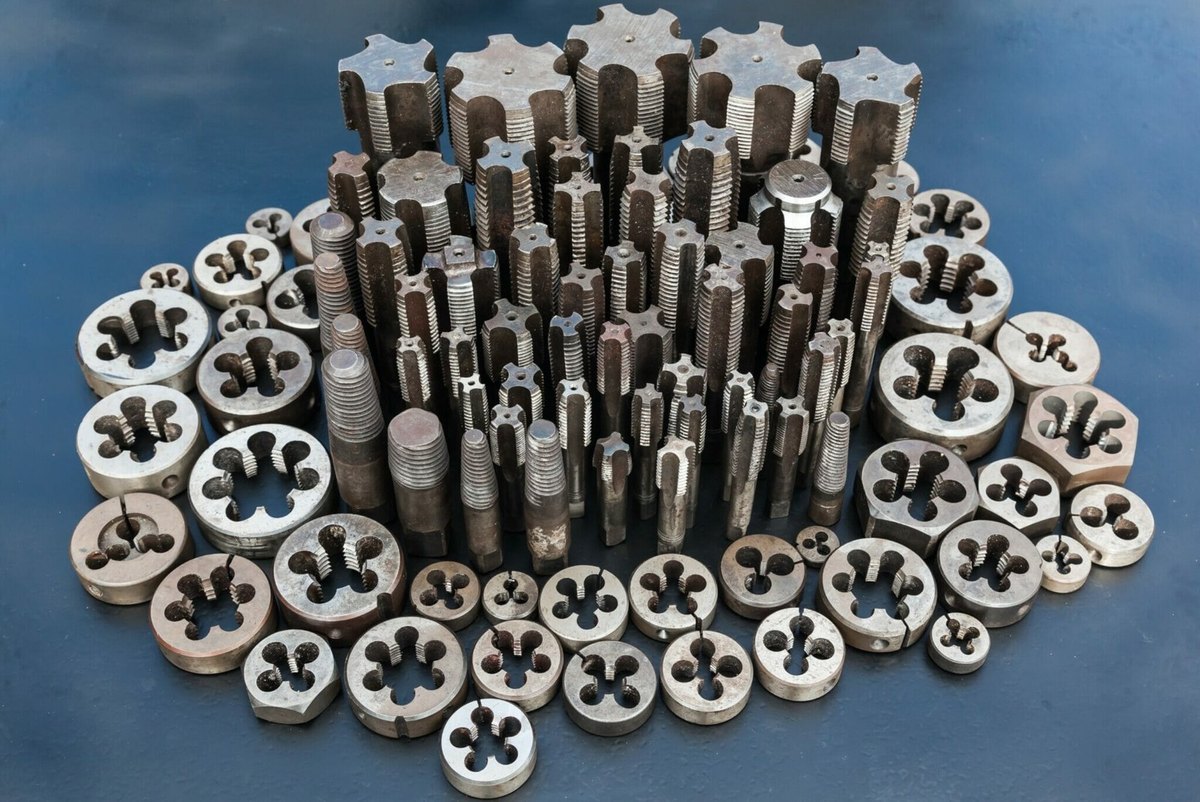
- tap and die set, tap wrench and die stock
- pillar drill or drill, metal drill bits, centre drill
- vice, centre punch, hammer, scribing block or callipers
- file, brass wire brush, thread pitch gauge
Important: Wear safety glasses: swarf is sharp and can fly off. Always clamp the workpiece firmly in a vice and never hold it by hand while drilling.
Step 1
Mark out and centre punch
Transfer the dimensions from the drawing to the part with a scribing block on a flat surface plate or with callipers. Where the lines cross, tap a centre punch with a hammer. Without this dimple the drill bit will skate and the hole will wander.
Step 2
Centre drill and drill the tapping hole
Clamp the part in the drill vice. Start with a short centre hole at low speed, then drill the main hole. For metric threads the tapping drill is roughly the diameter minus the pitch: 5 mm for M6, 6.8 mm for M8, 8.5 mm for M10.
Apply a few drops of WD-40 Specialist Cutting Oil while drilling so the bit runs cooler and stays sharp longer. On a pillar drill the speed is changed by moving the belt between the pulleys.
Step 3
Cut the internal thread with taps
A set usually has three taps of the same size marked with one, two and three rings: taper, intermediate and plug (finishing). Start the taper tap with the tap wrench, keeping it perfectly upright. After every two turns forward, back off half a turn to break the chip.
Lubricate generously but precisely: a few drops of oil in the hole are enough. Then follow with the intermediate and finishing taps.
Step 4
Cut the external thread with a die
File a chamfer on the end of the rod so the die starts easily. The rod should match the nominal thread diameter or be 0.1-0.2 mm smaller. Fit the die in the die stock, set it square and turn slowly with the same half turn back, keeping the cut lubricated.
Step 5
Repair or copy an existing thread
A damaged thread is restored with a thread repair file or chaser. To match an existing thread, find the pitch with a pitch gauge: try the blades one by one until one sits snugly and read the number stamped on it. For a small hole, find a bolt that screws in without play and measure that.
Before measuring, clean dirt and old grease from the thread with WD-40 Multi-Use and a brass brush so the reading is accurate.
Step 6
Clean and protect the finished thread
Remove swarf with a brass brush, blow out the hole and apply a thin film of WD-40 Multi-Use. It displaces moisture and protects fresh metal from rust, which matters in an unheated garage or outdoors.
Tip: If the tap suddenly gets tight, do not force the wrench: a tap broken in a blind hole is very hard to remove. Back it out, clear the chips, add oil and carry on. For old seized threaded joints,
WD-40 Specialist Penetrant helps before you dismantle them.
What next
After the job, wipe the taps and dies, treat them with WD-40 Multi-Use and keep them in a dry case. The set will stay rust free and last for years.
These uses come from the experience of WD-40 users in many countries. Always follow the instructions and warnings on the product label.
More guides in «How to use».