Aluminium is light, ductile and resists corrosion thanks to a thin oxide layer that forms instantly in air. We meet it every day in window and door profiles, radiators, housings, tubing and cladding sheet.
Because it is soft, aluminium is easy to drill, but it has its traps: the bit wanders off the mark, metal builds up on the cutting edges, and long stringy swarf clogs the flutes and tears the edge of the hole. The right tool, speed and lubrication solve these problems.
What you will need
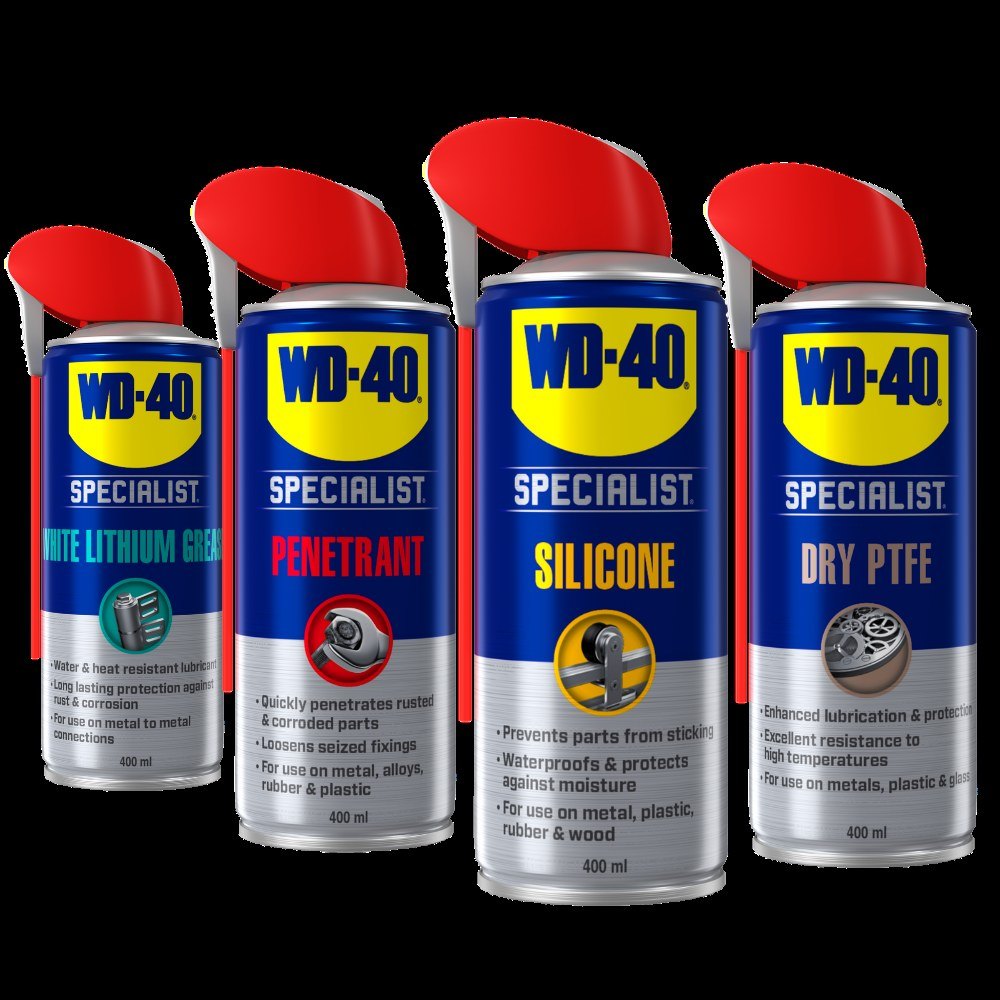
- WD-40 Specialist Cutting Oil
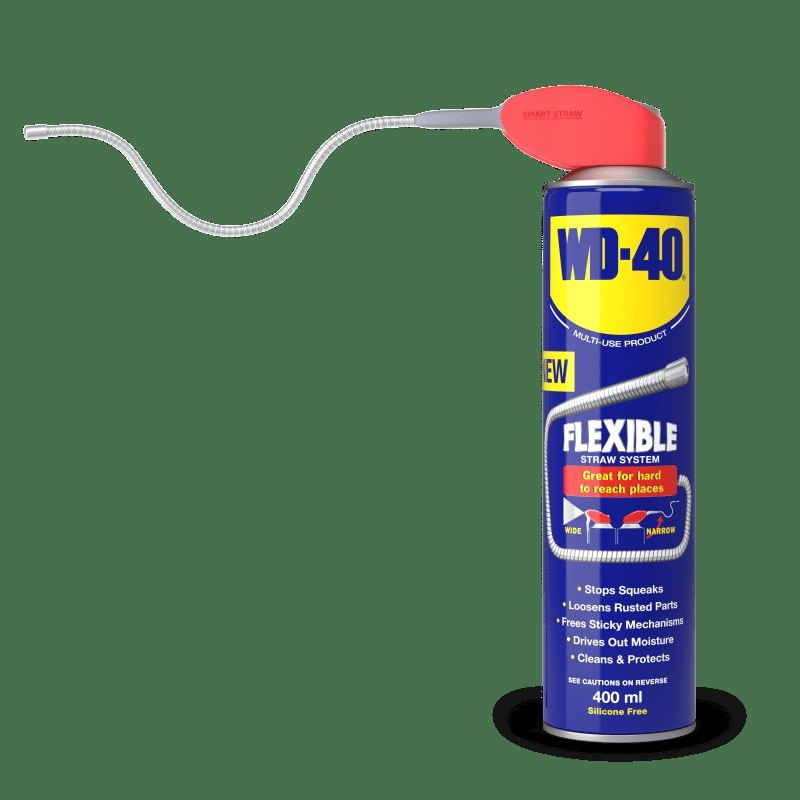
- WD-40 Multi-Use for cleaning bits and chuck
- drill, drill driver or pillar drill
- HSS metal drill bits (DIN 338), ideally for aluminium and light alloys
- centre punch and hammer
- vice or clamps, safety glasses
Important: Always clamp the work in a vice or with clamps: the bit can grab thin sheet and spin it. Wear safety glasses and never handle swarf with bare hands.
Step 1
Choose the tool
For most jobs a drill or drill driver with metal bits is enough. For high accuracy, or material thicker than 3-4 mm, use a pillar drill or a drill stand, which keeps the bit exactly perpendicular.
Step 2
Pick the right bits
HSS bits to DIN 338 designed for aluminium and light alloys work best. They have a steeper helix that clears long swarf easily and a ground cutting edge. Standard steel bits also work but clog more often.
Step 3
Mark and centre punch
Place the centre punch on the mark and tap it lightly with a hammer. The dimple stops the bit wandering and scratching the soft surface. Do not strike hard, as thin aluminium easily dents around the blow.
Step 4
Plan the sequence
In thin material (up to 3 mm) and shallow holes (up to 4-5 mm) you can drill straight to size. Make larger or deeper holes in two stages: a smaller pilot first, then the final diameter. The hole is more accurate, the edges cleaner and the swarf finer.
Step 5
Set the speed
The larger the bit, the lower the speed. As a guide, around 5000 rpm for a 1-2 mm hole and about 900 rpm for 10 mm. On a household drill without speed control, work in short bursts and watch that metal does not build up on the edges.
Step 6
Drill with lubrication
Before you start, put a few drops of WD-40 Specialist Cutting Oil on the drilling point. The oil cuts friction and heat, stops aluminium sticking to the edges and helps the swarf clear. Add a little more while drilling, especially in deep holes.
Do not force the drill: aluminium offers little resistance, so light, even pressure is enough. Withdraw the bit now and then to clear the flutes.
Step 7
Clean the tools
Deburr the hole edges with a countersink or a larger bit. Clean built-up metal and oil from the bits and chuck, treat them with WD-40 Multi-Use and store them dry: they will not rust and will stay sharp for longer.
Tip: If aluminium builds up on the cutting edges, stop: wet the bit with cutting oil and brush the deposit off. Otherwise the hole will be ragged and the bit will overheat.
What next
Keep cutting oil next to the drill and use it on every hole. After work, treat bits, chuck and vice with WD-40 Multi-Use so your tools stay clean and protected from moisture.
These uses come from the experience of WD-40 users in many countries. Always follow the instructions and warnings on the product label.
More guides in «How to use».