In summer a ceiling fan runs almost non-stop, and any squeak or hum soon becomes irritating. The noise usually gets louder as the speed rises. The most common causes are dust and dried-out lubricant in the motor bearings, loose blade screws, or friction at the mounting.
Do not ignore the noise: friction speeds up wear, and one hot day the fan may simply stop. Most problems can be fixed in half an hour without taking the fan down.
What you will need
Important: Always switch the fan off and isolate the circuit at the breaker. Do not spray products onto the motor windings, wiring or light shades: apply precisely through the straw or onto a rag. If the fan is under warranty, read the manufacturer's instructions first.
Step 1
Switch off the power
Turn the fan off at the switch and then at the breaker. Wait until the blades stop completely. Working on a fan that is live, or only switched off at the wall, is dangerous.
Step 2
Find where the noise comes from
Climb the stepladder and turn the blades by hand. Check whether the blades and brackets wobble and tighten the screws. Look at the top of the motor housing: some models have an oil hole. Insert a bent pipe cleaner: if it comes out dry, lubrication is lacking. If there is no hole, the bearings are usually sealed and maintenance-free, so look for the squeak in the mounting or brackets instead.
Step 3
Clean the housing
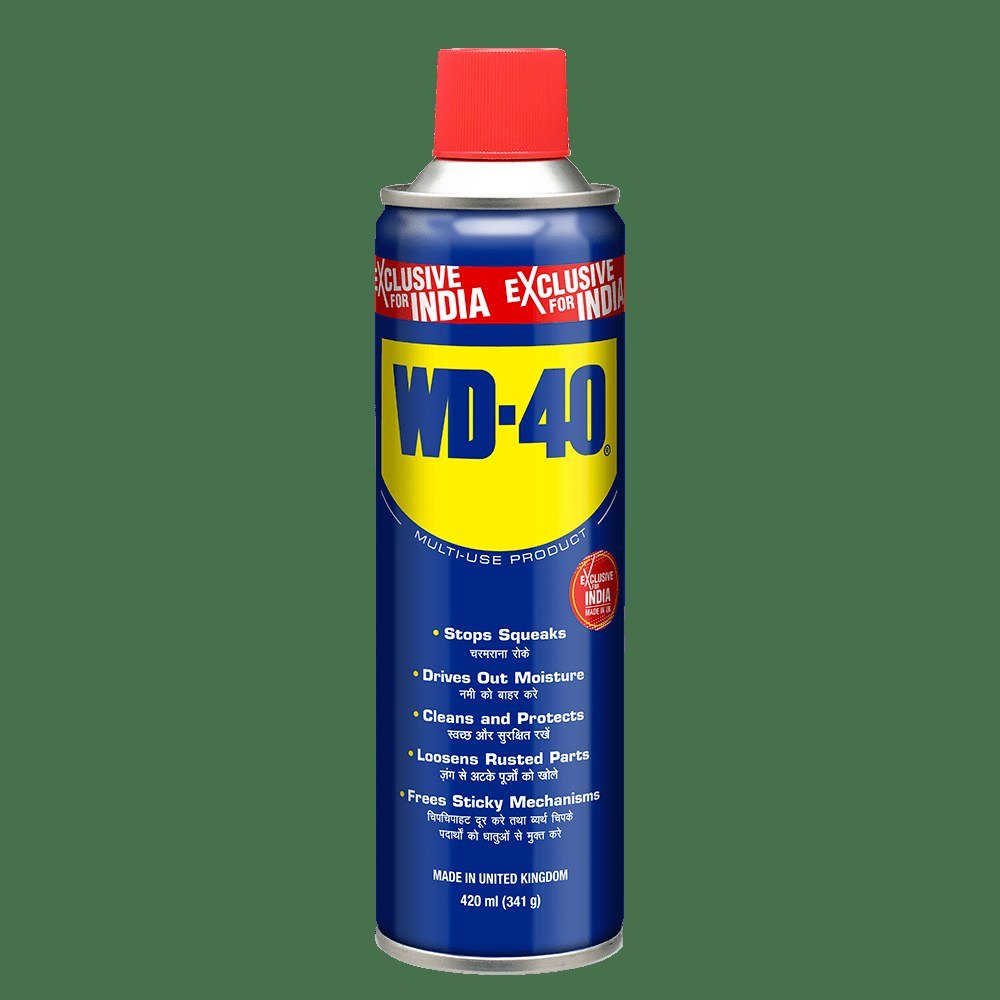
Dust around the hole and on the housing would be carried inside with the lubricant, so remove it first. Put a little WD-40 Multi-Use on a rag, wipe the housing, brackets and the area around the hole, then dry off. It dissolves sticky grime and leaves a protective film on metal against moisture.
Step 4
Lubricate the motor and fittings
Insert the thin straw of WD-40 Smart Straw into the hole and give one or two short bursts: you do not need much inside. It penetrates the bearing, loosens old gummed-up residue and frees the shaft. If the manufacturer provides an oil reservoir, then top it up with dedicated fan oil to the level given in the instructions. Treat any metal joints in the mounting where you can hear friction.
Step 5
Treat the rubber mounting bushes
Squeaks often come from rubber or plastic bushes where the downrod meets the ceiling bracket. Lower the decorative canopy and apply WD-40 Specialist Silicone to them: silicone is safe on rubber and plastic, cuts friction and stops them drying out. Refit the canopy.
Step 6
Wait and test
Give the products a few minutes to work and wipe off any excess. Restore power and run the fan at each speed in turn. If the squeak has gone, the job is done. If not, repeat the lubrication; if the noise remains, the bearing is probably worn and the fan should be taken down and serviced, or call an electrician.
Tip: Do this service in spring before the season: a clean, lubricated fan runs cooler and quieter all summer. In damp rooms and country houses, the thin film of
WD-40 Multi-Use also protects metal parts from rust.
What next
Dust the fan every two weeks and check the fixings and lubricate once a season. To learn how to get dust off the blades, see our guide on cleaning a ceiling fan.
These uses come from the experience of WD-40 users in many countries. Always follow the instructions and warnings on the product label.
More guides in «How to use».