A ceiling fan runs for hours, and a grey ridge of dust quickly builds up along the blade edges. When the fan starts, some of that dust is thrown around the room, and uneven deposits on the blades eventually cause wobble and hum. In a kitchen, grease joins the dust and the film turns sticky.
Regular cleaning takes 15-20 minutes and extends the life of the mechanism. Below are several methods you can combine depending on how dirty the fan is.
What you will need
- a stable stepladder
- a microfibre or soft cloth and a little warm water with washing-up liquid
- a vacuum cleaner with a brush attachment
- a dusting brush and an old sheet or plastic for the floor
- paper towels
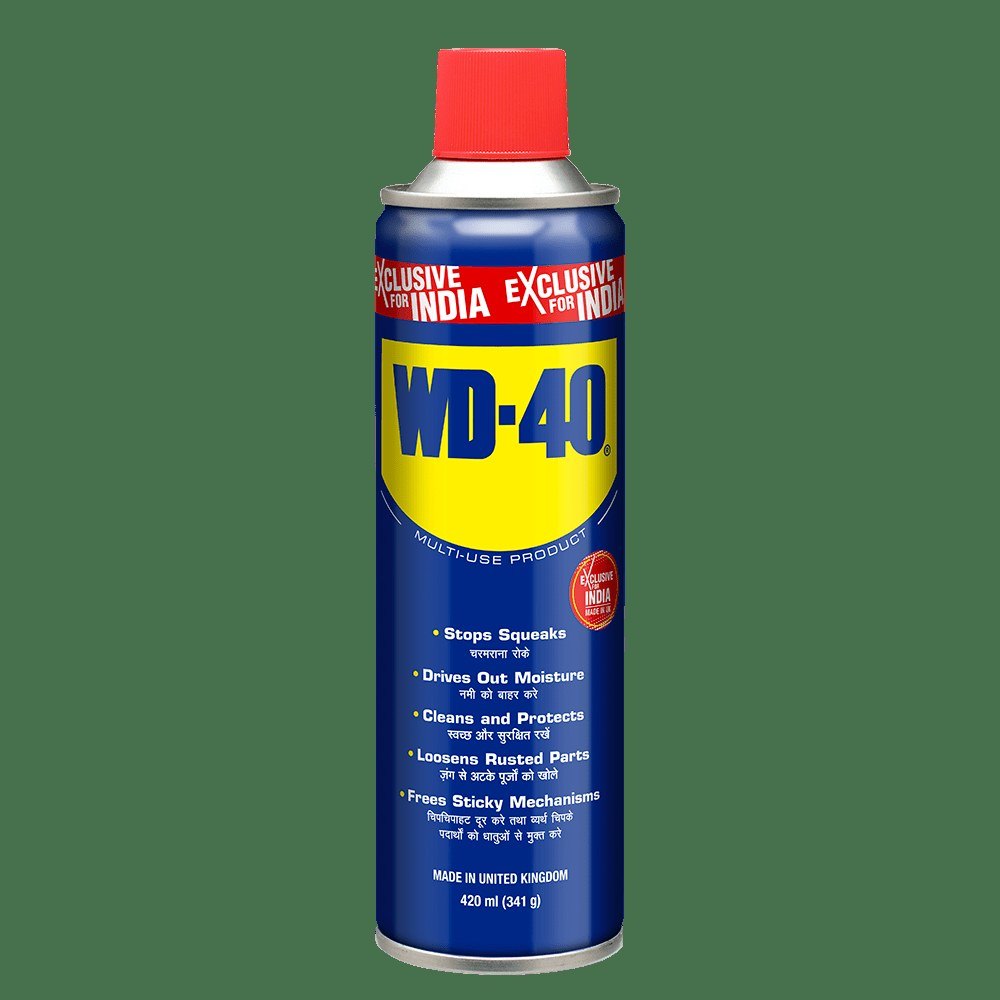
- WD-40 Multi-Use for greasy film on metal parts
Important: Before you start, switch the fan off and isolate it at the circuit breaker. Wait until the blades stop completely. Never spray any product onto the motor, wiring or light shades; apply products to the cloth only.
Step 1
Isolate the fan and prepare the area
Switch the fan off at the wall and at the breaker. Cover the floor and furniture underneath with an old sheet or plastic, because dust will fall. Position the stepladder so you can reach the blades without stretching, and ask someone to hold it.
Step 2
Wipe the blades with a damp cloth
Dip the microfibre in warm water with a drop of washing-up liquid and wring it out well. Wrap the cloth around the blade from both sides and draw it slowly from the centre to the tip: the dust collects in the fabric instead of flying off. Do not press or bend the blades, or you may upset the balance. You can also slide an old pillowcase over each blade and pull the dust off with it.
Step 3
Go over it with a vacuum
If there is a lot of dust, remove the bulk first with a vacuum and soft brush. The long tube often lets you work without a ladder. Do the tops of the blades, the brackets and the motor housing gently, without knocking them.
Step 4
Brush off what remains
Without a vacuum, sweep the dust onto the sheet with a brush. Steady each blade with your hand so the fan does not swing on its mount. This method is messier, so wipe the blades with a damp cloth afterwards.
Step 5
Remove sticky film from metal parts
Greasy kitchen film on the metal housing, brackets and trim rings comes off well with WD-40 Multi-Use. Spray a little onto a paper towel, not onto the fan, wipe the dirt and then dry with a clean cloth. Test on a hidden spot first, especially on painted and plastic surfaces. The thin film left on metal protects it from rust in damp rooms. For tight spots around the mountings, apply it to a cotton bud through the straw of WD-40 Smart Straw.
Step 6
Check it works
Let everything dry, remove the sheet and restore power. Run the fan on a low speed. If it wobbles, check the blade screws are tight. Squeaks or hum from the motor mean the mechanism needs lubricating according to the manufacturer's instructions.
Tip: Wipe the blades every two weeks in season and before the first use in spring: a thin layer of dust takes a minute, while a thick ridge has to be washed off. For small jobs around the home, keep
WD-40 100 ml in a drawer.
What next
A clean fan hums less, spins more smoothly and does not spread dust around the room. If a squeak remains after cleaning, see our guide on lubricating a ceiling fan.
These uses come from the experience of WD-40 users in many countries. Always follow the instructions and warnings on the product label.
More guides in «How to use».