A ball bearing lets a part rotate against a fixed part with minimal friction. It consists of an outer and inner ring, balls between them, a cage that keeps the balls evenly spaced, and shields that keep dust away from the balls. You will find them in scooter, skate and skateboard wheels, fans, electric motors, machine tools and trolleys.
Bearings wear when dust, grit and water get in, or when there is too little lubricant or the wrong kind. The first signs are noise, rough running and extra heat at speed. For skates and scooters, servicing every 5-10 rides is a good guide, especially after wet roads and puddles.
What you will need
Important: Only service bearings on equipment that is switched off, stopped and isolated from the power supply. Do not spin a dry bearing with compressed air, as unlubricated balls are quickly damaged. Wear glasses and work in a ventilated area.
Step 1
Identify the bearing type
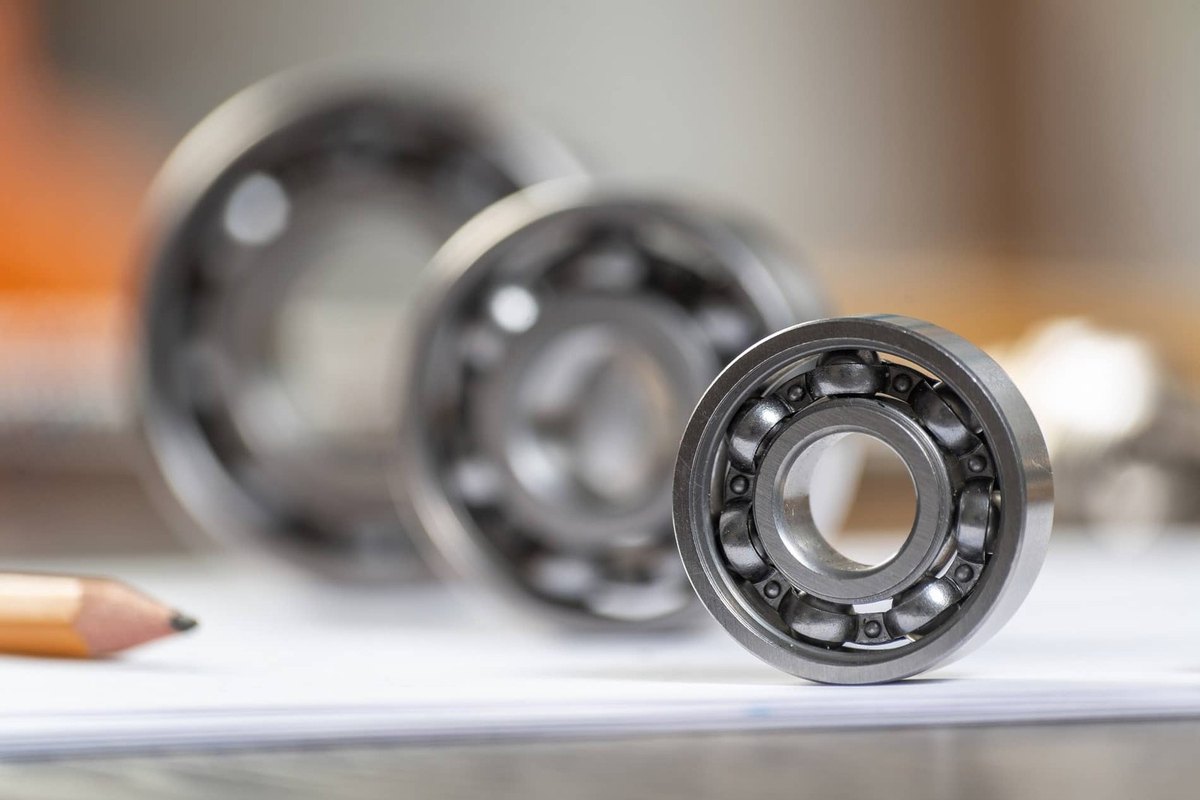
Look at both sides of the bearing. A sealed bearing has metal or rubber shields that hide the balls completely. An open bearing shows the balls and cage and picks up dust faster.
This decides the lubricant: sealed and loaded bearings need a thick grease that stays in place, while open bearings in dusty conditions do better with a dry film.
Step 2
Remove the bearing and shields
Draw the bearing off the axle or out of the housing with a puller. If it is rusted in, treat the seat with WD-40 Specialist Penetrant, wait 10-15 minutes and try again. Never hammer on the outer ring.
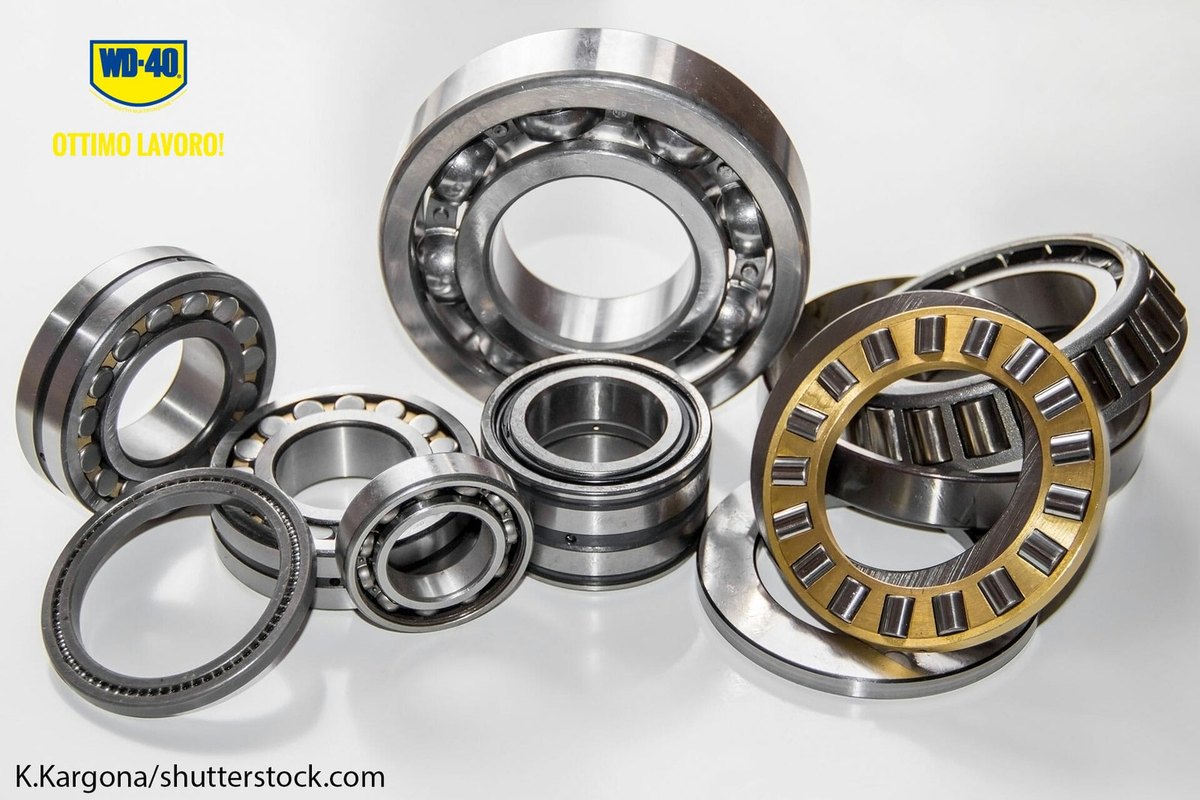
Ease removable shields out by sliding a needle or blade tip under the edge, together with any retaining clip. Take care not to bend them. Do not try to remove shields that are crimped in place.
Step 3
Clean the bearing
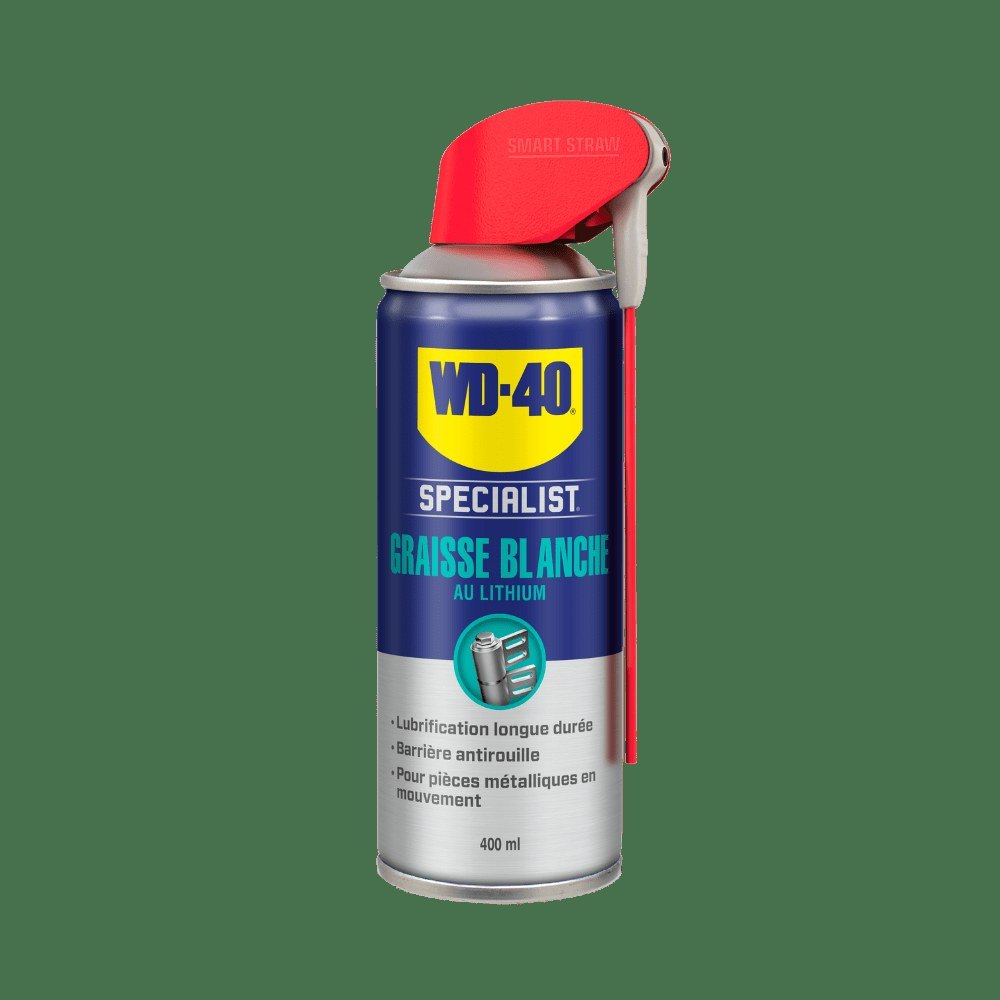
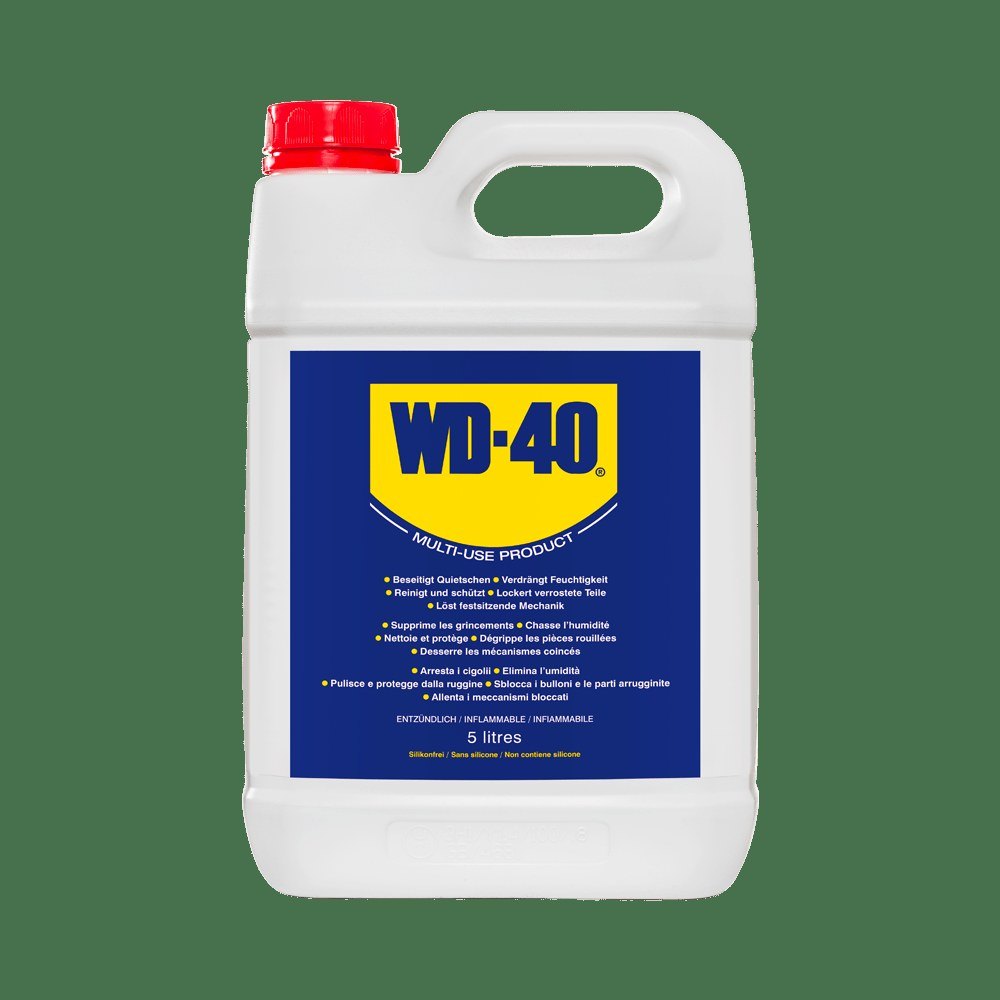
Pour a little WD-40 from the 5 l can into a shallow tray and immerse the bearing with its shields. Leave it for a few minutes to dissolve old lubricant and dirt.
Scrub the balls and cage with a toothbrush while turning the inner ring. Then dry every part thoroughly with paper towel. Only a clean, dry bearing should be lubricated.
Step 4
Grease a sealed or loaded bearing
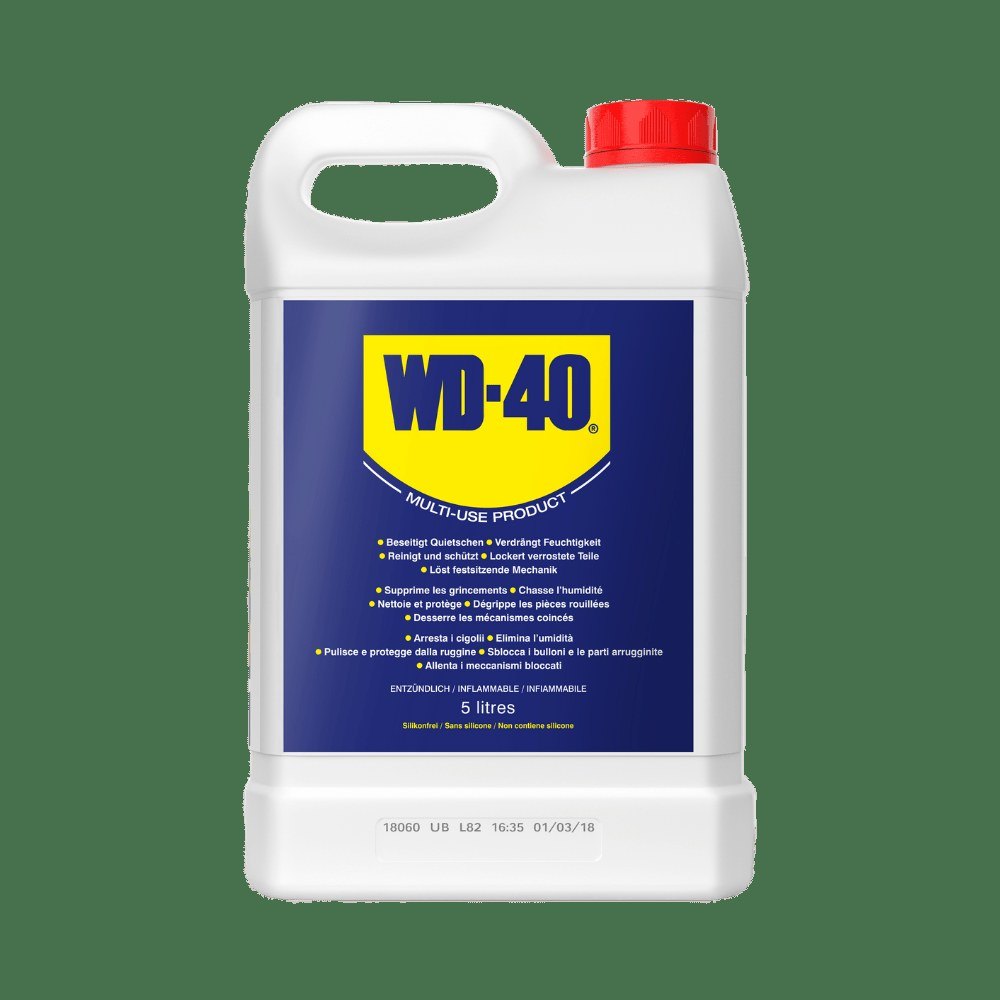
Shake the can of WD-40 Specialist White Lithium Grease and use the straw to apply it directly to the balls and cage, turning the ring so it spreads all the way round.
This grease is thick, does not drip and clings to the surface, protecting against water. It suits wheels, trolleys, gate mechanisms and equipment under load. Refit the shields and retaining clips.
Step 5
Lubricate an open bearing
If a bearing is poorly protected from dust, thick grease soon turns into an abrasive paste. For these use WD-40 Specialist Dry PTFE: once the carrier evaporates it leaves a dry film that dust hardly sticks to.
Spray through the straw straight into the bearing, spin the ring and let the film dry before use.
Step 6
Refit and test
Press the bearing back in evenly without tilting it, pushing on the ring that has the tight fit. Turn the assembly by hand, then test it at working speed.
If the bearing is still noisy, has play or runs hot after servicing, it is worn and should be replaced with a new one of the same size.
Tip: After riding or working in rain, do not put off servicing: moisture left inside a bearing starts rusting the raceways within days. Wipe the assembly and apply fresh lubricant the same day.
What next
The interval depends on load and conditions: service skate and scooter wheels every 5-10 rides, and industrial bearings according to the equipment maker's schedule. Workshops find it handy to keep WD-40 5 l for cleaning and WD-40 Specialist White Lithium Grease for regreasing.
These uses come from the experience of WD-40 users in many countries. Always follow the instructions and warnings on the product label.
More guides in «How to use».