The battery powers the starter and all of the car's electrics, delivering a very high current when you start the engine. Modern batteries are sealed and need no topping up with water, but that does not mean you can forget about them.
A typical battery lasts 3-6 years, and what usually kills it early is corroded terminals, loose clamps and chronic undercharging from short trips. A few simple jobs twice a year will noticeably extend its life.
What you will need
Important: Switch off the ignition and all electrical loads before you start. Remove the negative clamp first and refit the positive first. Wear glasses and gloves: terminal deposits contain acid residue.
Step 1
Inspect and clean the terminals
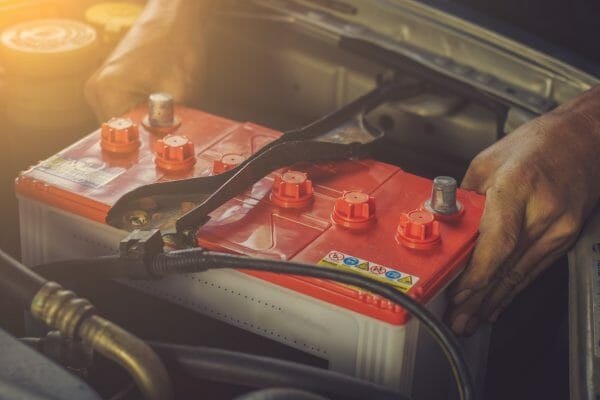
A white powdery deposit, especially on the positive terminal, means corrosion. Loosen and remove the clamps and wipe off the worst of the dirt.
Clean the battery posts with fine sandpaper, then with a brass brush, which will not scratch the metal. Wipe the inside of the clamps, wash with soapy water if needed and dry.
Step 2
Restore the contact
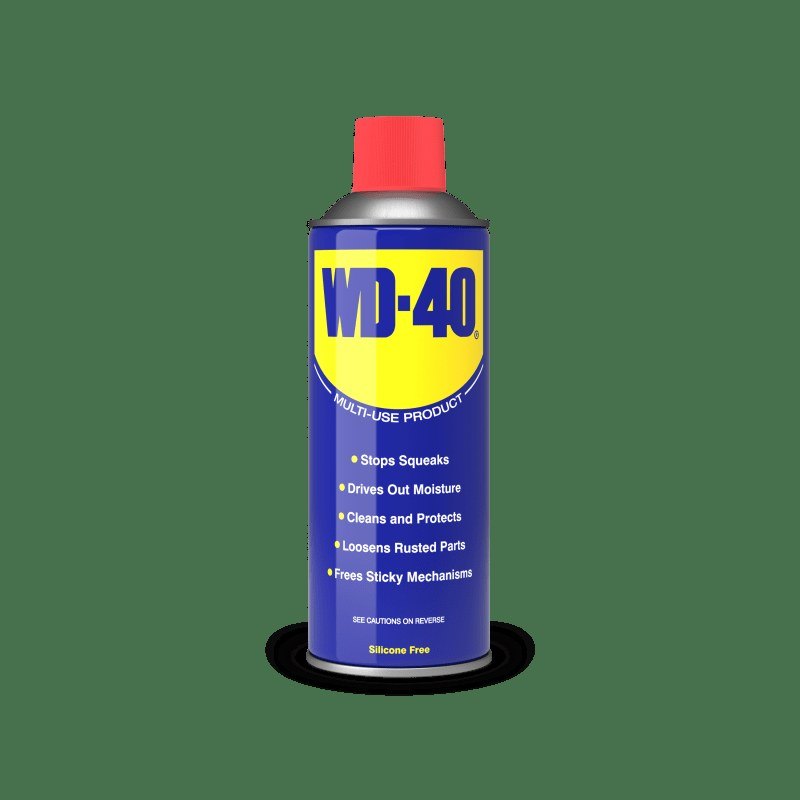
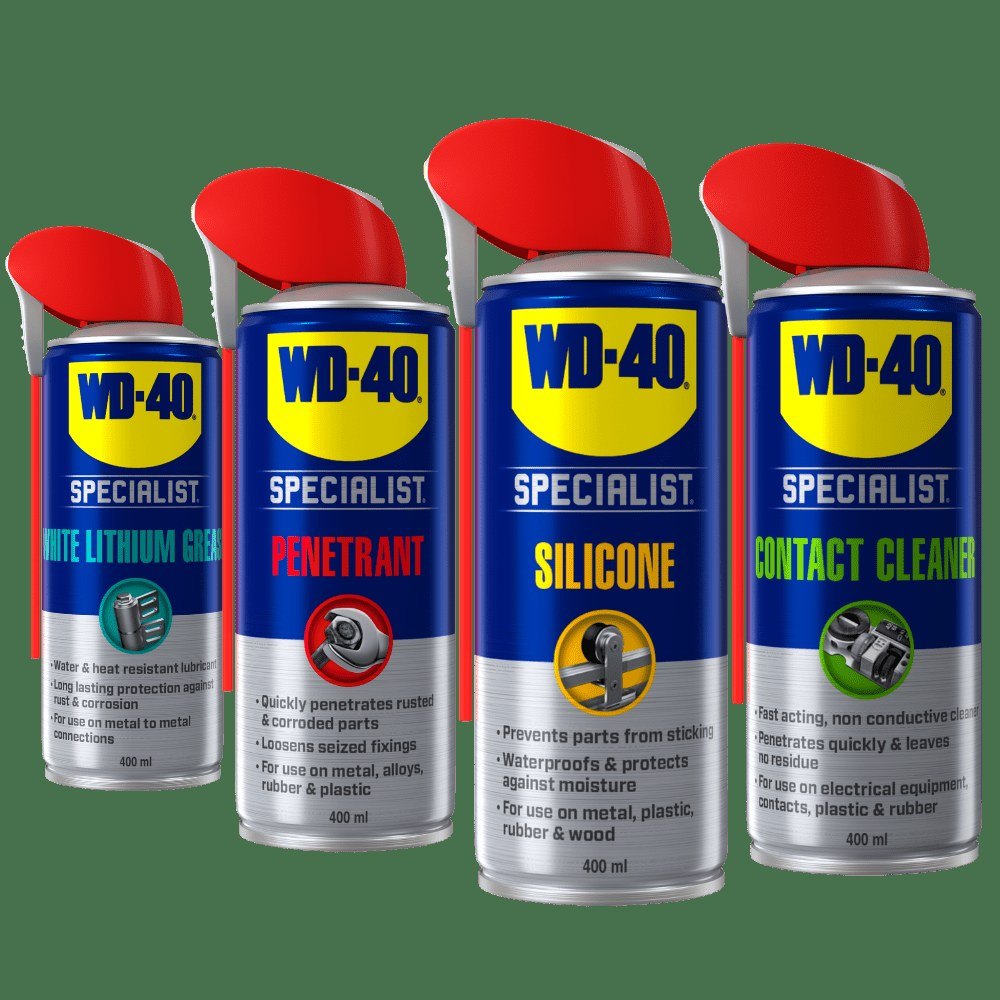
Spray WD-40 Specialist Contact Cleaner onto the posts, clamps and cable connections. It gets into gaps, dissolves oily films and deposits, dries quickly and leaves no residue.
This brings back proper conductivity: the starter turns more briskly and the alternator charges the battery more efficiently.
Step 3
Protect the metal from corrosion
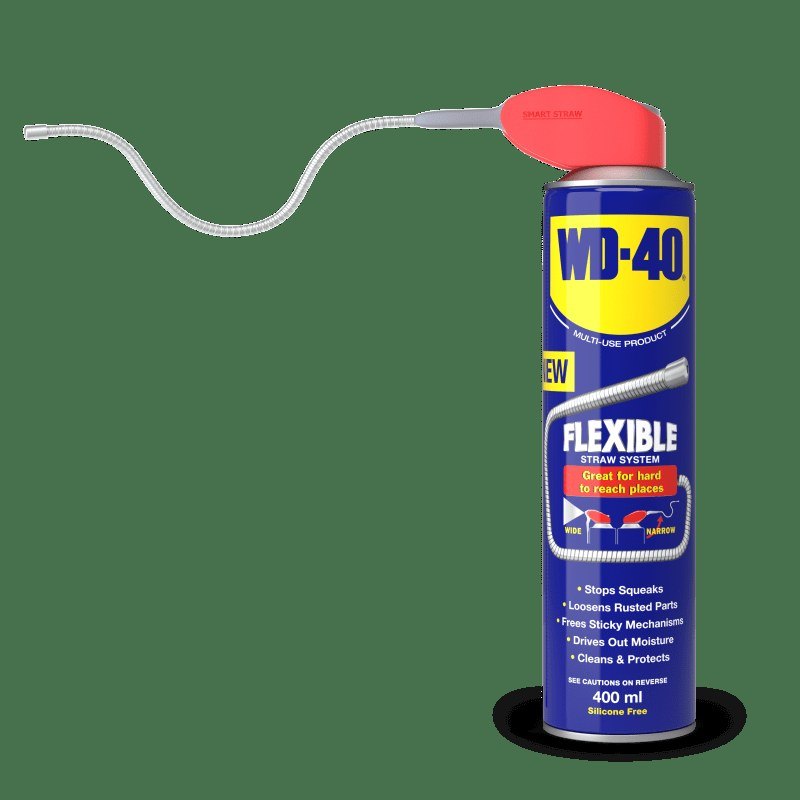
Treat the battery hold-down, clamp bar and nearby metal parts with WD-40 Multi-Use. It displaces moisture, lifts traces of rust, dirt and grease and leaves a protective film.
For precise application into the corners of the battery tray, the WD-40 Smart Straw is handy.
Step 4
Tighten the connections firmly
A loose clamp means lost current, hard starting and faster discharge. Tighten the clamp nuts or bolts and check that the clamp will not twist by hand.
Once tight, apply a thin layer of WD-40 Specialist White Lithium Grease to the terminals and clamps and refit the protective caps. The grease keeps fresh corrosion from forming.
Step 5
Charge it regularly
If the car is used rarely or only for short trips around town, the alternator never fully recharges the battery and it gradually sulphates. This is the main cause of early battery failure.
Once a month, more often in winter, top the battery up with an automatic charger at a low current, roughly a tenth of its capacity. There is no need to remove the battery; just disconnect the clamps.
Step 6
Be ready for a jump-start
If the battery does go flat, you will need jump leads of adequate thickness or a portable jump starter. Positive goes to positive, negative to negative, and the donor engine must be running.
Keep the clamps from touching the bodywork, as this can cause sparks. Once started, remove the leads in reverse order. Cleaning the terminals with Contact Cleaner first helps.
Tip: Before winter, and again in spring after the salt season, wipe the top of the battery case with a dry rag: a layer of damp grime between the terminals creates a leakage current that quietly drains the battery while the car is parked.
What next
Clean and protect the terminals twice a year and check the charge monthly, and the battery will reach its full service life. If the car starts to crank sluggishly, reach for WD-40 Specialist Contact Cleaner first and the charger second.
These uses come from the experience of WD-40 users in many countries. Always follow the instructions and warnings on the product label.
More guides in «How to use».