A small concrete mixer with a 150-250 litre drum is indispensable for home building projects and renovation crews. An electric motor, typically 250 to 800 W, turns the drum that mixes the concrete, and a hand wheel tips it to discharge.
Its worst enemy is set cement. It builds up on the paddles, ring gear and frame, while water from washing attacks the metal. A little care after each shift multiplies its working life.
What you will need
Important: Unplug the mixer before any maintenance. When washing, keep water away from the motor, drive, control box with the switch, and the socket. Never reach into a turning drum.
Step 1
Wash the outside
With the power disconnected, rinse concrete off the body and frame with running water or a pressure washer. Do it straight after work, before the cement sets.
Even if the motor is behind a guard, never aim the jet at it, the belt drive or the control box.

Step 2
Clean the drum
At the end of every shift, wash the inside of the drum thoroughly, or the mix will harden on the paddles and be very hard to remove. A handy trick is to add a bucket of water and a few shovels of gravel, let it turn for a few minutes, then finish with the hose.
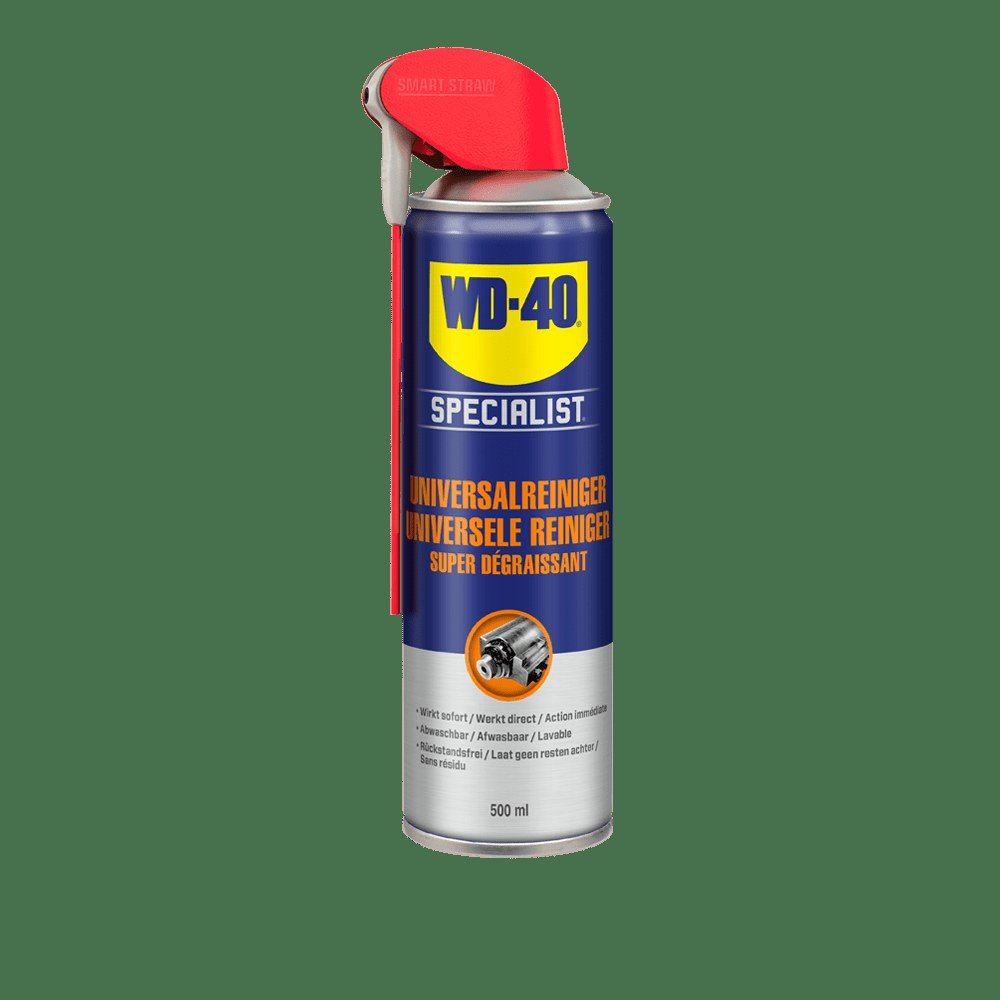
Tip the drum and let it drain. If you are working again tomorrow, that is enough. Before longer storage, dry the drum and spray the whole inside surface with WD-40 Multi-Use to stop the metal oxidising.
Step 3
Grease a centre-drive gearbox
On the smallest models, the drum is driven directly from the motor shaft through a reduction gearbox mounted centrally behind the drum.
There is usually a grease nipple on the pinion support. Top up the grease through it with a grease gun at the interval given in the manual.
Step 4
Lubricate the ring gear, pinion and pulleys
On larger mixers, the motor sits beside the drum and drives a shaft with a toothed pinion through a sturdy belt and two pulleys of different sizes. The pinion meshes with a ring gear around the drum.
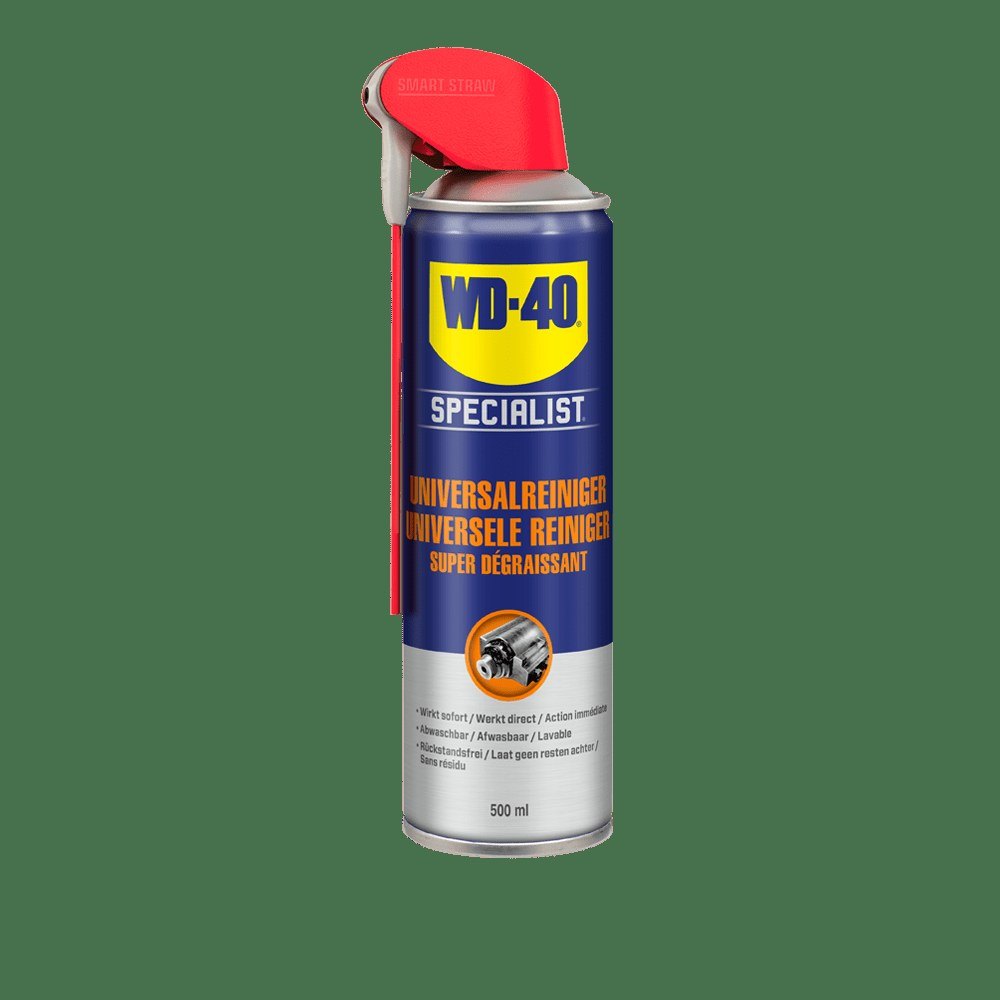
Clean cement dust off the teeth of the ring gear and pinion, then grease them and the pulley shafts with WD-40 Specialist White Lithium Grease. The thick grease clings to the teeth, resists water and protects against corrosion.
Step 5
Check the belt and frame
Check the belt tension: on many models you adjust it by loosening one pulley's mounting and sliding it. Inspect the belt along its full length; cracks or cuts mean replacement.
Clean the frame thoroughly, especially if it folds or comes apart. Treat the pivots, tilt mechanism and hand wheel lock with WD-40 Specialist Silicone for smooth movement and moisture protection.
Step 6
Protect the electrics
Keep the plug, socket, extension lead and switch away from water while working, and clean and dry them after each shift.
Treat the contacts regularly with WD-40 Specialist Contact Cleaner, which removes dirt and condensation and dries without residue.
Tip: Before the first batch, mist the inside of the clean drum with a thin coat of
WD-40 Multi-Use. The mix sticks less and the drum cleans faster.
What next
Wash the mixer after every shift, grease the ring gear and pinion every few weeks of heavy use, and before winter protect the drum and store the machine under cover. For building crews, WD-40 in a 5 litre can with a sprayer is the practical choice.
These uses come from the experience of WD-40 users in many countries. Always follow the instructions and warnings on the product label.
More guides in «How to use».