A vacuum cleaner picks up dust, hair, pet fur and sand every day, and some of it stays inside: it wraps around the brushes, clogs the filters and gets into the wheels and hinges. Suction gradually weakens, a smell appears and the wheels start to squeak.
The care routine is the same for most models: bagged or bagless, corded or cordless. Regular maintenance takes half an hour and noticeably extends the machine's life.
What you will need
Important: Unplug the vacuum before maintenance, and remove the battery from cordless models. Do not open the motor housing or put lubricant into the motor: if the vacuum cuts out, hums or smells burnt, take it to a service centre. Apply products only to mechanical parts, never to filters or brushes.
Step 1
Take it apart and clear the debris
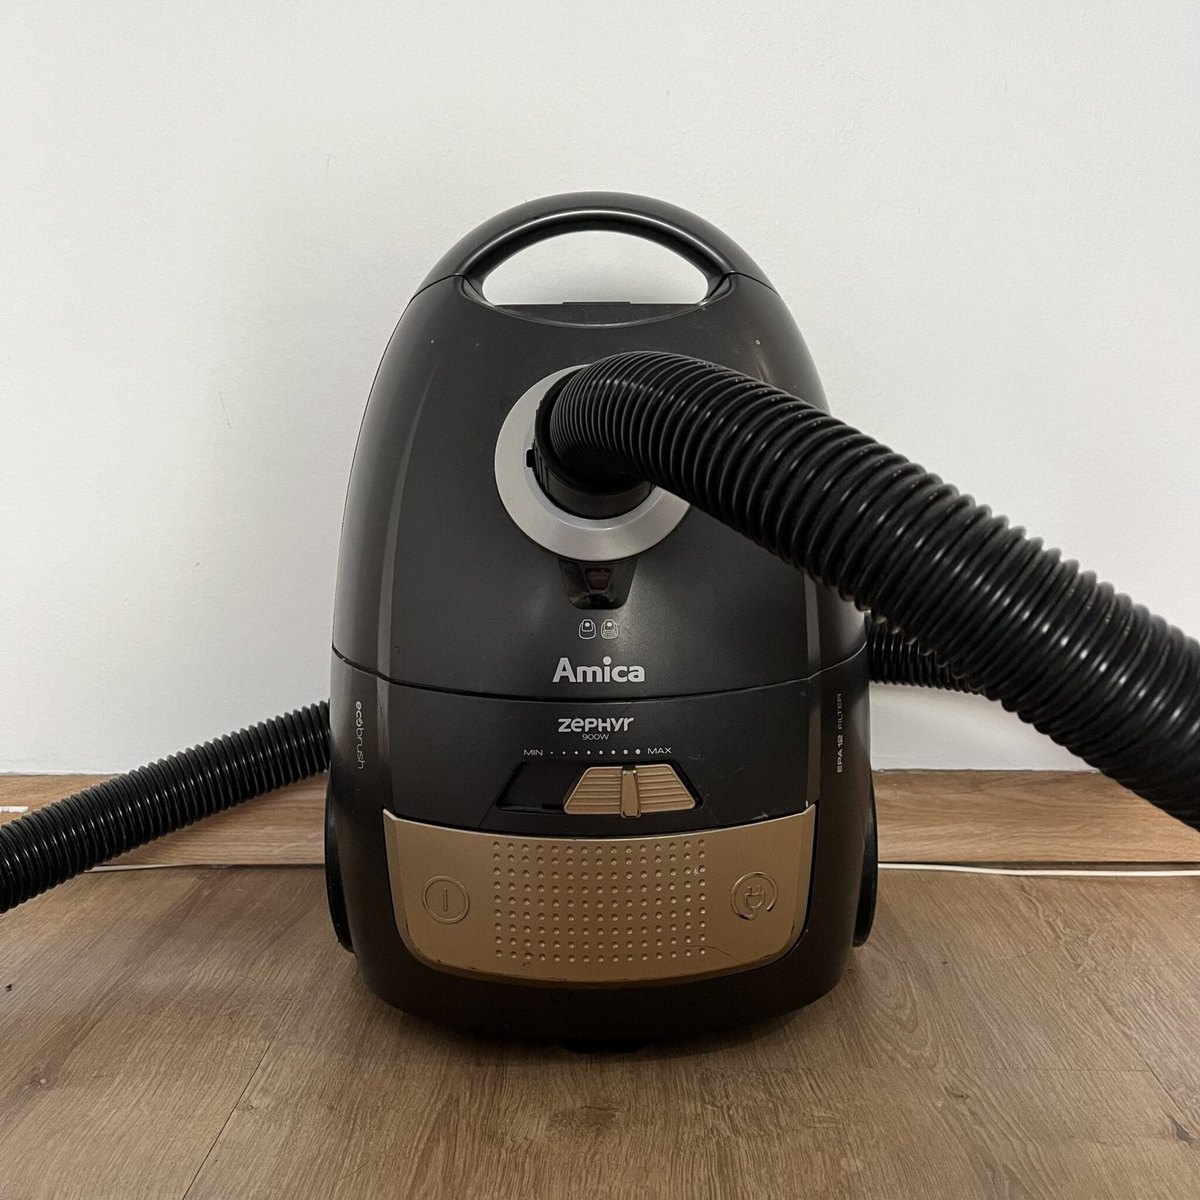
Remove the bin or bag, the brush head, tools and tube. Cut and pull away hair and thread wrapped around the brush roll and its ends with scissors. Wear a mask, as dust can contain allergens and microorganisms.
Empty and wash the bin, or fit a new bag. Wipe the body with a cloth and mild detergent.
Step 2
Clean or replace the filters
Filters control both suction and the cleanliness of the air in the room. Blow out reusable filters with compressed air, and rinse those that are washable according to the manual, letting them dry completely before refitting.
Replace disposable filters, and any damaged reusable ones, with identical new ones at least twice a year. Throw old filters away in a tightly sealed bag.
Step 3
Lubricate hinges and catches
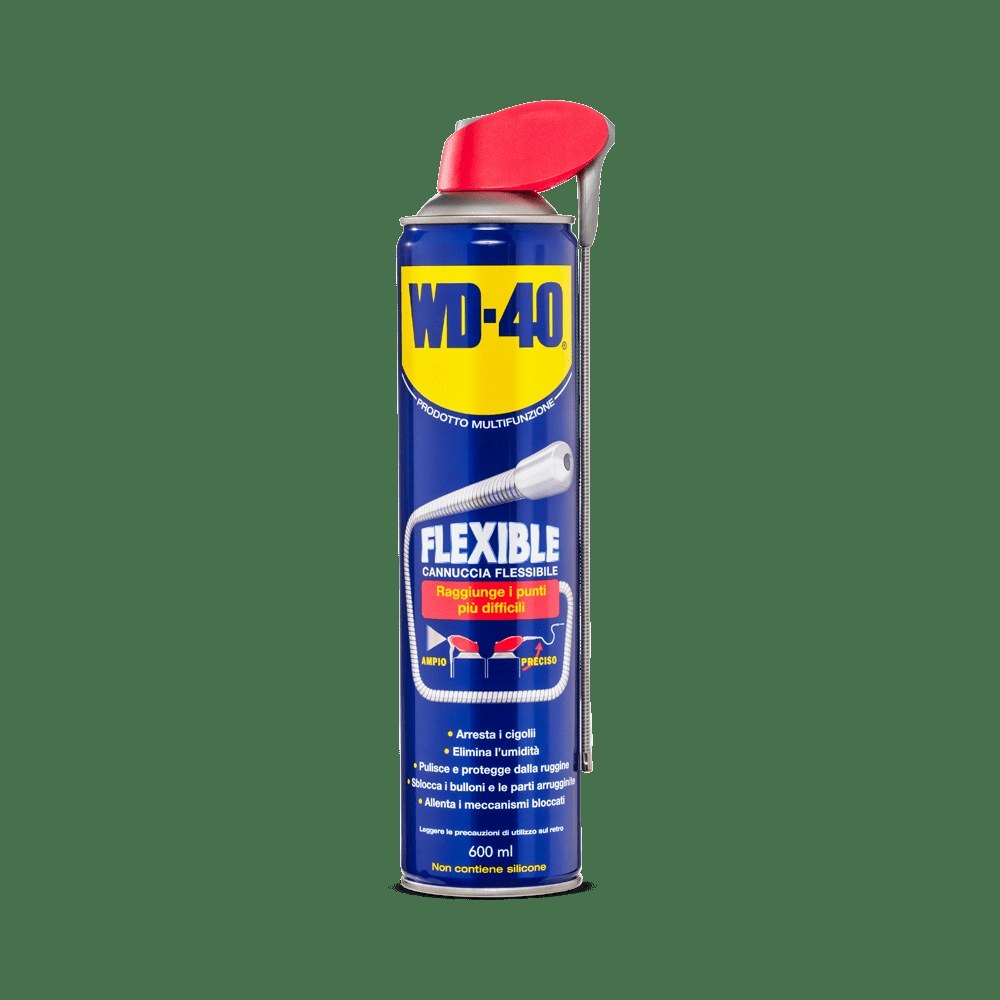
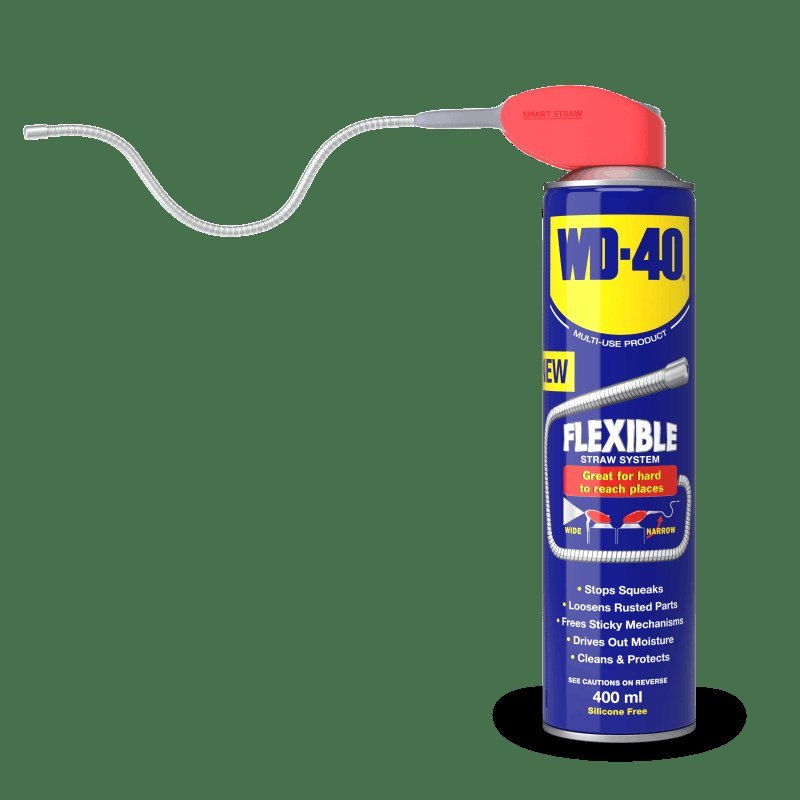
Once the dust is cleared, treat lid catches and the swivel joints of the tube and brush head with WD-40 Smart Straw: its thin straw puts a precise jet deep into the mechanism. It frees the movement, displaces moisture and protects metal parts from rust. Wipe off the excess straight away so dust does not stick to it.
Step 4
Look after the wheels and cord rewind
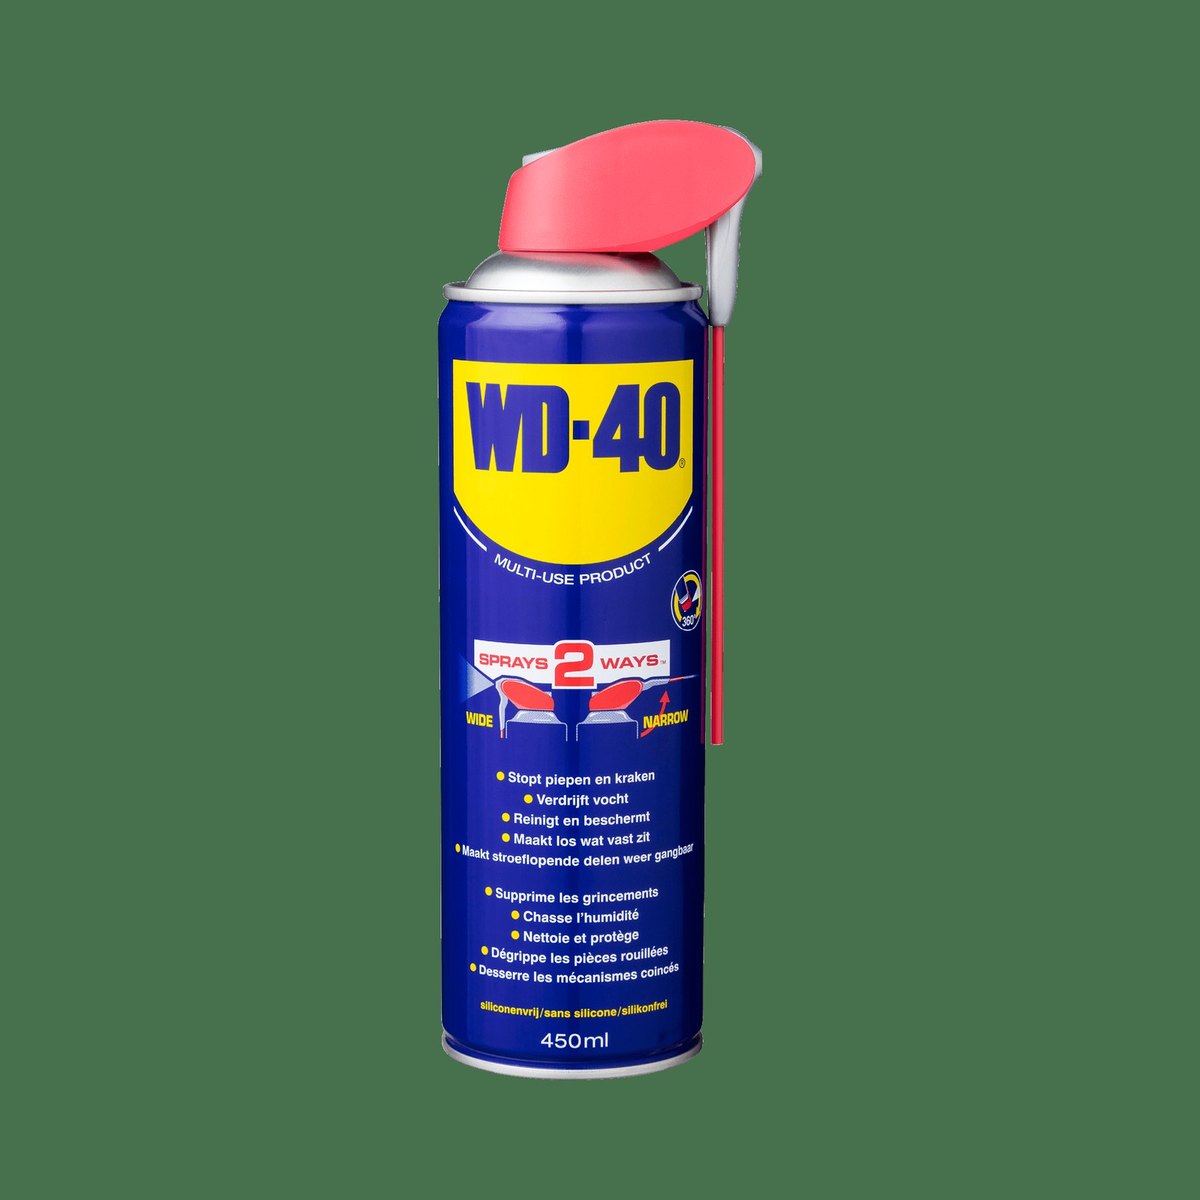
Wheels and castors often jam with hair and carpet threads. Pull them out, blow away the dust with compressed air and put a drop of WD-40 Multi-Use on each axle: the wheels roll quietly and smoothly again.
If the cord rewinds stiffly, wipe it with a cloth with a drop of product, then make sure the cord and plug are dry before switching on.
Step 5
Clean contacts and switches
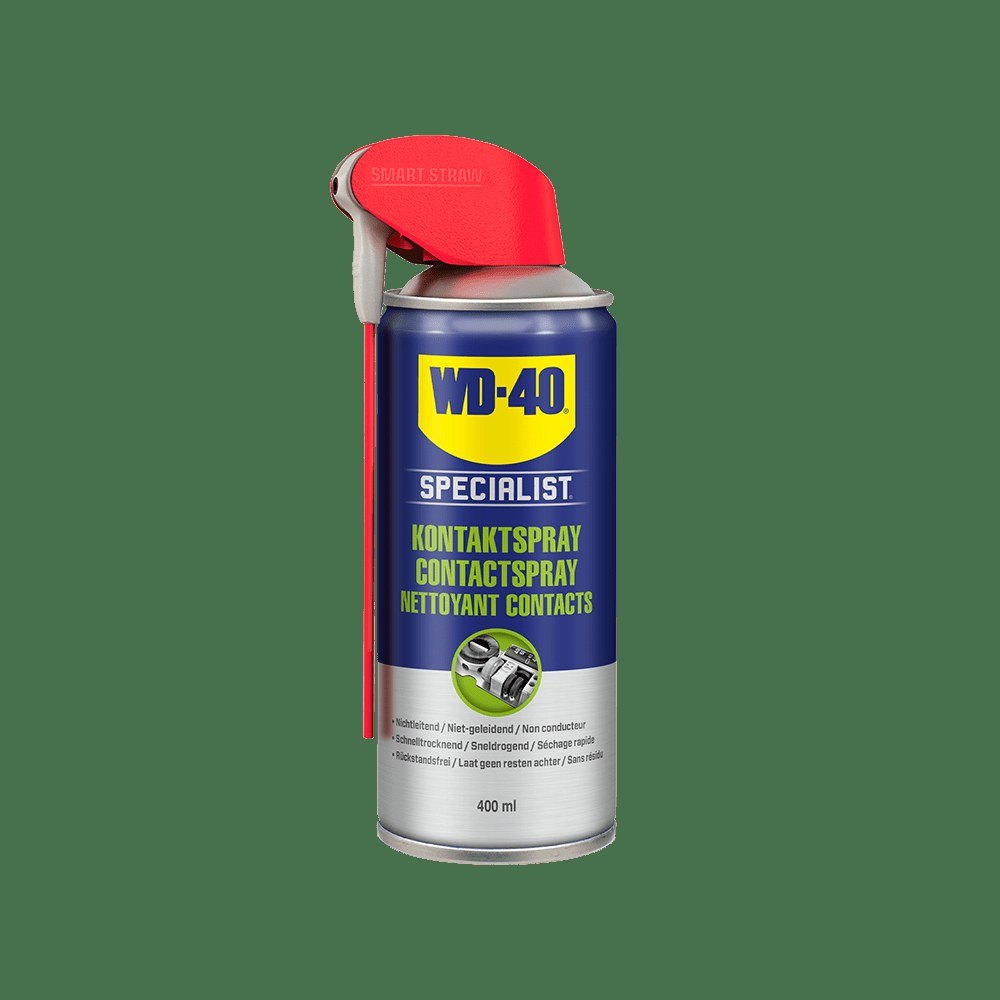
Dust settles on switches and connectors and can cause the machine to cut out. If a button does not respond first time, spray WD-40 Specialist Contact Cleaner into the button gap and onto accessible connectors with the vacuum unplugged. It is non-conductive, evaporates quickly, leaves no residue and is safe on most plastics and rubber.
Step 6
Service the cordless battery
In cordless vacuums, the battery slides into a slot with contacts. Remove it, check the contacts on the battery and in the body, and treat them with WD-40 Specialist Contact Cleaner, along with the charging dock contacts. Give it a few minutes to evaporate and refit the battery: the connection will be reliable and charging consistent.
Tip: With pets or long hair at home, clean the brush roll after every session: wrapped hair overloads the brush motor and can make it overheat.
What next
Clean the bin and brush after every use, the filters monthly, and service the hinges, wheels and contacts every 2-3 months. A robot vacuum needs similar care, just more often.
These uses come from the experience of WD-40 users in many countries. Always follow the instructions and warnings on the product label.
More guides in «How to use».