With the first warm days the trampoline goes back into the garden, and the children want it ready the next morning. After a winter in the shed or under a cover outdoors, though, it needs a careful check: damp, frost and rodents may have damaged the springs, fabric or fixings.
The inspection takes about an hour, and any worn part is better replaced straight away than risked. Here is the order of work from assembly to the first jump.
What you will need
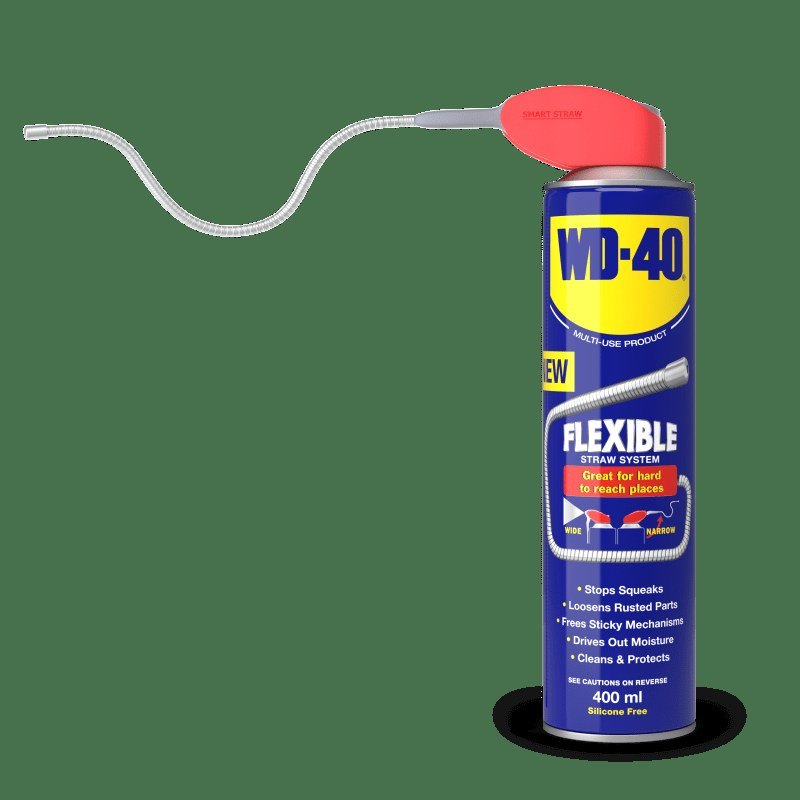
- WD-40 Smart Straw with its two-position straw
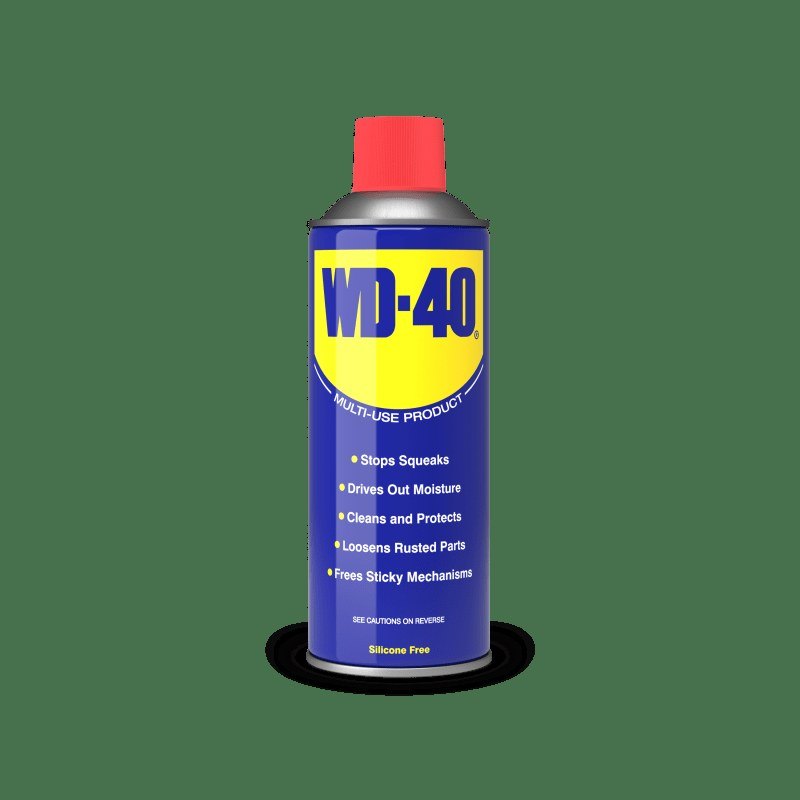
- WD-40 Multi-Use for the frame
- a dry cloth, a soft sponge and a bucket of lukewarm water
- a rubber mallet and a spring pull tool
- spare springs or a new mat if needed
Important: Do not spray WD-40 on the mat, padding or net, only on the metal parts. Let children jump only after a full inspection, with the trampoline standing level and anchored against the wind.
Step 1
Position and assemble the trampoline
Choose level ground free of stones, with no branches overhead and plenty of clear space around it. Join the frame sections, using a rubber mallet if needed. If the joints are stiff, give them a spray of WD-40 Multi-Use.
If the trampoline spent the winter under a cover, take it off, dry it and fold it away until autumn.
Step 2
Inspect the frame and joints
Go round the whole frame looking for cracked welds, dents, bent legs and rusty patches. Check that the bolts are tight and that every section is fully pushed home.
Clean up any rust, then treat the entire frame with WD-40 Multi-Use and wipe the excess with a dry cloth. A damaged section or cracked weld must not be used; replace the part.
Step 3
Check and lubricate the springs
Inspect every spring and replace any that are stretched, rusty or have opened hooks. All springs should be the same length and tension.
Treat the springs with WD-40 Smart Straw: flip up the straw for a precise jet into the hooks and frame holes where moisture collects. It lubricates, displaces moisture and protects against rust, so the trampoline will not squeak as you bounce. Wipe off any excess so it does not reach the mat.
Step 4
Assess the mat and stitching
Look over the mat in good light for tears, worn patches, sagging or uneven tension. Pay special attention to the stitching and the spring loops, as these are what most often fail after frosts.
If the mat or stitching is damaged, replace the mat. Patching it is not worth the risk, as it works under heavy load.
Step 5
Check the padding and safety net
The padding must cover the springs and frame completely and be securely attached. Inspect the poles and safety net: fix any holes, torn loops or broken pole fittings before the first use.
Anchor the trampoline to the ground, especially on an open site exposed to strong gusts.
Step 6
Clean the mat for the season
Sweep off dust, leaves and sand, and wash any marks with lukewarm water and a soft sponge, without soap or stiff brushes. Let the mat dry in the sun and the trampoline is ready for the season.
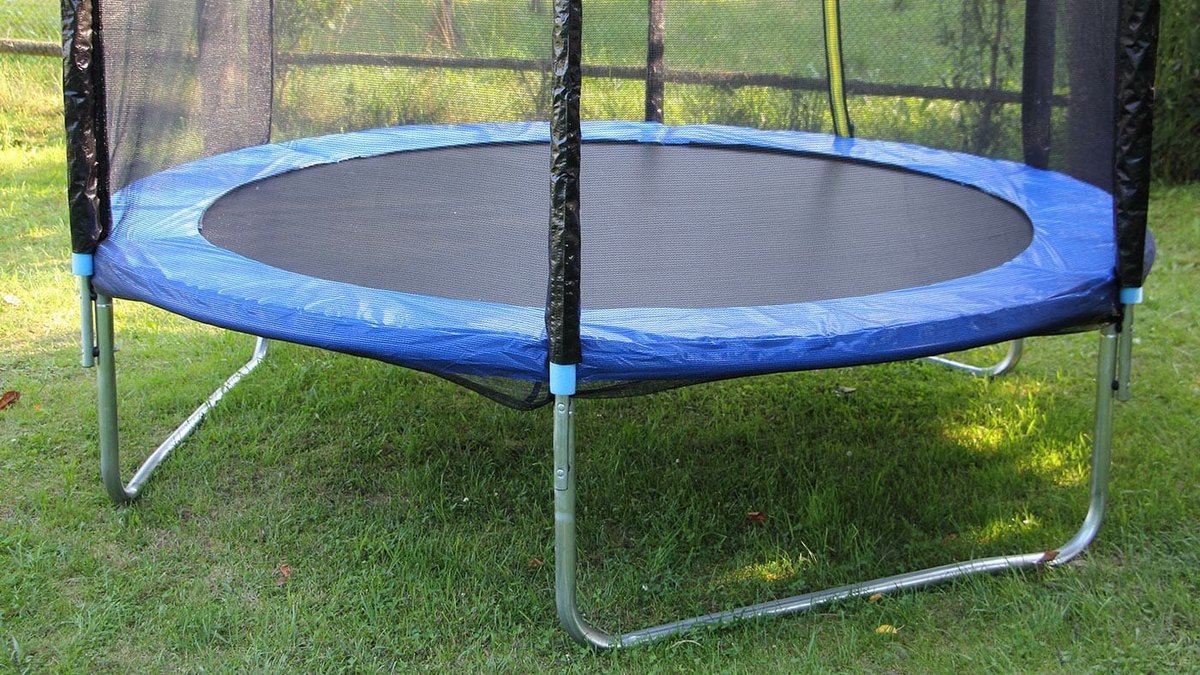
Tip: Throughout the summer, sweep debris off the mat before every jumping session, and after long spells of rain let the trampoline dry and give the springs another spray. They will last longer and will not start squeaking mid-season.
What next
Treat the springs and frame about once a month during summer, and in autumn follow our guide to winterising a trampoline. The same WD-40 Multi-Use looks after swing sets and garden furniture too.
These uses come from the experience of WD-40 users in many countries. Always follow the instructions and warnings on the product label.
More guides in «How to use».