A flat tyre can ruin any ride. Most punctures are caused by sharp stones, glass, thorns or nails, and sometimes the rubber simply ages, becomes porous and slowly loses air.
Replacing an inner tube takes 15-20 minutes, even without experience. The key is not to rush and to find what caused the puncture, otherwise the new tube will go flat again within days.
What you will need
Important: Keep lubricant off rim braking surfaces, brake discs and pads. Do not use a screwdriver instead of a tyre lever: it easily cuts the tube and scratches the rim.
Step 1
Remove the wheel
Turn the bike upside down onto the saddle and bars, or put it in a stand. For the rear wheel, first shift the chain onto the smallest sprocket and pull the derailleur back. If you have rim brakes, release them.
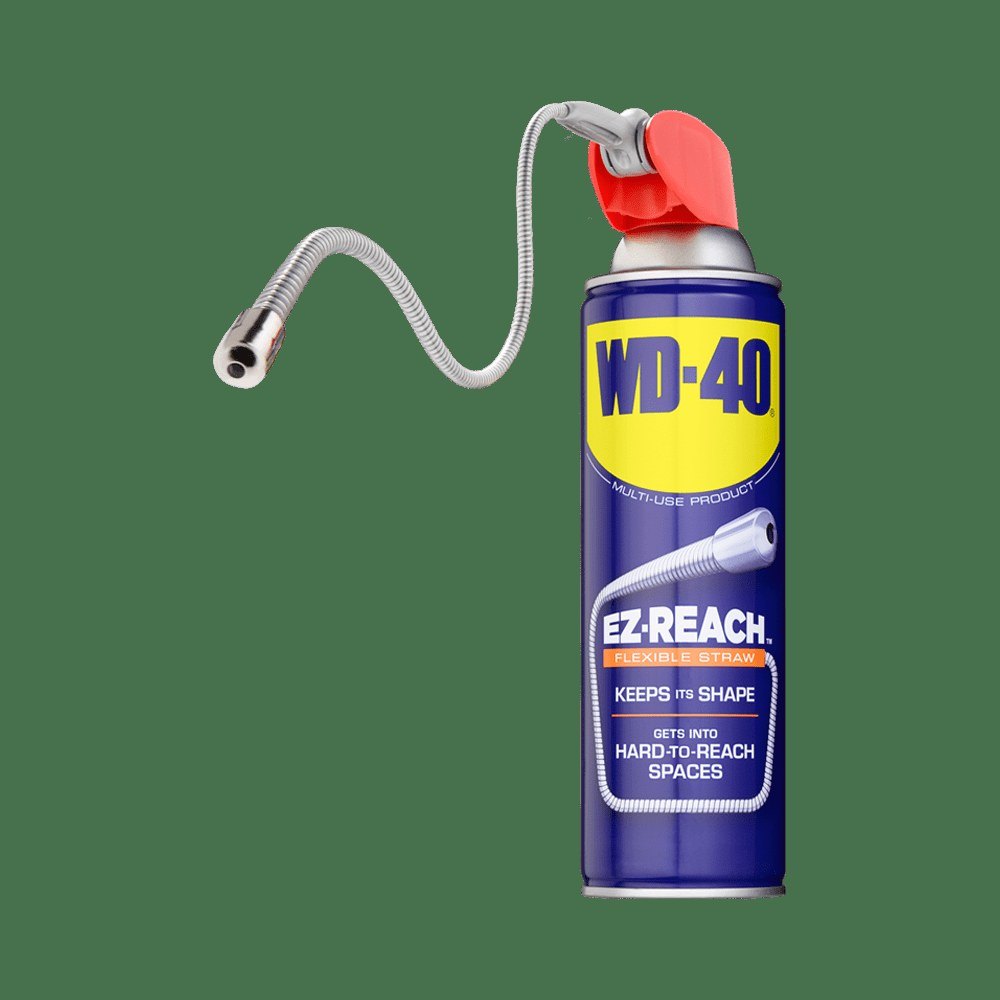
Open and unscrew the quick release, or loosen the axle nuts on both sides with a spanner. Treat seized nuts with WD-40 Specialist Penetrant through the thin straw and wait a few minutes.
Step 2
Remove the tyre
Let out any remaining air. Insert a lever between the tyre bead and the rim opposite the valve, lift the bead and hook the lever onto a spoke. Run a second lever around the rim until one whole bead is off. There is no need to remove the tyre completely.
Pull out the tube, starting opposite the valve, and finally push the valve out of its hole.
Step 3
Find the cause of the puncture
Carefully run your fingers around the inside of the tyre: the culprit is often still stuck in the tread. Inflate the old tube and find the hole, which tells you where to look. Two parallel holes side by side mean a pinch flat caused by low pressure.
Check the rim tape: it must cover every spoke hole. Replace damaged tape, or the sharp edge of a hole will cut the tube again.
Step 4
Inspect the rim
While the wheel is apart, check the rim for cracks around spoke holes, dents from potholes and heavily worn braking surfaces. A damaged rim is dangerous; the wheel then needs to be rebuilt with a new rim or replaced entirely at a workshop.
Step 5
Fit the new tube
Inflate the tube just enough for it to hold a round shape. Push the valve through the rim hole and tuck the tube into the tyre all the way round. Then, starting at the valve, work the tyre bead back onto the rim by hand, using a lever only for the last section and taking care not to pinch the tube.
Inflate to the pressure marked on the tyre sidewall and check that the tyre is seated evenly all the way round.
Step 6
Refit the wheel
Put the wheel back into the fork or frame; for the rear, place the chain on the smallest sprocket. Before tightening, give the quick release or axle thread a light spray of WD-40 Smart Straw so it does not seize in wet weather. Tighten the fixings, reconnect the brakes and spin the wheel to check nothing rubs.
Tip: Carry a spare tube, levers and a mini pump. Swapping a tube at the roadside is quicker than hunting for a patch and glue.
What next
Check your tyre pressure weekly: the right pressure prevents most punctures. After wet and muddy rides, treat the bike's metal parts with WD-40 Multi-Use so axles and bolts do not rust.
These uses come from the experience of WD-40 users in many countries. Always follow the instructions and warnings on the product label.
More guides in «How to use».