Worn chainrings, a cracked or bent crank arm after a crash, or simply a bottom bracket that needs servicing: all of these mean taking the cranks off. It looks daunting, but with the right puller and tools it is perfectly doable at home.
Spring, during the seasonal check-up, is the ideal time: after a winter of salty road spray the bottom bracket area often needs cleaning and fresh grease.
What you will need
Important: The left pedal has a left hand thread: it undoes clockwise, the right one anticlockwise. Keep your hands clear of the chainring teeth, they are sharp.
Step 1
Prepare your workspace and tools
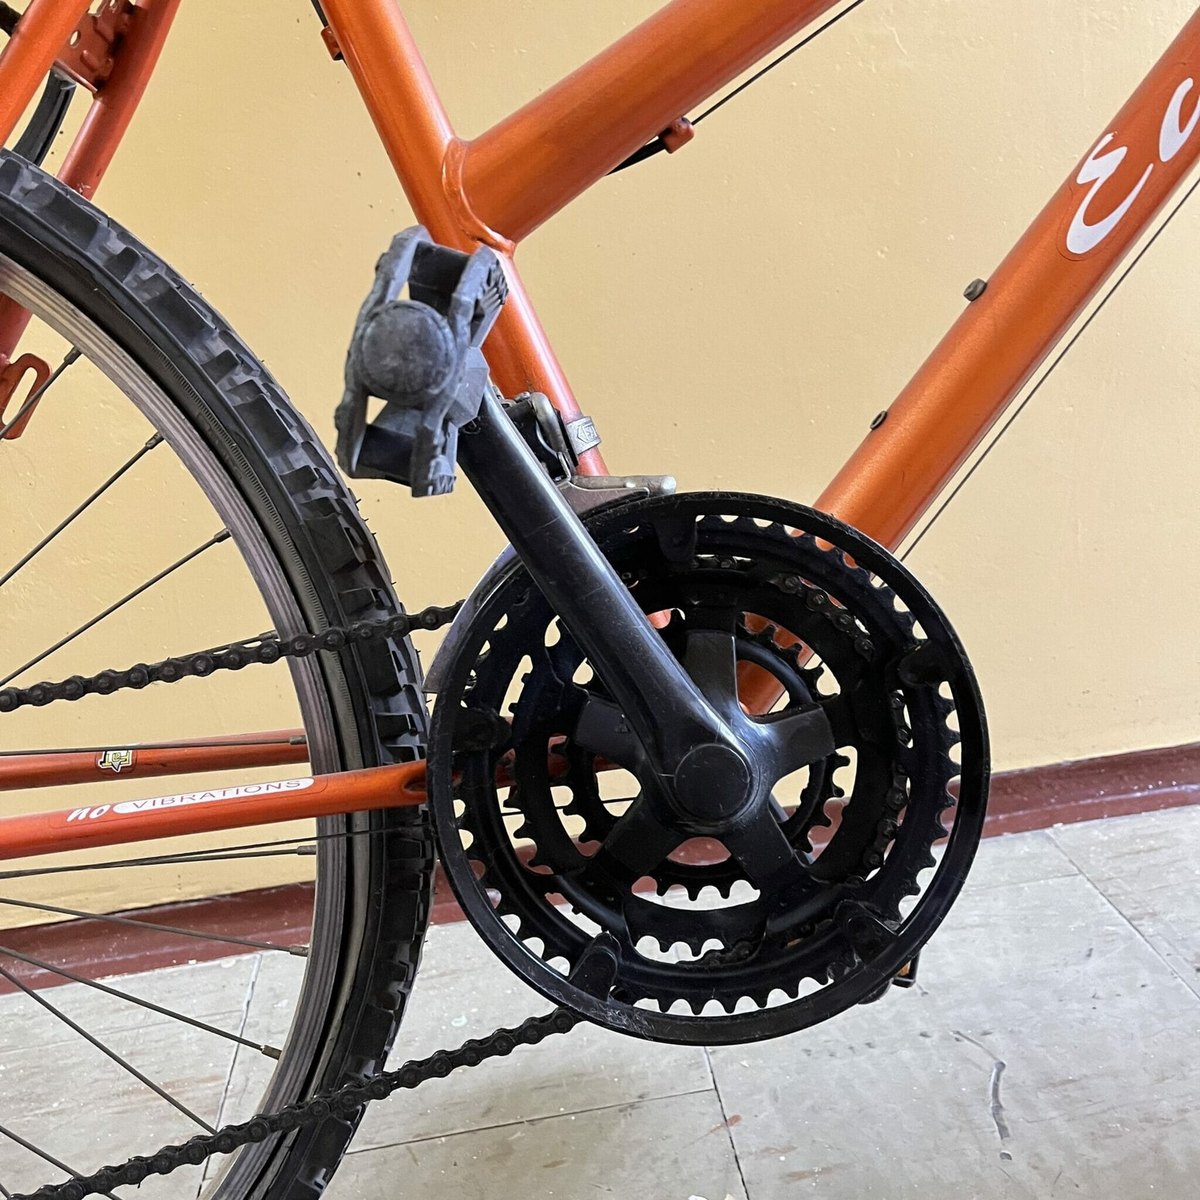
Mount the bike on a stand in a garage or workshop so everything is within reach. Identify your crankset: traditional square taper or splined cranks come off with a puller, while modern integrated axle cranksets usually have two pinch bolts and a plastic preload cap and need no puller.
Step 2
Remove the pedals
Undo the pedals with a 15 mm pedal spanner or a 6 or 8 mm hex key from the back of the crank. Turn the right pedal anticlockwise and the left one clockwise. Mark the pedals so you do not mix them up later.
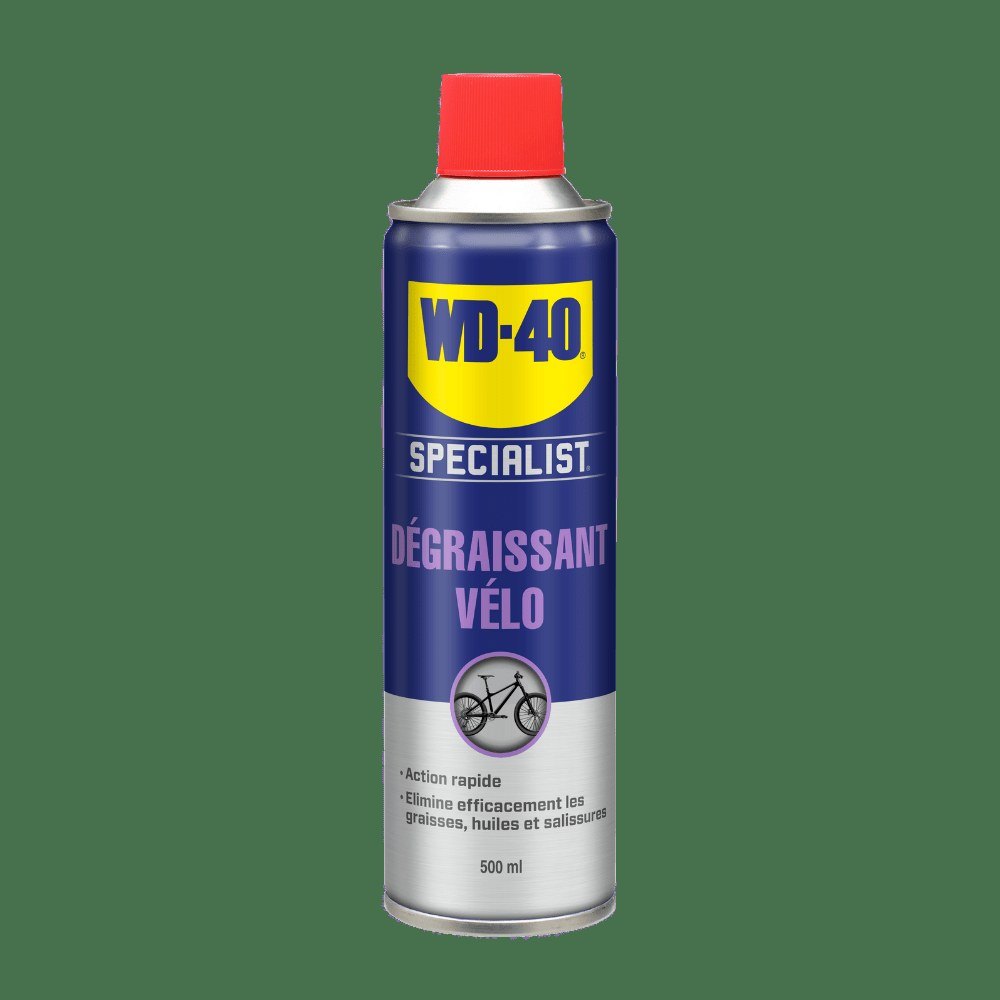
If a pedal is seized, spray the thread with WD-40 Specialist Penetrant from both sides of the crank, wait 5-10 minutes and try again, using a long spanner for leverage.
Step 3
Pull off the cranks
Lift the chain off the chainrings. Remove the dust caps if fitted and undo the crank fixing bolts with a hex key; older bikes may need a socket or spark plug spanner.
Even without the bolt, the crank sits tight on the axle. Thread the puller body into the crank by hand so you do not cross thread it, then tighten it fully with a spanner. Now turn the centre screw: it presses on the axle and draws the crank off. Repeat on the other side.
Step 4
Clean and grease the parts
Inspect the chainrings, cranks and bottom bracket. Replace anything worn or damaged and clean the rest: spray WD-40 Multi-Use, let it work and wipe dirt and old grease from the axle, pedal threads and bolts.
Before reassembly apply a thin coat of WD-40 Specialist White Lithium Grease to pedal and bolt threads and contact surfaces, unless the manufacturer specifies a dry fit. It makes the next removal easier and protects the metal from corrosion.
Step 5
Fit the cranks and pedals
Push the left crank onto the axle and tighten the bolt to the manufacturer's torque. On the drive side, put the chain on the small chainring, fit the crank and tighten the bolt. Check the arms are exactly opposite each other.
Thread each pedal into its own side, first by hand, then with the spanner. Spin the cranks and make sure they turn freely with no play or clicking.
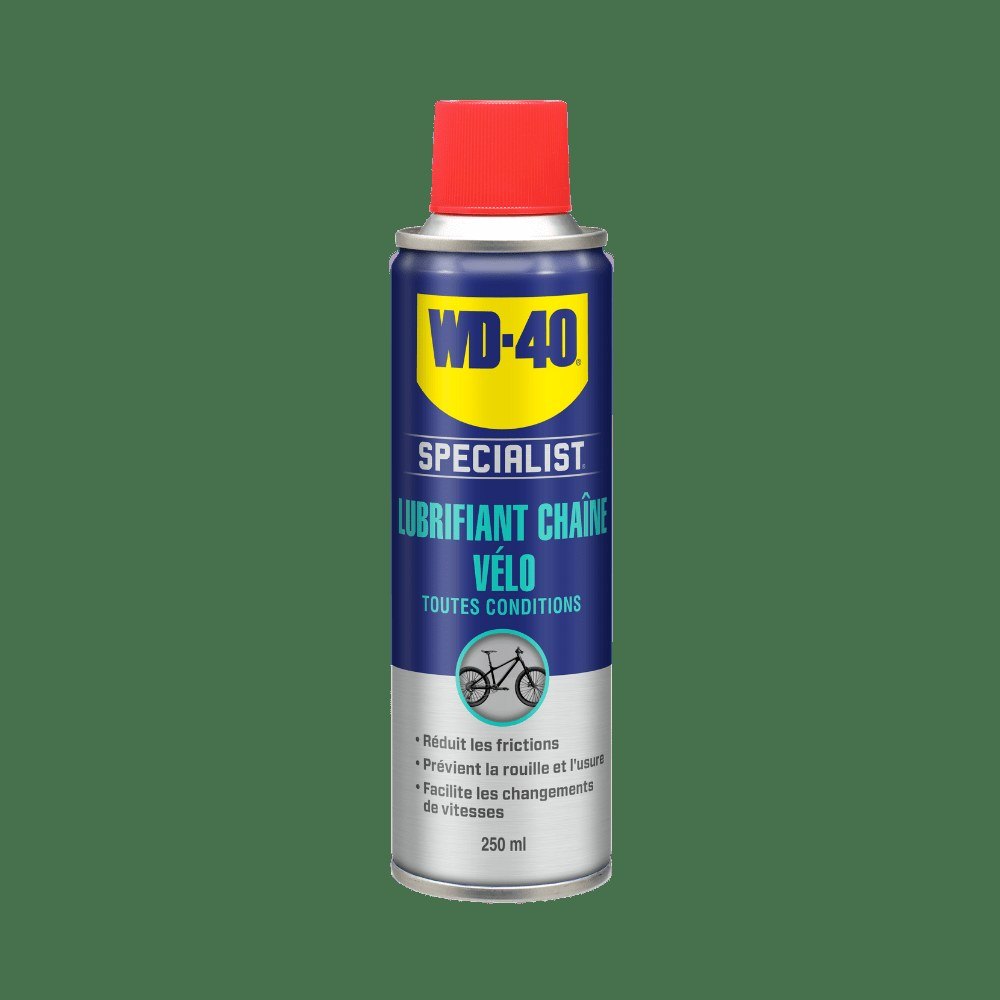
Tip: Recheck the crank bolt torque after the first 50-100 km: new parts settle on the axle, and a loose crank quickly ruins the interface.
What next
To avoid taking the crankset off just because of dirt, clean it regularly on the bike and keep an eye on the bottom bracket. To protect threads and metal parts from damp during winter storage, use WD-40 Multi-Use.
These uses come from the experience of WD-40 users in many countries. Always follow the instructions and warnings on the product label.
More guides in «How to use».