A bicycle brake cable is made of braided steel strands and is very strong, but it still wears out. Most often it frays near the clamp bolt, chafes inside the outer housing or rusts inside it, so the lever feels stiff and the brakes release slowly. Poor storage with tightly bent housing is another common cause.
One end of the cable has a metal nipple, ball or barrel shaped, that sits in the lever. Mechanical brakes come as calliper, V-brake and cantilever types. The cable is replaced the same way on all of them; only the brake-end fixing and adjusters differ.
What you will need
- new brake cable with the correct nipple
- new outer housing and ferrules (if the old one is damaged)
- cable cutters or sharp side cutters
- 8 and 10 mm spanners or an Allen key
- cable end cap
- WD-40 Specialist Silicone to lubricate the cable
- WD-40 Smart Straw for a seized clamp bolt
Important: On rim brakes, keep lubricant off the brake blocks and the braking surface of the rim. Apply products to the cable away from the wheel, or cover the rim with a cloth.
Step 1
Remove the damaged cable
Loosen the cable clamp bolt on the brake. If the bolt is corroded, apply a drop of WD-40 Smart Straw and wait a few minutes. Snip off the frayed end so the cable slides out of the housing easily.
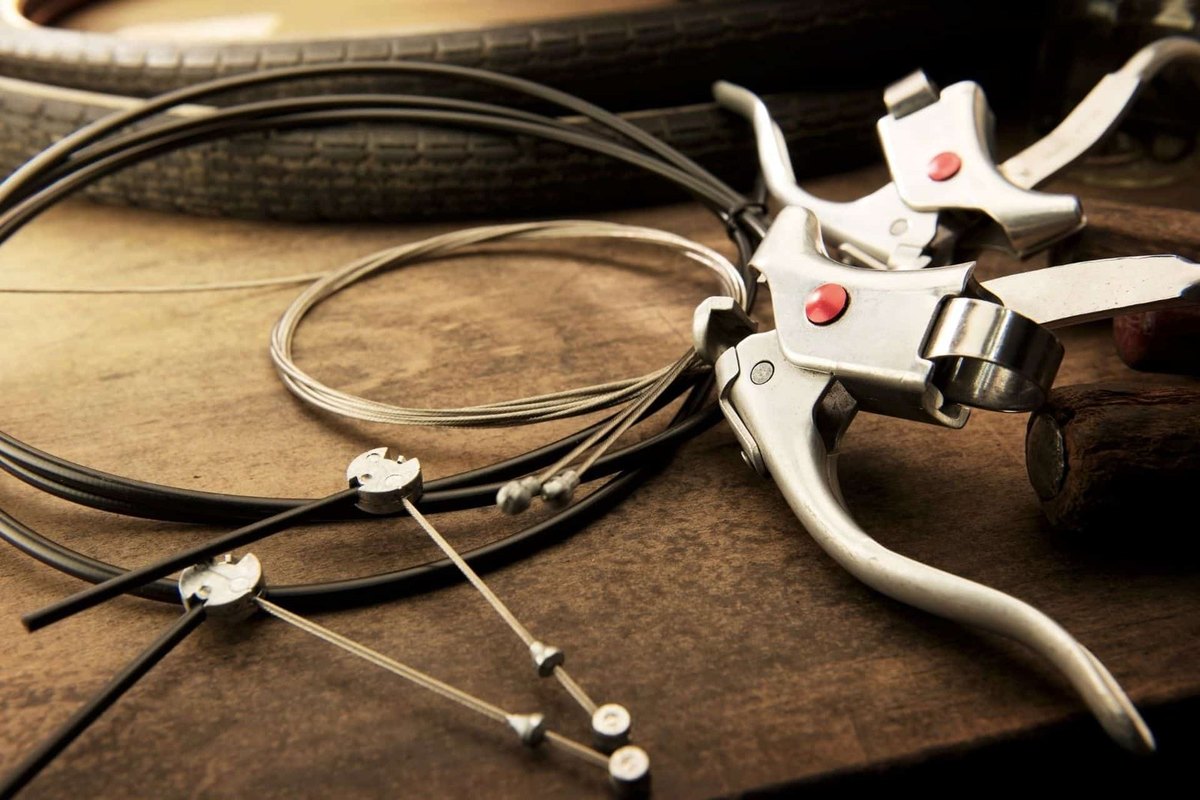
Squeeze the brake lever to expose the nipple seat. Turn the barrel adjuster and lock ring so their slots line up, unhook the cable from the lever and pull it out of the housing.
Step 2
Check the housing and brake blocks
The housing must not be kinked, cracked or rusty inside, or the new cable will drag. Replace damaged housing by cutting new lengths to match the old ones and fitting ferrules to both ends. Check the brake blocks too: if the grooves are almost worn away, replace them now.
Step 3
Lubricate and thread the new cable
Apply WD-40 Specialist Silicone along the cable. The silicone reduces friction inside the housing, displaces moisture and protects against corrosion, which matters in wet weather and in winter when roads are salted.
Seat the nipple in the lever and feed the cable through the housing to the brake. Turn the barrel adjuster and lock ring so the slots no longer line up: this stops the cable popping out. Make sure the housing ends sit firmly in their stops.
Step 4
Attach the cable to the brake
On a V-brake, the cable runs through a curved metal noodle that reduces friction. Feed the cable into the clamp. Squeeze the brake arms by hand so the blocks almost touch the rim, pull the cable taut and tighten the bolt.
Step 5
Trim and adjust
Leave 3 to 4 cm of cable beyond the clamp, cut off the rest and crimp on an end cap so the strands do not unravel.
Spin the raised wheel and pull the lever several times. The blocks should meet the rim squarely without rubbing. If the lever is too stiff, slacken the tension slightly; if it pulls too far, wind out the barrel adjuster at the lever. Test the brakes at low speed.
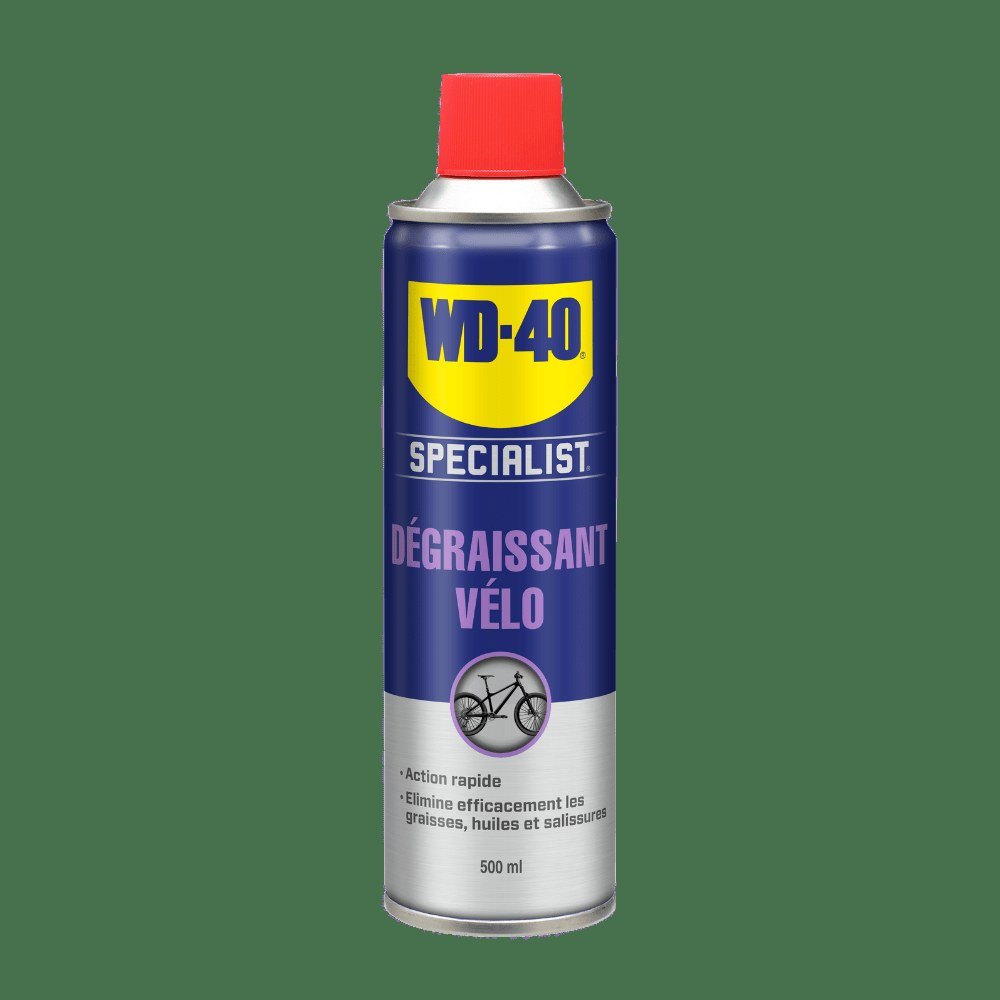
Tip: Every few months and after winter rides, put a drop of
WD-40 Specialist Silicone where the cable enters the housing and pull the lever a few times: the lubricant spreads inside and the cable will not seize.
What next
Inspect cables and housing at the start of each season and whenever the brakes feel stiff. The rear cable is longer and wears faster, so check it when you replace the front one.
These uses come from the experience of WD-40 users in many countries. Always follow the instructions and warnings on the product label.
More guides in «How to use».