Disc brake pads wear faster than most bike parts, especially on mountain trails, in mud and on long descents. It is time to change them when braking feels weak, bites late, judders or squeals, or when the friction material is thinner than about 1 mm.
Choose the compound before you buy. Organic (resin) pads work well in the cold and are quiet, but wear faster and handle overheating less well. Semi-metallic pads are versatile and fairly durable. Metallic (sintered) pads cope with high heat on descents but bite less when cold. Check which pads your rotor and calliper accept: some rotors are rated for organic pads only.
What you will need
- new pads with spreader spring
- WD-40 Smart Straw for tight bolts and axles
- WD-40 Specialist Penetrant for a seized retaining pin
- Allen keys, flat screwdriver, needle-nose pliers
- isopropyl alcohol, paper towels, cotton buds
- bike stand (recommended)
Important: No lubricant must ever reach the rotor or pads: even a drop reduces braking to a dangerous level. Apply products only to threads and fasteners while shielding the rotor with a cloth, and handle new pads with clean hands only.
Step 1
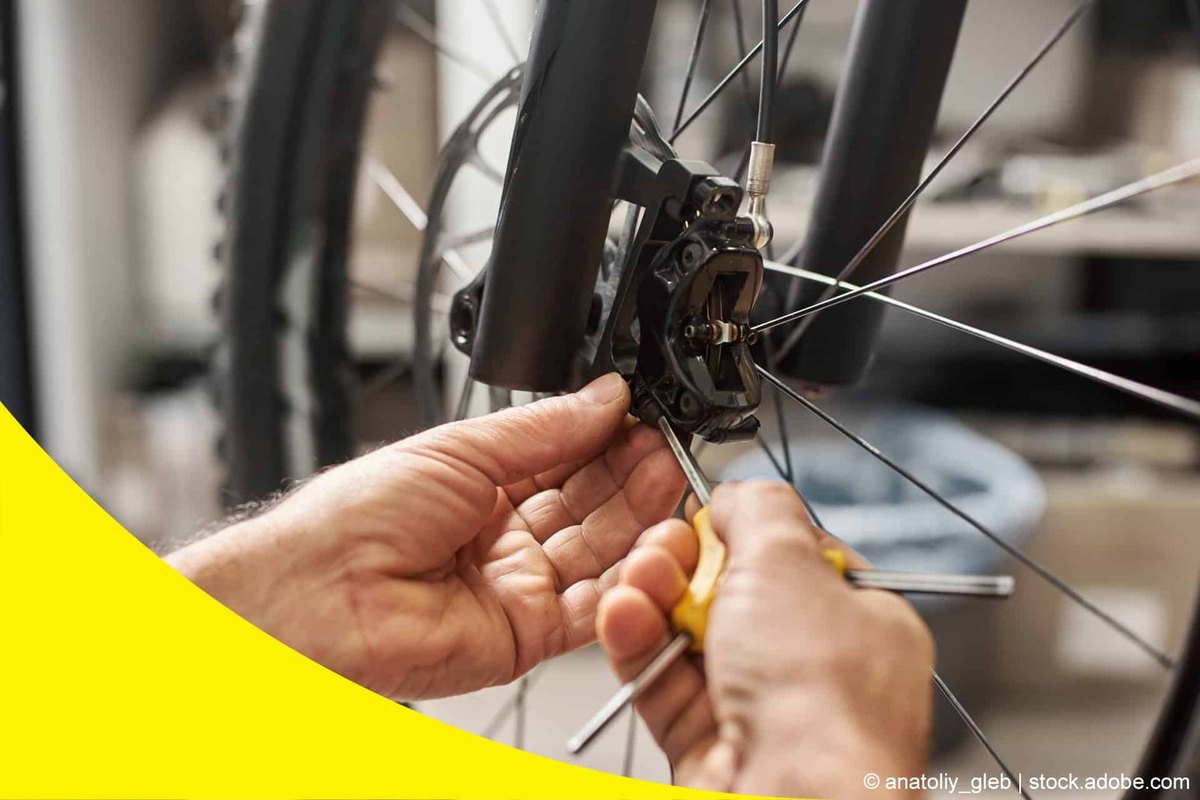
Remove the wheel and reach the calliper
Put the bike on a stand or turn it upside down. Undo the axle or quick release and remove the wheel. If the axle or calliper bolts have seized with dirt and winter road salt, apply a little WD-40 Smart Straw to the threads through the thin straw so you do not spray the rotor, and wait a few minutes.
If it is easier, undo the two calliper bolts and lift the calliper off the fork or frame without disconnecting the hose or cable.
Step 2
Take out the old pads
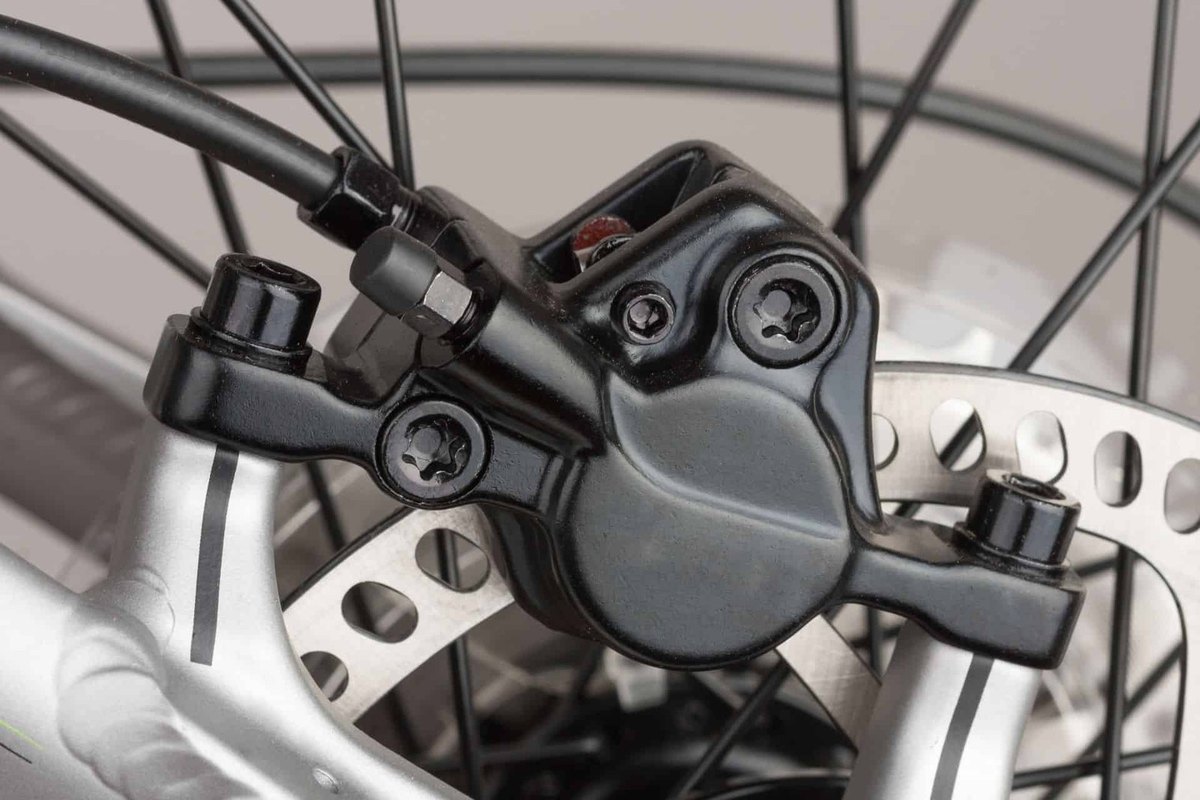
Straighten and pull out the split pin with pliers, or unscrew the cross bolt that holds the pads. If it is corroded, add a drop of WD-40 Specialist Penetrant, let it work, then wipe it dry. Grip the pads by their tabs and pull them out together with the spring.
Step 3
Clean the pistons and calliper
Water and dirt stop the pistons moving evenly. A sign of trouble is one piston sticking out noticeably further than the other. Clean the pistons and the inside of the calliper with cotton buds and isopropyl alcohol, then let it dry.
Using a cloth-wrapped flat screwdriver, gently push the pistons back so the thick new pads will fit. Wipe the rotor clean with alcohol as well.
Step 4
Fit the new pads
Place the pads in the new spreader spring with the friction faces towards each other, squeeze them together and slide them between the pistons without force. Refit the pin or bolt and secure it by bending the tip over.
Step 5
Centre the calliper and bed in the brakes
Refit the wheel. Loosen the calliper bolts, squeeze the brake lever and, while holding it, tighten the bolts alternately. Spin the wheel: the rotor should not rub the pads. Repeat if needed.
New pads need bedding in: make 15 to 20 smooth stops from moderate speed to a standstill. Only then will the brakes reach full power.
Tip: After winter rides on salted roads, check the calliper bolts and pad pin. A thin film of
WD-40 Smart Straw on their threads, applied carefully away from the rotor, will make the next change easier.
What next
Check pad thickness once a month and more often in the muddy season. A leisure bike may need one set per season, while enduro riders sometimes replace pads after a few rides.
These uses come from the experience of WD-40 users in many countries. Always follow the instructions and warnings on the product label.
More guides in «How to use».