Hard frosts of minus 15-20 °C quickly ruin whatever is left in the garden from summer. Water in a hose expands as it freezes, splits the walls and distorts the connectors, while ice in an outdoor tap can damage the pipe that runs into the house.
Getting the hose ready for winter takes half an hour and often saves both the hose and the cost of a plumber in spring.
What you will need
- WD-40 Multi-Use
- WD-40 Smart Straw for stiff valves and threads
- pliers
- soft clean cloth
- wire brush
- hose reel or bracket with a rounded surface
- insulated outdoor tap cover (optional)
Important: Do not leave the hose connected over winter, and do not just close the outdoor tap without draining the water: that is the most common way pipes burst.
Step 1
Turn off the water and drain the pipe
Find the separate isolating valve for the outdoor tap, inside the house or in an inspection chamber, and close it clockwise until it stops. If it has stiffened over the summer, spray WD-40 Smart Straw on the spindle, wait a few minutes and ease it with pliers.
Then open the outdoor tap and let the water left in the pipe drain completely.
Step 2
Disconnect and inspect the hose
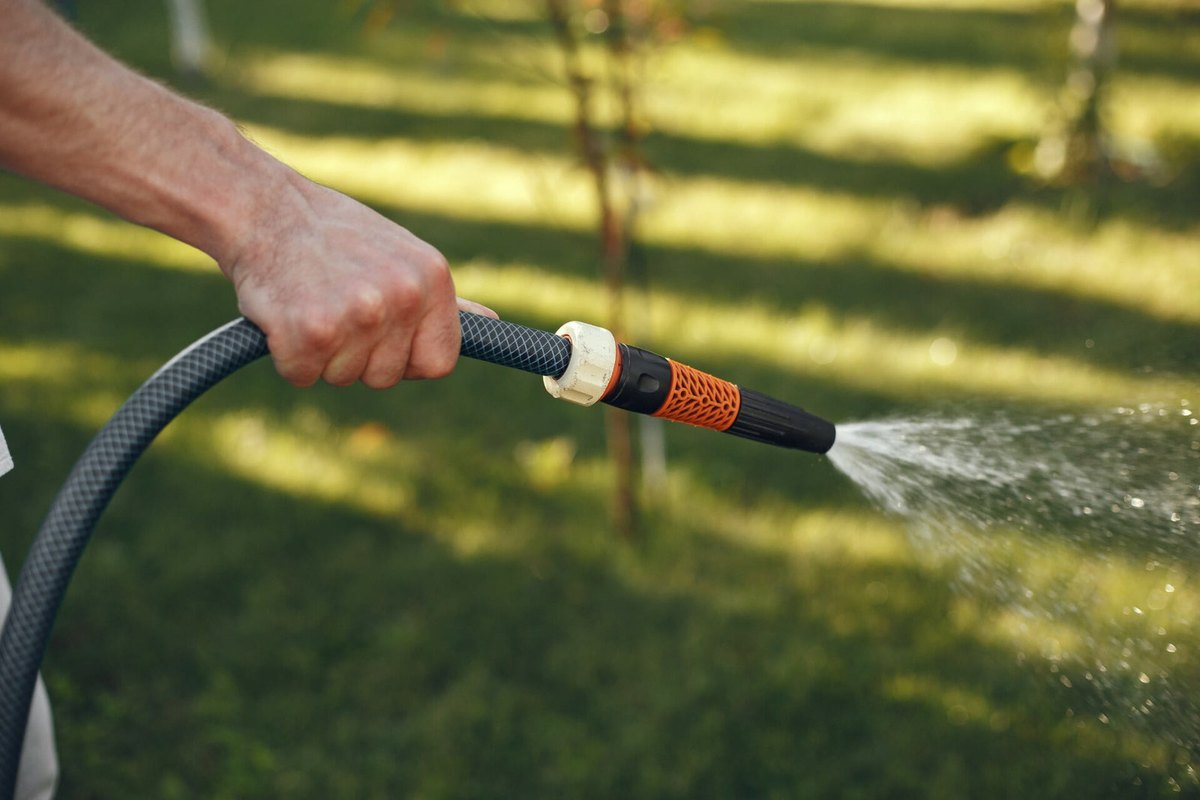
Remove the hose from the tap and take off the spray gun and connectors. Check the hose along its full length: cuts, cracks, bulges and kinks are signs of wear and may mean it needs replacing in spring.
Step 3
Drain and clean the hose
Lay the hose on a slope or lift one end so all the water runs out. Any water left inside will freeze, expand and damage the walls from within.
Wipe the outside with a soft cloth sprayed with WD-40 Multi-Use: it loosens dried-on dirt and leaves a water-repellent film. Dry the connectors and spray gun and treat them with WD-40, especially the threads.
Step 4
Coil the hose correctly
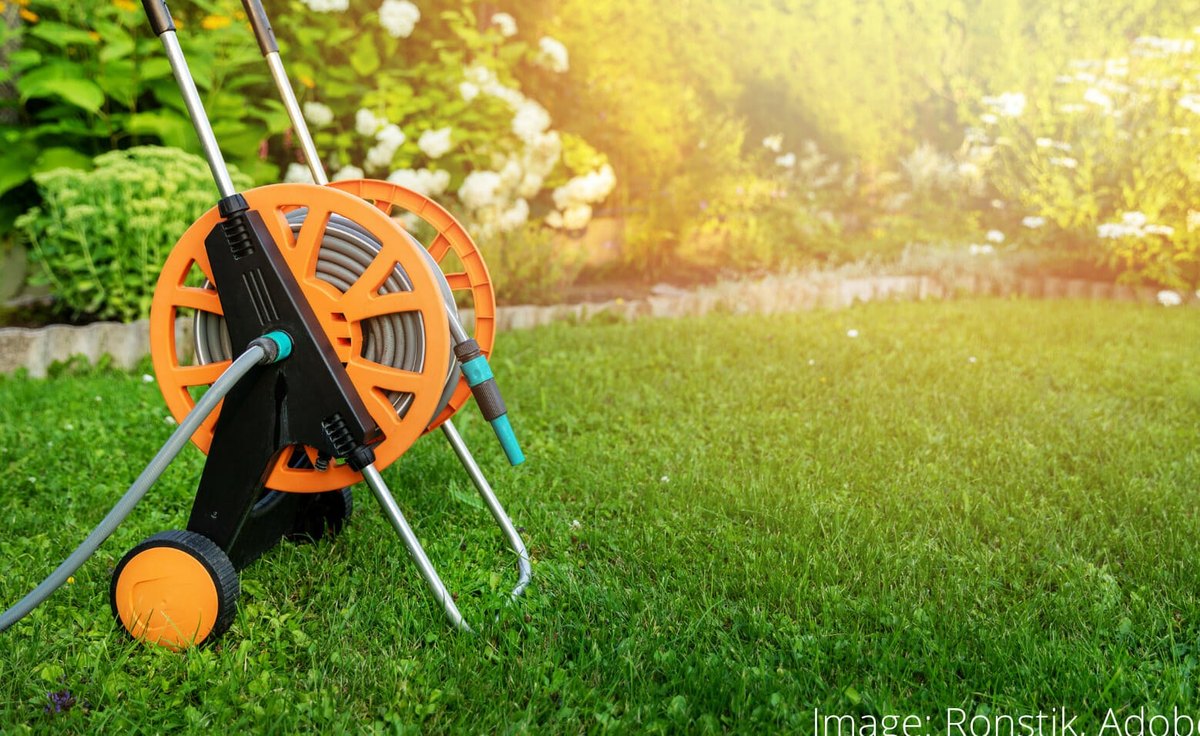
Coil the hose in wide loops or onto a reel. If you can join the two ends together, do so: the hose keeps its natural shape and no dust or insects get inside.
Step 5
Choose where to store it
Keep the hose somewhere clean and dry, such as a shed, garage or store room, away from sharp objects. Do not hang it on a nail or a narrow hook: after a few months a kink forms at the pressure point. A bracket with a wide, rounded surface is much better.
Step 6
Service the outdoor tap
Check the tap and its fixings for damage and rust. Spray rusty areas with WD-40 Multi-Use and remove the deposit with a wire brush. Treat the tap thread once more so the hose screws on easily in spring.
Finally, fit an insulated tap cover: it reduces the risk of any remaining water freezing.
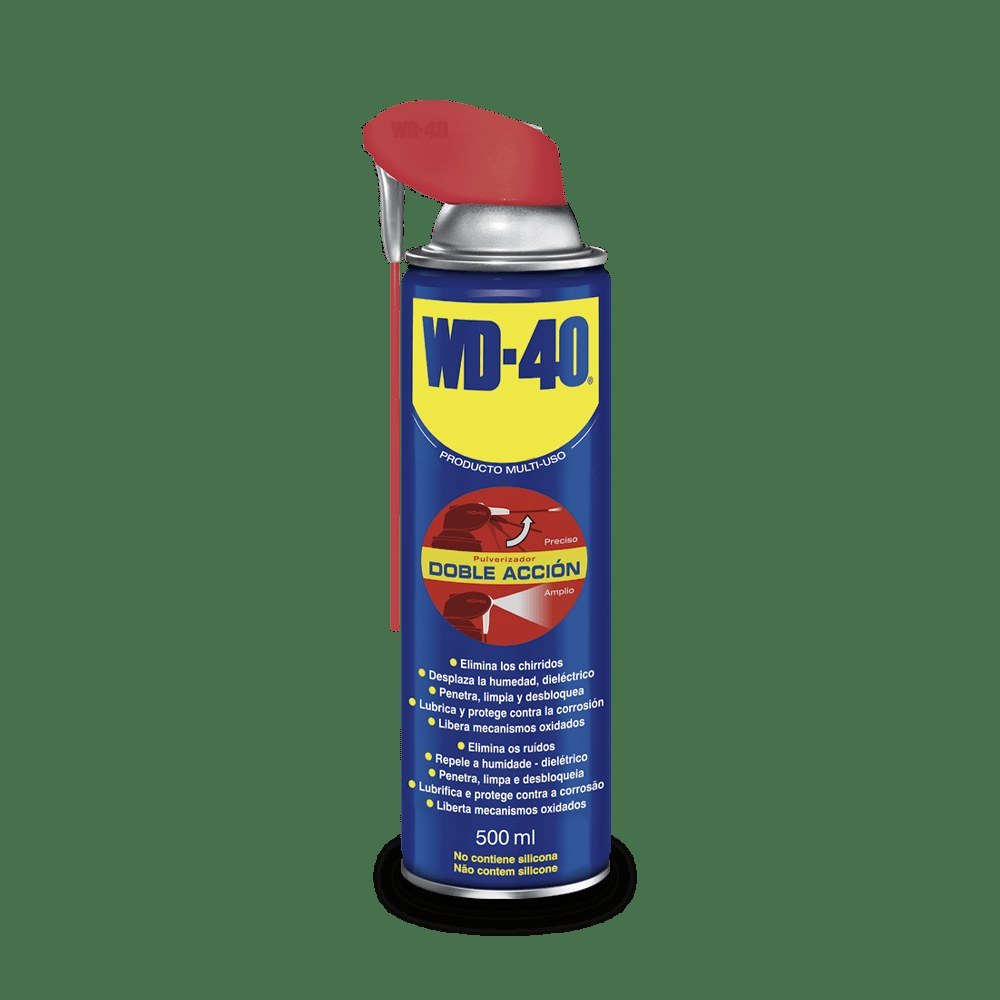
Tip: Store detachable spray guns and sprinklers separately in a box after treating their moving parts with WD-40: they will work without sticking in spring.
What next
In spring, before the first watering, check the hose and washers, open the valve and treat the tap thread with WD-40 Multi-Use. Repeat this routine every autumn as soon as night temperatures approach freezing.
These uses come from the experience of WD-40 users in many countries. Always follow the instructions and warnings on the product label.
More guides in «How to use».