In a sealed heating system, hot water from the boiler travels through pipes to every room. When air collects in a radiator it blocks circulation: the radiator gurgles, the top stays cold and the boiler runs longer and burns more gas.
You can bleed a radiator yourself in 10-15 minutes. Do it every autumn before the heating season and whenever you hear bubbling or feel a cold top.
What you will need
Important: Never unscrew the bleed valve completely: the screw can shoot out under pressure and flood the floor. If several radiators are cold at once or the system pressure keeps dropping, the problem is more serious and you should call a professional.
Step 1
Identify the problem
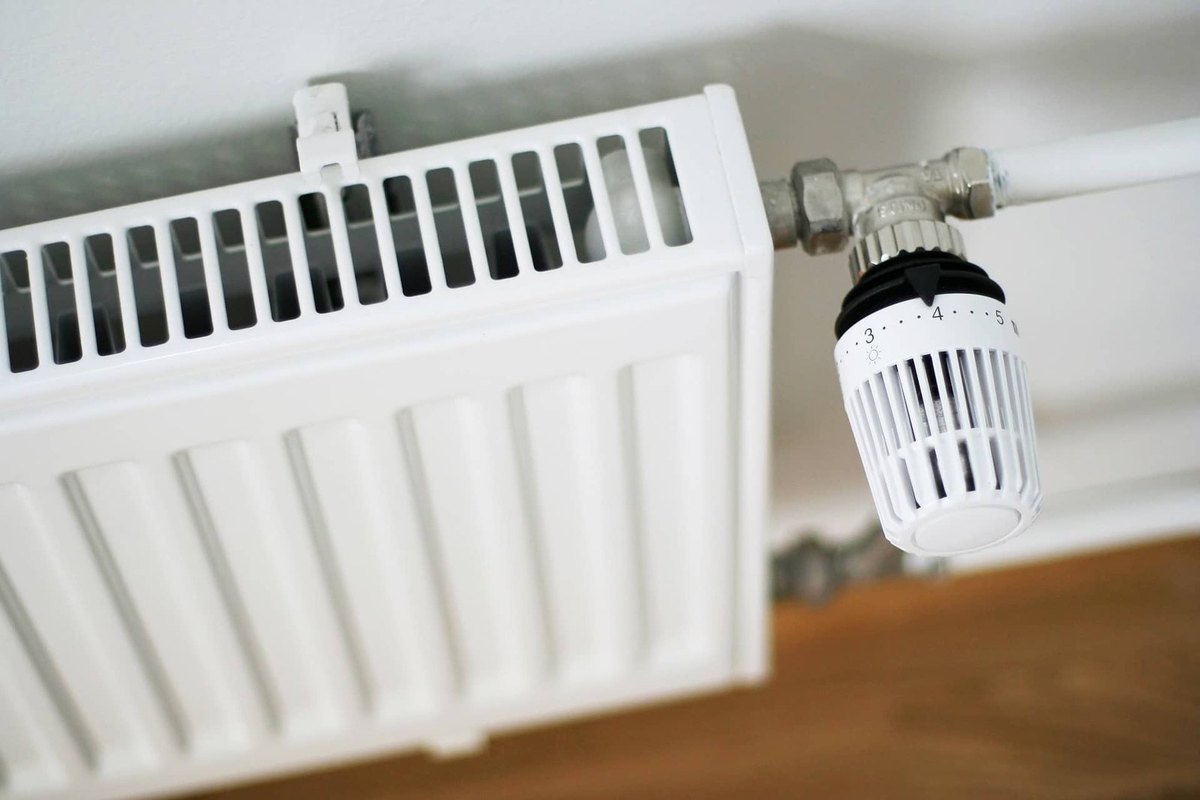
Switch the heating on and let the radiators warm up. Carefully run your hand down the radiator from top to bottom: if the top is noticeably cooler than the bottom, or the radiator gurgles, there is air inside.
If the whole radiator is cold, first check that the flow and return valves are open and the thermostatic head has not stuck. A cold bottom with a warm top points to sludge rather than air.
Step 2
Prepare the system
Switch off the boiler or circulation pump and turn every room thermostat to maximum. Wait about an hour: the water settles, air collects at the top of the radiator and the radiator cools so you will not scald yourself.
In a block of flats with central heating you will not have access to the pump, so simply open the thermostatic head fully and work carefully in gloves, as the water will be hot.
Step 3
Locate and free the bleed valve
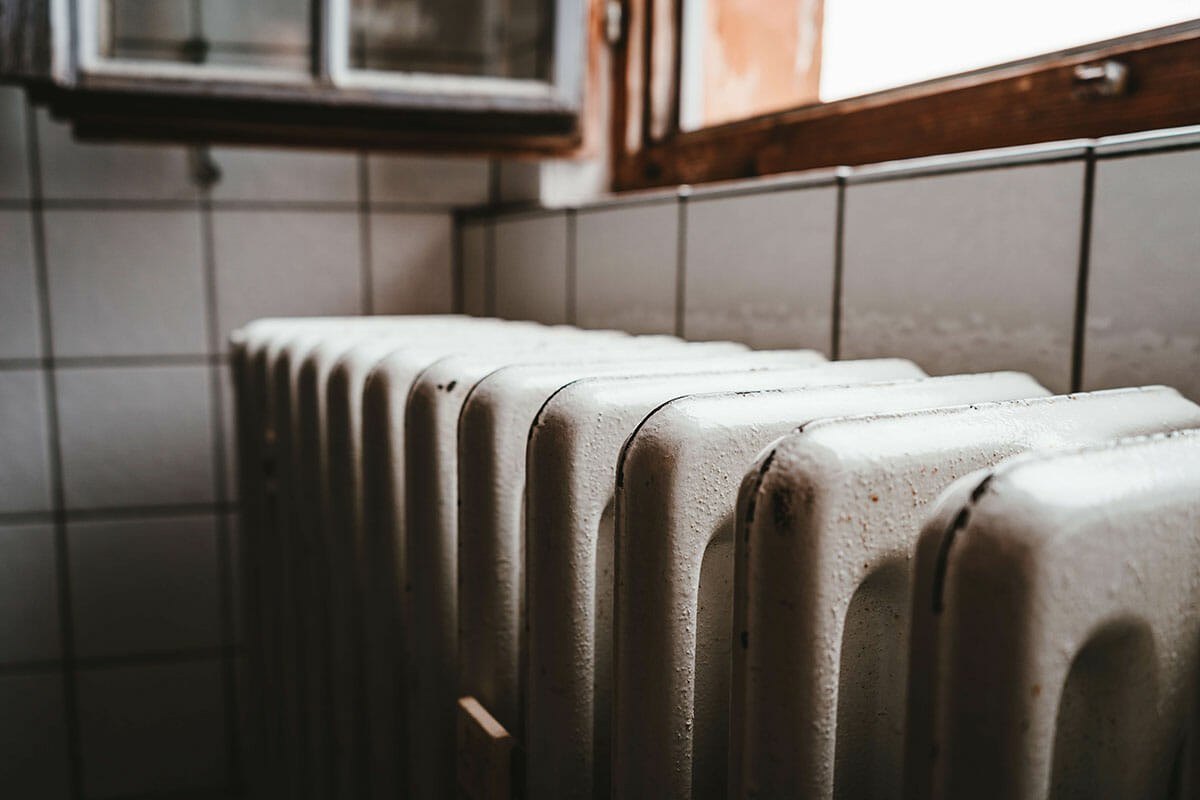
The bleed valve sits at the top of the radiator, on the left or right. It looks like a small round nut with a square socket for the key or a slot for a screwdriver.
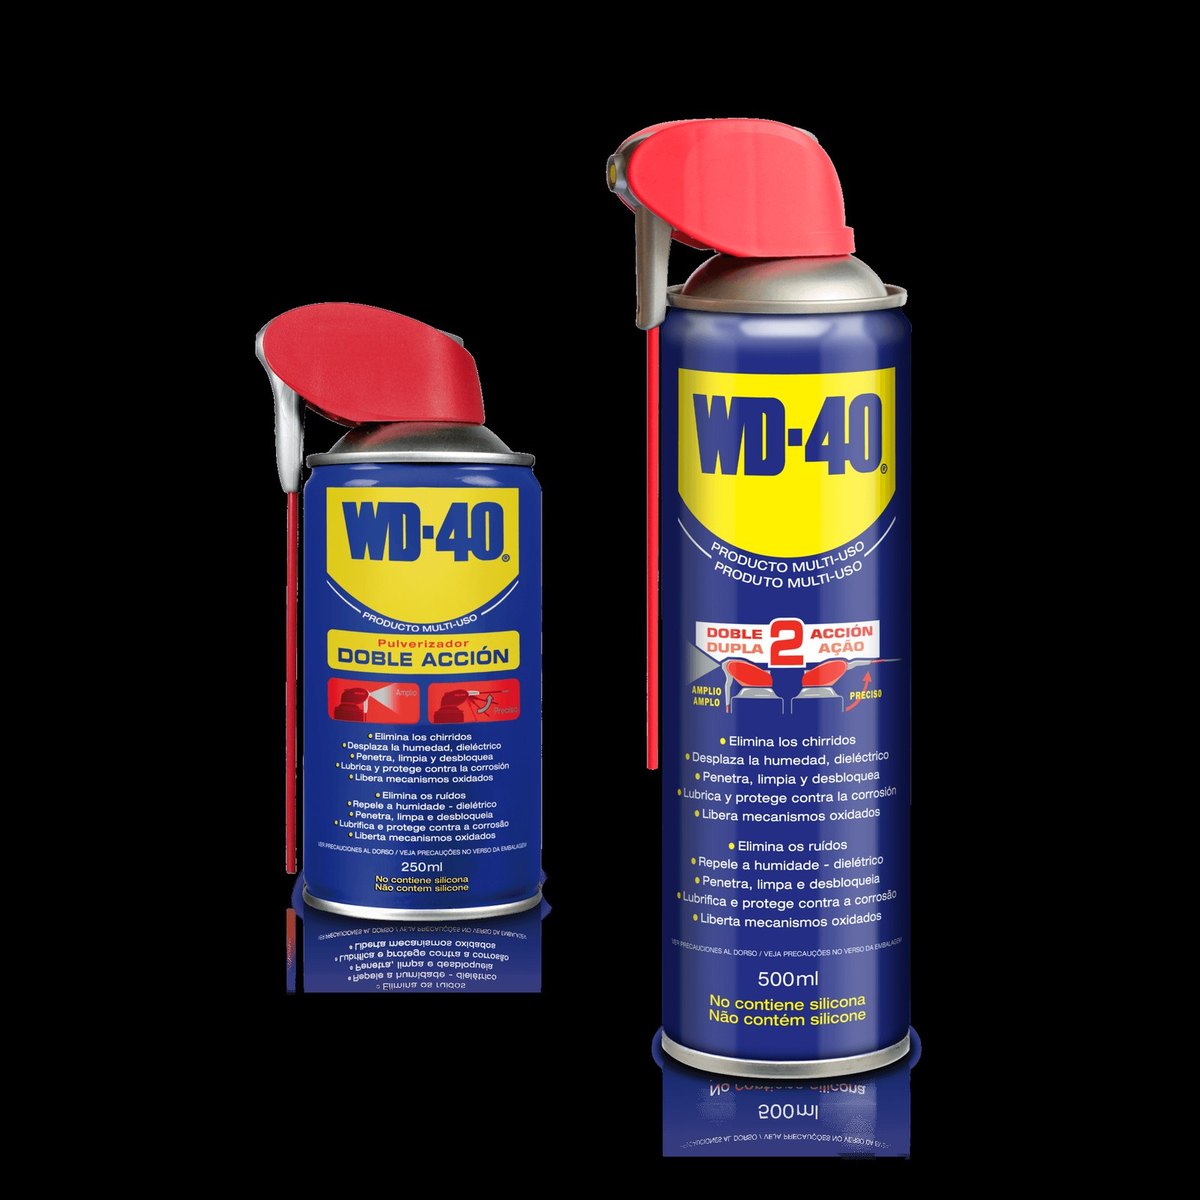
If it will not turn, do not push harder. Apply WD-40 Smart Straw through the thin straw and wait a few minutes. For a badly seized valve use WD-40 Specialist Penetrant and give it 10-15 minutes to work.
Step 4
Release the air
Place a cloth under the valve, hold the glass beneath it and turn the key anticlockwise a quarter or half turn. You will hear a hiss: that is the air escaping, exactly as it should.
Wait until water flows in a steady stream with no bubbles. Then close the valve clockwise without overtightening and wipe away any drips.
Step 5
Repeat and check the pressure
Work through every radiator in the house, starting on the lowest floor and nearest the boiler, and do not forget small radiators in store rooms or the bathroom.
Then switch the heating back on. If you have your own boiler, check the pressure gauge: bleeding usually lowers it slightly. Top up to the value given in the boiler manual and an hour later check that every radiator heats evenly.
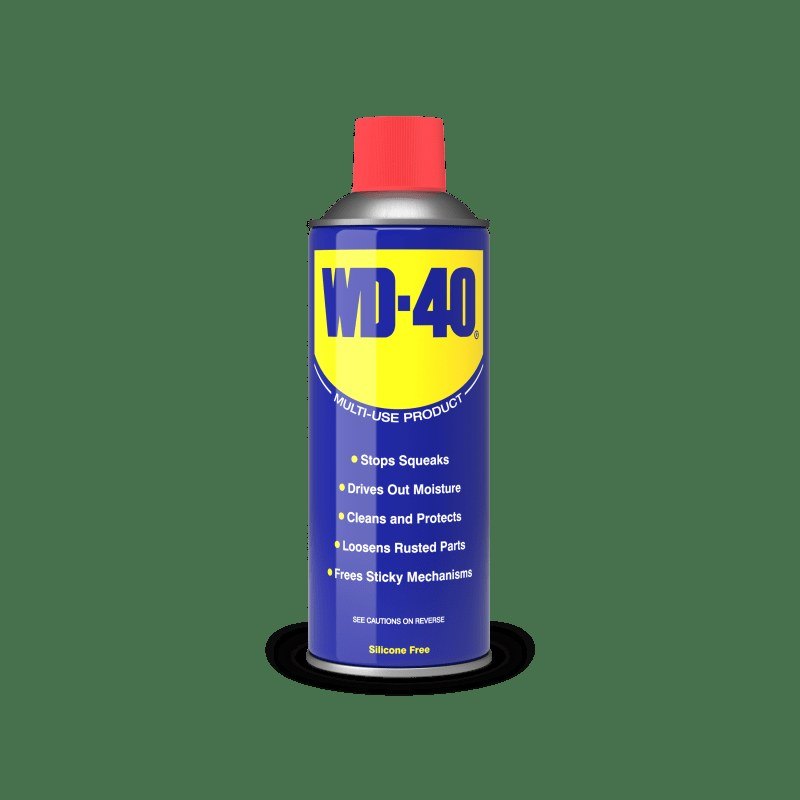
Tip: Once the bleed valve is closed, put a drop of
WD-40 Multi-Use on it. The film displaces moisture and protects the thread from rust and limescale, so next autumn the valve will open easily.
What next
Bleed your radiators once a year before the season and after any repair or system top-up. If air keeps collecting, check the system for leaks. See our radiator maintenance guide for the other preparation steps.
These uses come from the experience of WD-40 users in many countries. Always follow the instructions and warnings on the product label.
More guides in «How to use».