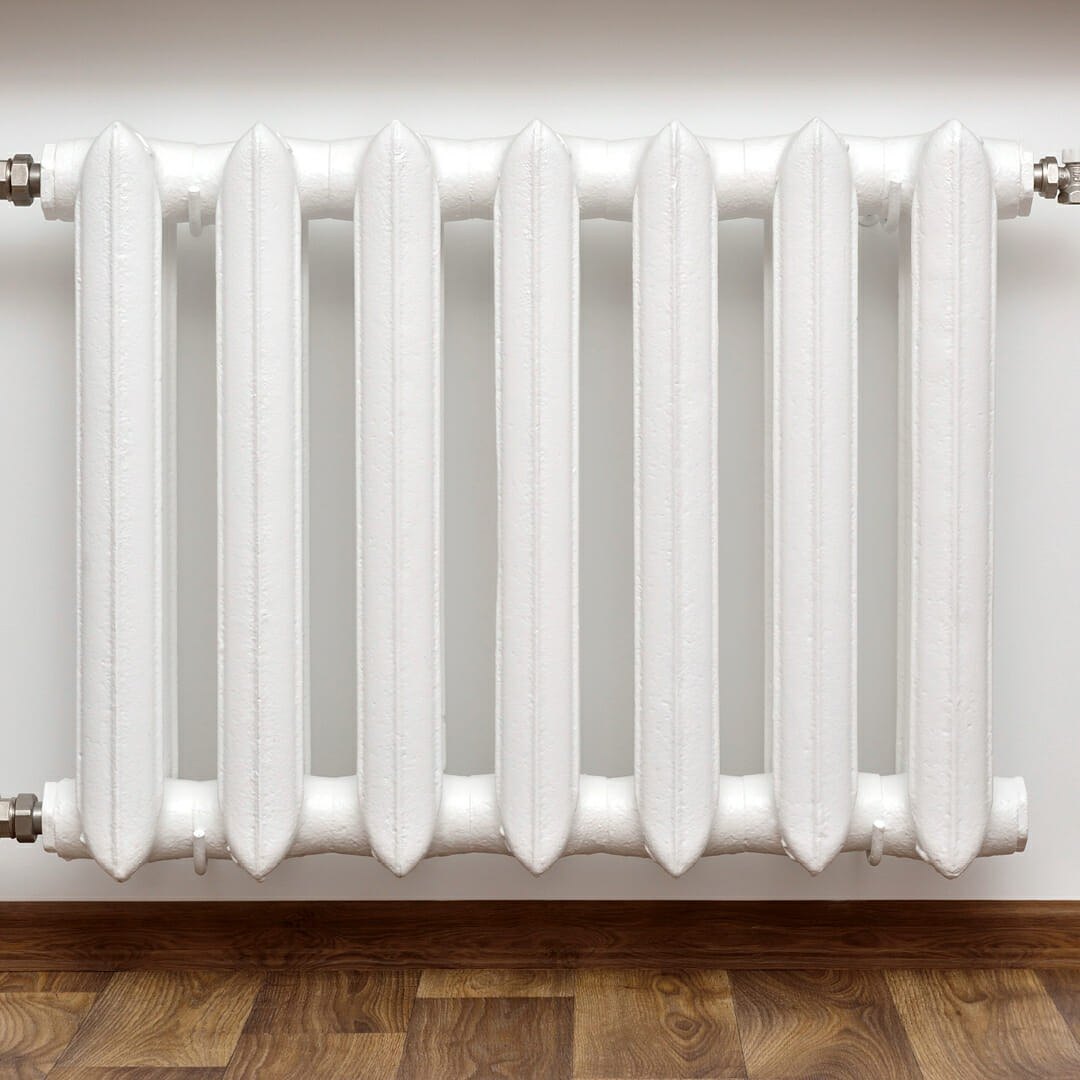
An old radiator with flaking paint and rust spots spoils a room, especially if it is a handsome cast iron column model or a designer piece in plain view. Many people think straight away of replacing it, but if the radiator does not leak and heats well, you can easily renovate it yourself.
The secret is simple: paint only goes on a dry, clean, rust-free surface, with primer and a proper heat-resistant radiator enamel. Then the finish will not blister the first time the heating comes on.
What you will need
- Wire brush or sandpaper (80-120 grit)
- Metal degreaser (white spirit or soapy water) and microfibre cloths
- Anti-corrosion primer and heat-resistant radiator enamel, brushes, small roller
- Old newspapers or dust sheet, masking tape
- WD-40 Specialist Penetrant for seized nuts and valves
- WD-40 Multi-Use or WD-40 Smart Straw to protect valves and fittings
Important: Only work on a radiator that is switched off and completely cold, and wear gloves and glasses. Remove rust in a ventilated room and wear a dust mask when sanding cast iron.
Step 1
Prepare and strip the radiator
Close the valves and wait until the radiator has cooled. Cover the floor with newspaper or a sheet and mask off the wall behind the radiator, the pipes and the valves.
Use a wire brush or sandpaper to remove flaking paint and every patch of rust back to sound metal. Painting over rust does not work: it will bleed through the enamel and keep eating the metal. If union nuts or brackets are seized, soak them with WD-40 Specialist Penetrant and wait a few minutes.
Step 2
Degrease and prime
Wash off dust and grease with degreaser or warm soapy water, especially between the sections where kitchen dust has collected for years. Let the radiator dry completely.
Coat the areas where you removed rust with anti-corrosion primer. Without primer the enamel grips poorly and can peel when the radiator heats up. Apply the primer with vertical and horizontal strokes, use a small brush or radiator roller in awkward spots, and leave it for at least 5-6 hours.
Step 3
Paint the radiator
Use only heat-resistant radiator enamel, as ordinary paint yellows and cracks with heat. Read the instructions on the tin or aerosol first: drying times and the number of coats vary between manufacturers.
Apply thin coats, working from top to bottom to avoid runs. Two thin coats are better than one thick one.
Step 4
Let the paint cure
Do not rush to remove the newspapers: drips can fall for several hours. Do not switch the radiator on until the paint is fully dry according to the instructions, and ventilate the room well for a few days, avoiding high humidity and heaters nearby.
Step 5
Protect the valves and metal parts
Once the paint is dry, apply WD-40 Smart Straw to the valves, threads, brackets and unpainted metal parts, then wipe off the excess with a microfibre cloth. The film displaces moisture and guards against corrosion, and the valves will turn easily at the start of the season.
Do not apply it to paintwork you still intend to recoat: new enamel will not adhere well to a lubricated surface.
Tip: Late summer is the best time to paint a radiator: the heating is still off, you can open the windows, and the paint has time to harden fully before the cold arrives.
What next
From then on, simply dust regularly and once a year, before the season, bleed the radiator and treat the valves with WD-40 Multi-Use. Your renovated radiator will keep heating well and looking smart for years.
These uses come from the experience of WD-40 users in many countries. Always follow the instructions and warnings on the product label.
More guides in «How to use».