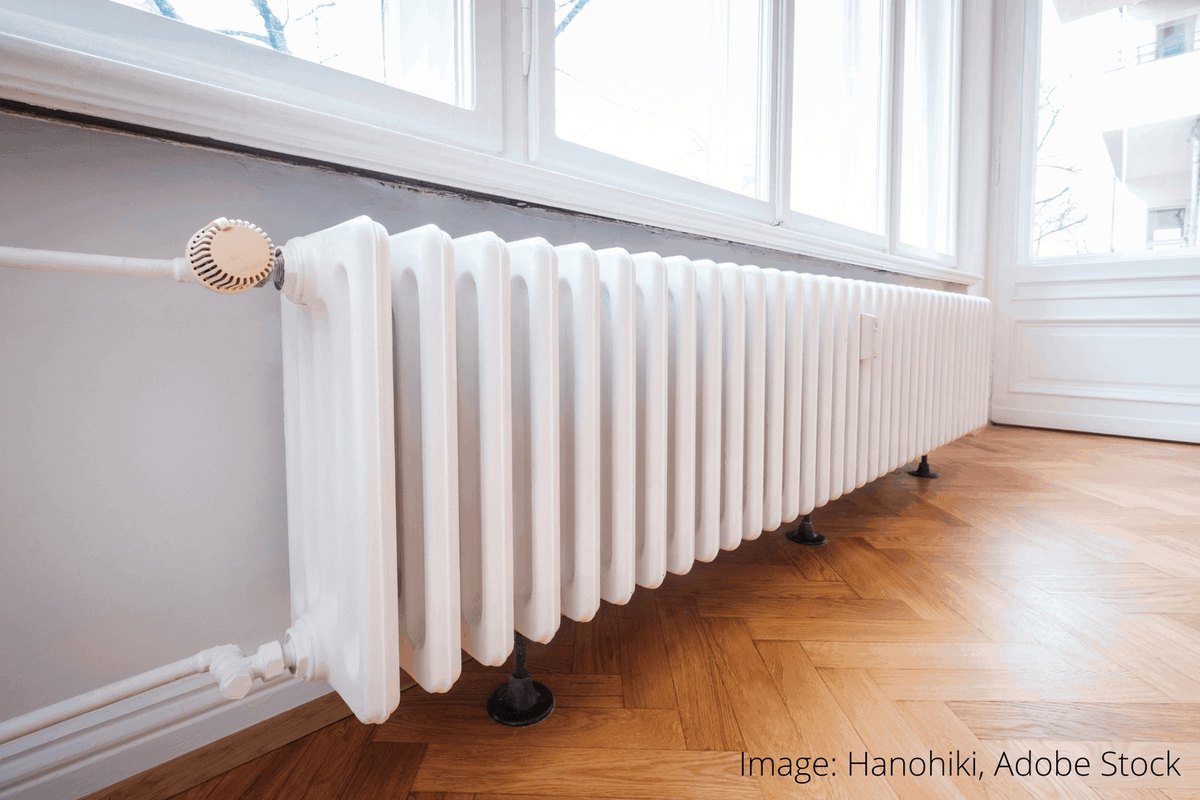
An old radiator with flaking paint and rust spots spoils even a freshly decorated room. It is a particular shame when it is a handsome cast-iron or designer model that could become a feature. Rather than replacing it, a proper paint job is often all it needs.
The key rule: you cannot simply paint over rust, because it will come through again and keep eating the metal. Paint only adheres to a clean, dry, grease-free surface, and a radiator needs a primer and paint that can withstand heat. The best time for the job is outside the heating season.
What you will need
- WD-40 Specialist Degreaser for degreasing before painting
- WD-40 Multi-Use for valves, brackets and threads
- WD-40 Specialist Penetrant for a seized bleed valve
- sandpaper, wire brush, scraper
- anti-corrosion primer and heat-resistant radiator paint
- narrow radiator brush or mini roller, spray paint (optional)
- masking tape, dust sheet or newspaper, gloves, respirator
Important: Only paint a cold radiator and keep the room well ventilated. Do not turn the heating on until the paint is fully dry according to the manufacturer's instructions.
Step 1
Turn off the radiator and prepare the area
Close the radiator valves and let it cool down completely. Cover the floor beneath with a dust sheet or newspaper, protect the wall behind with paper and masking tape, and mask the valves, thermostatic head and pipes.
If the bleed valve or the main valves will not turn, apply WD-40 Specialist Penetrant, wait a few minutes and work them free gently. It is also a good moment to bleed the radiator so it heats evenly once it is back on.
Step 2
Remove loose paint and rust
Use a wire brush and sandpaper to strip anything that is flaking and to clean rust spots back to sound metal. Paint that is still intact only needs keying so the new coat grips better. Between the sections, use a narrow brush or sandpaper wrapped round a ruler. Brush and vacuum away the dust.
Step 3
Degrease the surface
Grease from hands, soot and household dust stop paint from adhering. Treat the whole radiator with WD-40 Specialist Degreaser: it quickly dissolves grease and dirt and leaves no film. Wipe with a clean cloth and let the surface dry completely. Do not use a lubricating product at this stage, as it leaves a layer that paint will not stick to.
Step 4
Apply primer
Apply an anti-corrosion primer compatible with your chosen paint to the areas cleaned back to metal, or preferably to the whole radiator. Work in both vertical and horizontal strokes, reaching awkward spots with a narrow brush or small roller. Let the primer dry thoroughly: usually at least several hours, see the tin for the exact time.
Step 5
Paint the radiator
Use only paint made for radiators, otherwise it will yellow or peel after the first heat-up. Apply thin coats, starting with hard-to-reach areas and the back, then the front faces. Several thin coats with full drying between them give a better result than one thick coat with runs. Spray paint works well on finned and cast-iron sections.
Step 6
Let it dry and protect the fittings
Do not lift the dust sheet straight away, as drips can still fall. Remove the tape once the paint has set and do not turn the radiator on until it is fully dry. Then give the valve threads, brackets and bleed valve a short spray of WD-40 Multi-Use and wipe off the excess, so they will not seize and will turn easily next season.
Tip: To turn the radiator into a feature, paint it a shade darker or lighter than the wall, or choose a contrasting colour. On cast-iron radiators with relief patterns, two colours alternating by section look striking.
What next
A painted radiator only needs dusting with a soft cloth. Once a season check the valves and bleed screw and treat them with WD-40 Multi-Use so everything opens easily before the heating goes on.
These uses come from the experience of WD-40 users in many countries. Always follow the instructions and warnings on the product label.
More guides in «How to use».