After months of standing idle, radiators often start badly: the top stays cold, the valves will not turn and dust behind the radiator gives off an unpleasant smell when it heats up. A little maintenance before October solves most of these problems without calling anyone out.
Below are four steps for a water radiator. If you have an electric oil-filled heater or a modern radiator with an automatic air vent, skip the first step and go straight to cleaning.
What you will need
Important: Water from the bleed valve can be very hot. Wear gloves, hold a glass under the valve and never unscrew it completely. Always unplug an electric heater before cleaning it.
Step 1
Bleed the radiator
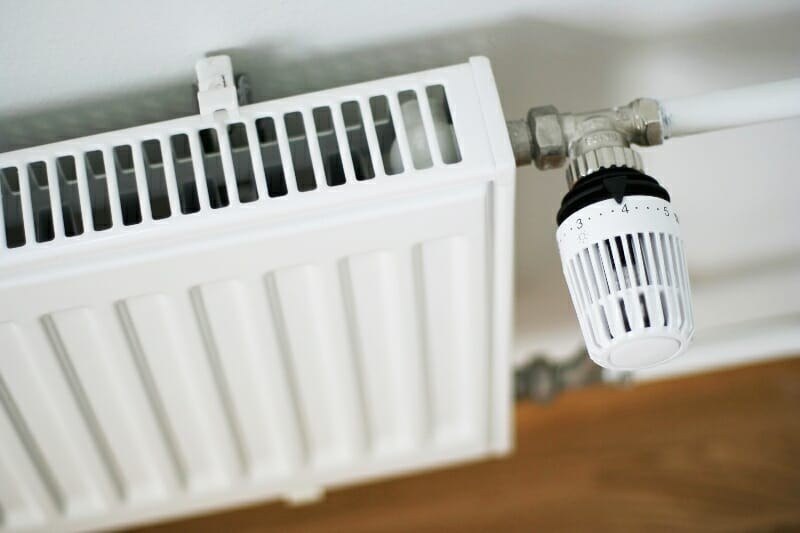
Do this once a year, ideally just after the heating is switched on. Run the system until the radiators are warm and find the small bleed valve at the top of the radiator.
Put on gloves, hold a glass underneath, place a cloth below and slowly turn the valve half a turn anticlockwise with the key. Air will hiss out first, then water will flow in a steady stream without bubbles. Close the valve. If you have a boiler, check the pressure gauge and top up the system if needed.
Step 2
Remove the dust
Dust on a radiator reduces heat output and is carried into the air when it warms up. Clear it at least once a month or whenever you do a thorough clean.
Start with a vacuum cleaner and crevice tool, then clean between the sections and fins with a radiator brush or a long bottle brush. Do not forget the wall and windowsill behind the radiator.
Step 3
Wash the radiator
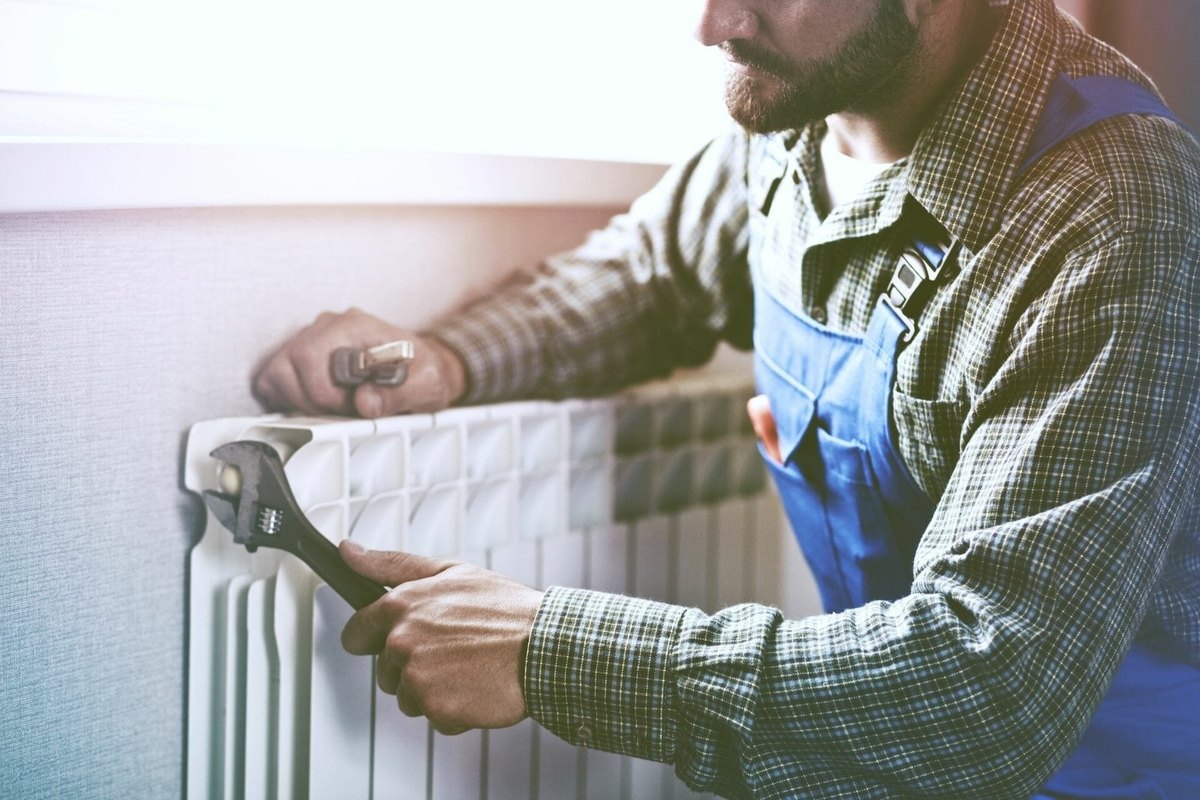
With the radiator cold, wipe the whole surface with a sponge and warm soapy water, then dry it thoroughly with a clean cloth so no moisture is left on the metal.
Decorative grilles and covers are best removed and washed separately with a sponge or small brush, dried and refitted. Avoid harsh chemicals and abrasive powders, as they damage the enamel.
Step 4
Free the valves
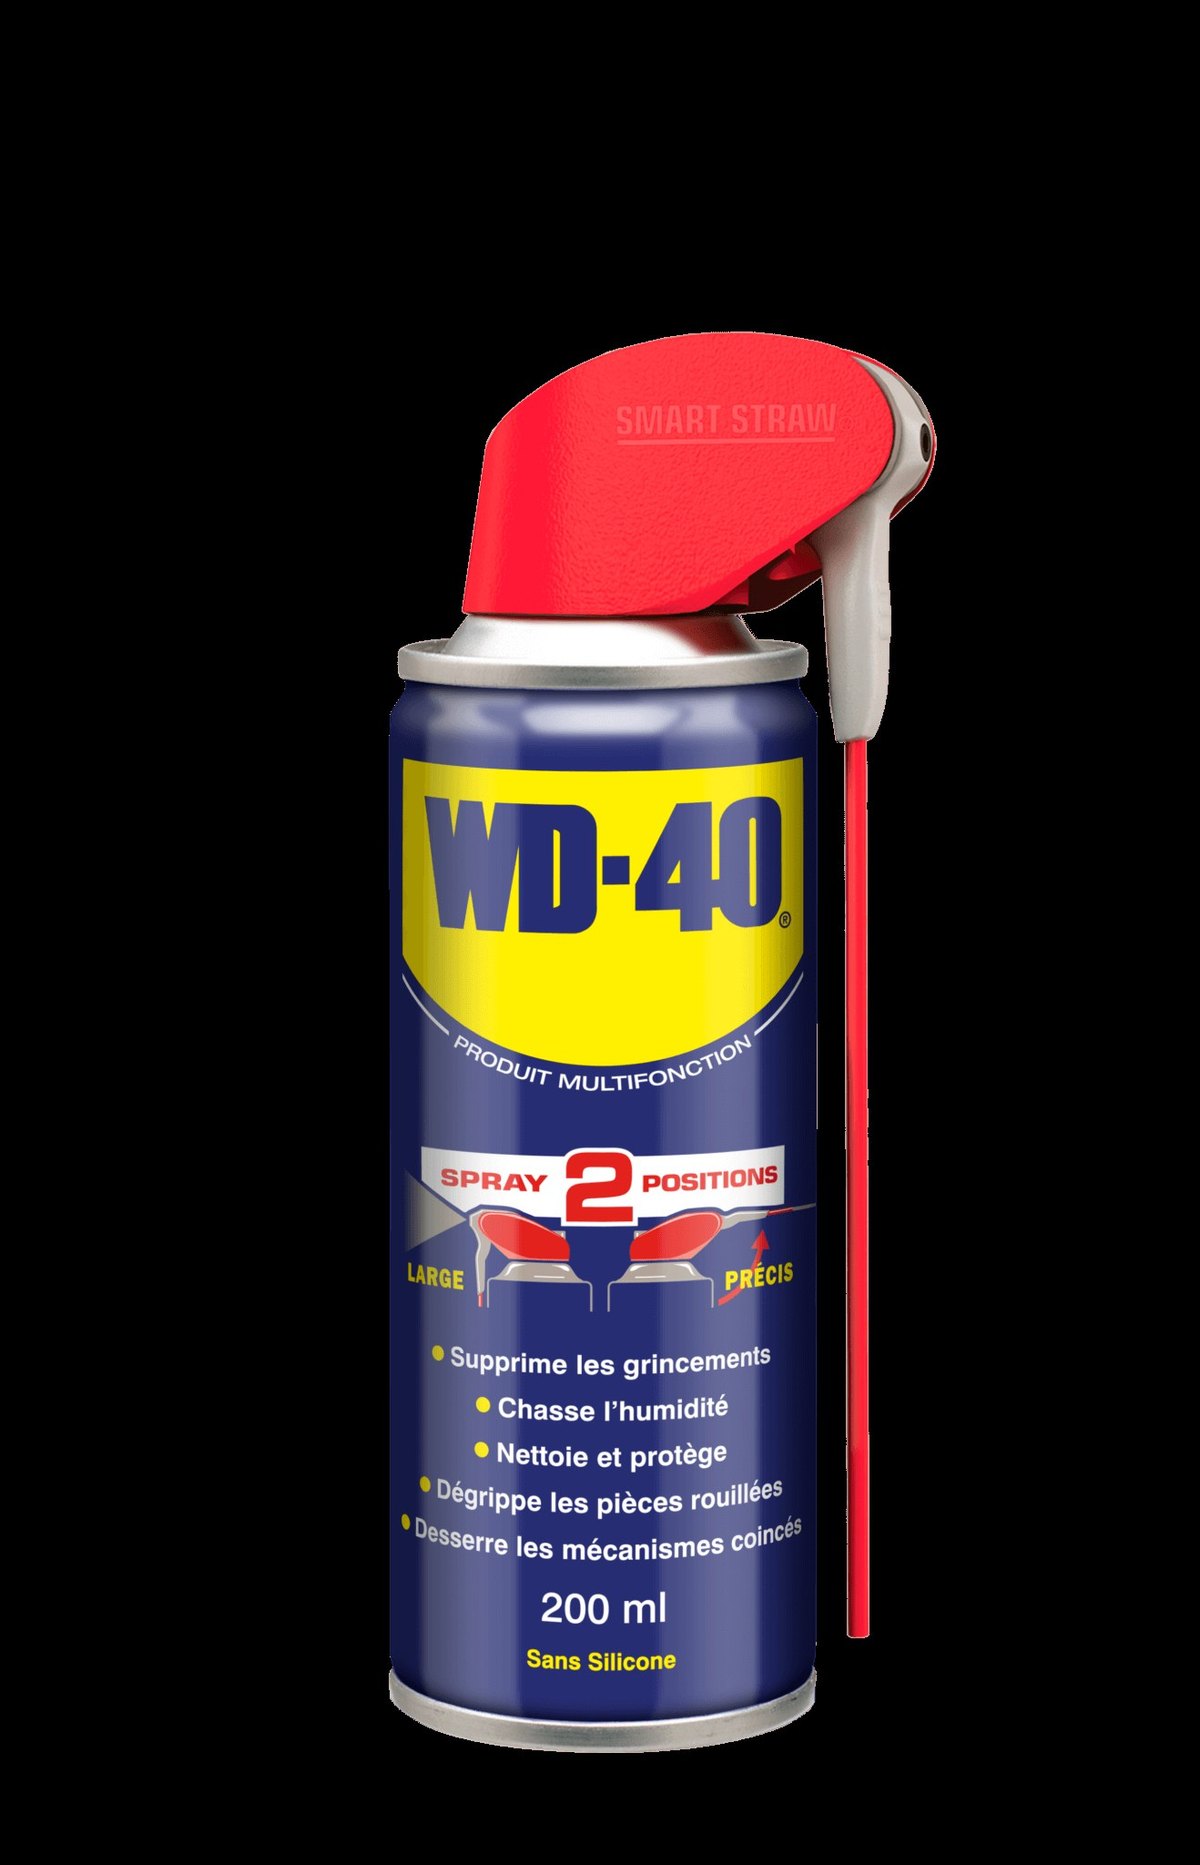
A valve left untouched all summer tends to seize. Flip up the thin straw of WD-40 Smart Straw and apply it precisely to the spindle and thread of the valve, the thermostatic head and the bleed valve. Turn the valve back and forth a few times to work the product in.
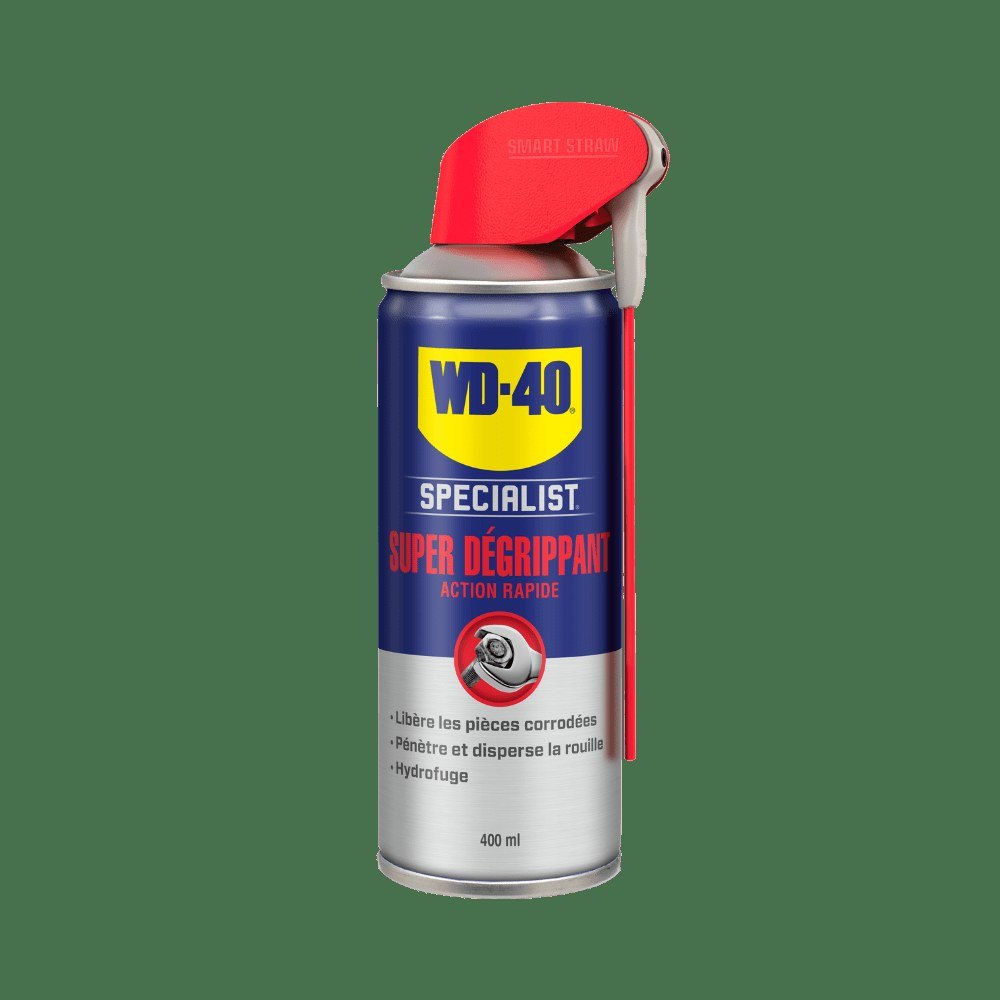
Do the same with the lockshield valve on the return pipe. If a valve will not move, switch to WD-40 Specialist Penetrant, wait 10-15 minutes and try again without excessive force.
Step 5
Check the radiator heats evenly
An hour after finishing, feel the radiator at the top and bottom. Evenly warm means all is well. A cold top means there is still air inside; a cold bottom usually means sludge, and it may be time to consider flushing the system.
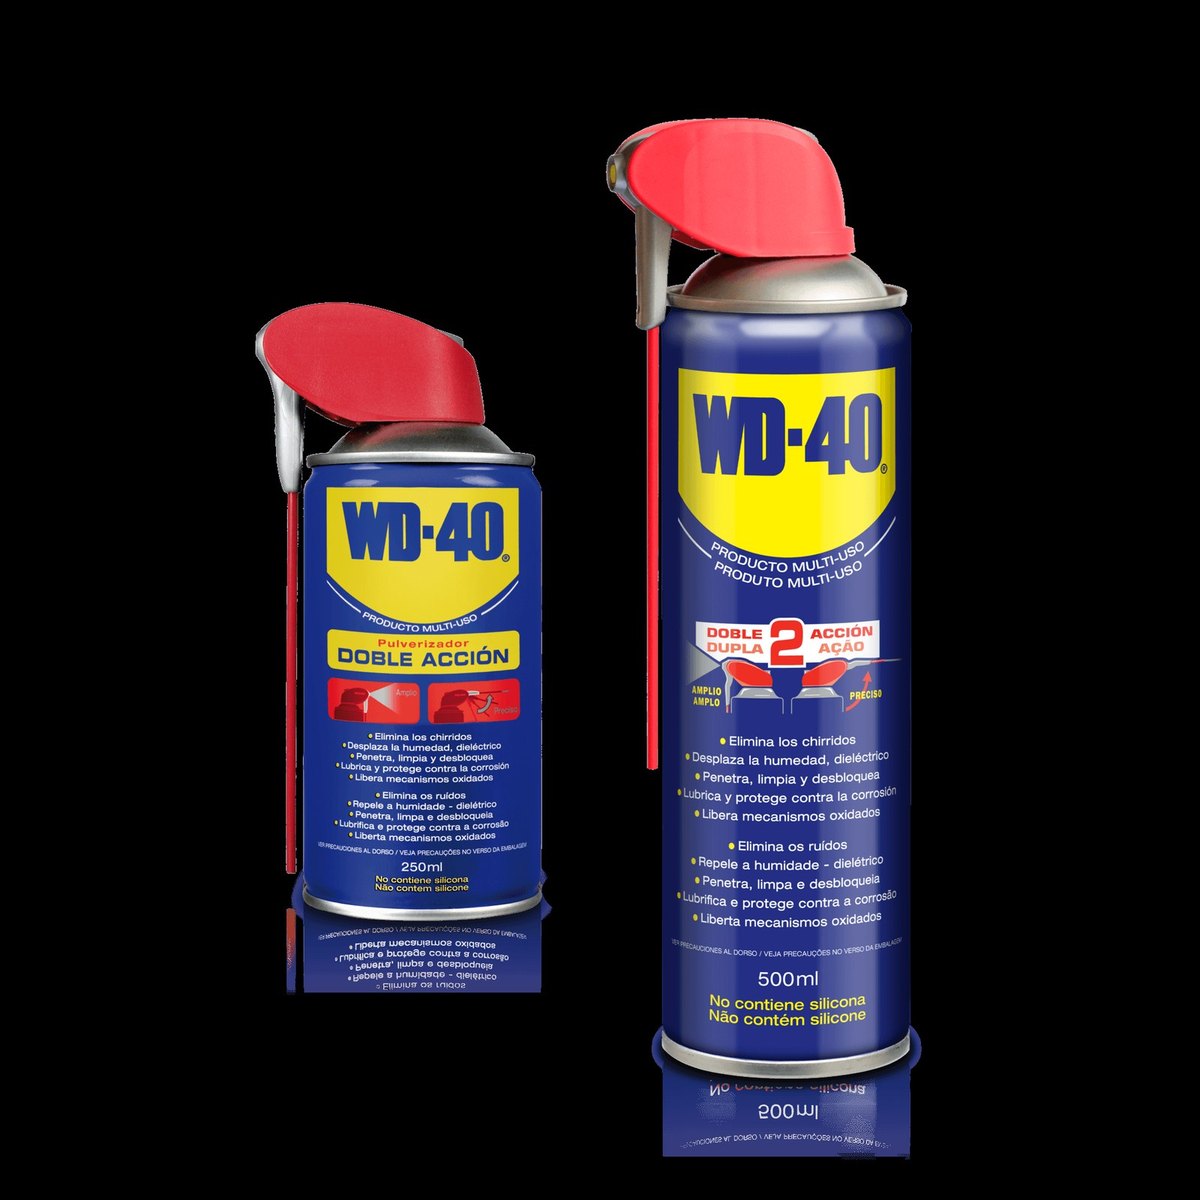
Tip: Do not block a radiator with heavy curtains or furniture, and avoid drying laundry on it all the time: heat gets trapped and damp fabric speeds up corrosion. Once a season, wipe threads and brackets with a cloth and a drop of
WD-40 Multi-Use to keep moisture off.
What next
This routine takes less than an hour for a whole flat, and the radiators heat better and last longer. Dust monthly, bleed once a year and treat the valves at the end of summer, before the heating season begins.
These uses come from the experience of WD-40 users in many countries. Always follow the instructions and warnings on the product label.
More guides in «How to use».