Pedals get replaced when the old ones work loose, crack, start creaking, or when you want to switch to clipless. The job is simple but has two traps: the left pedal has a reverse thread, and an aluminium crank is easily damaged if a pedal goes in crooked or is overtightened.
With 15 minutes and the right spanner you can do it yourself. Here is the step-by-step order.
What you will need
Important: The left pedal has a left-hand thread: it unscrews clockwise. Before you start, shift the chain onto the big chainring so you do not cut your hand on the teeth if the spanner slips.
Step 1
Prepare the bike and workspace
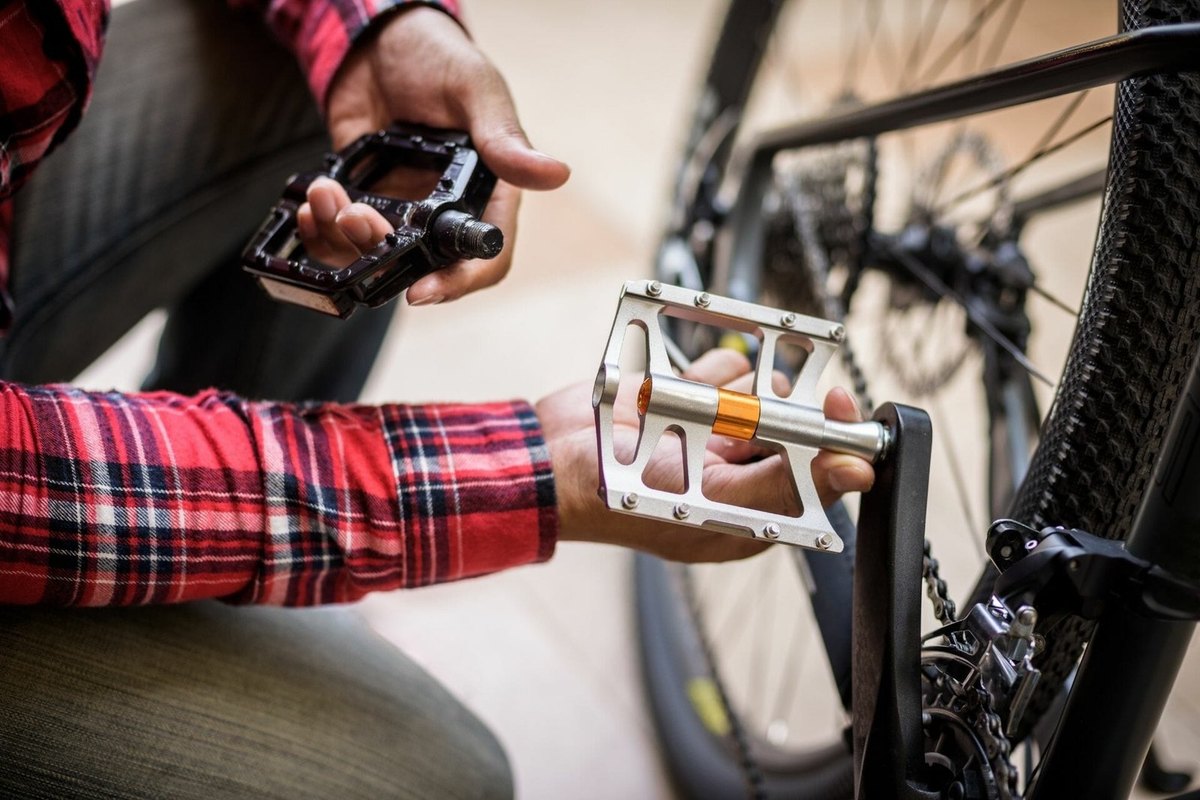
Put the bike in a stand or stand it firmly on the ground. Shift the chain onto the largest chainring so it covers the teeth. Wipe the area around the pedal axles so dirt does not get into the threads.
Step 2
Identify the right and left pedal
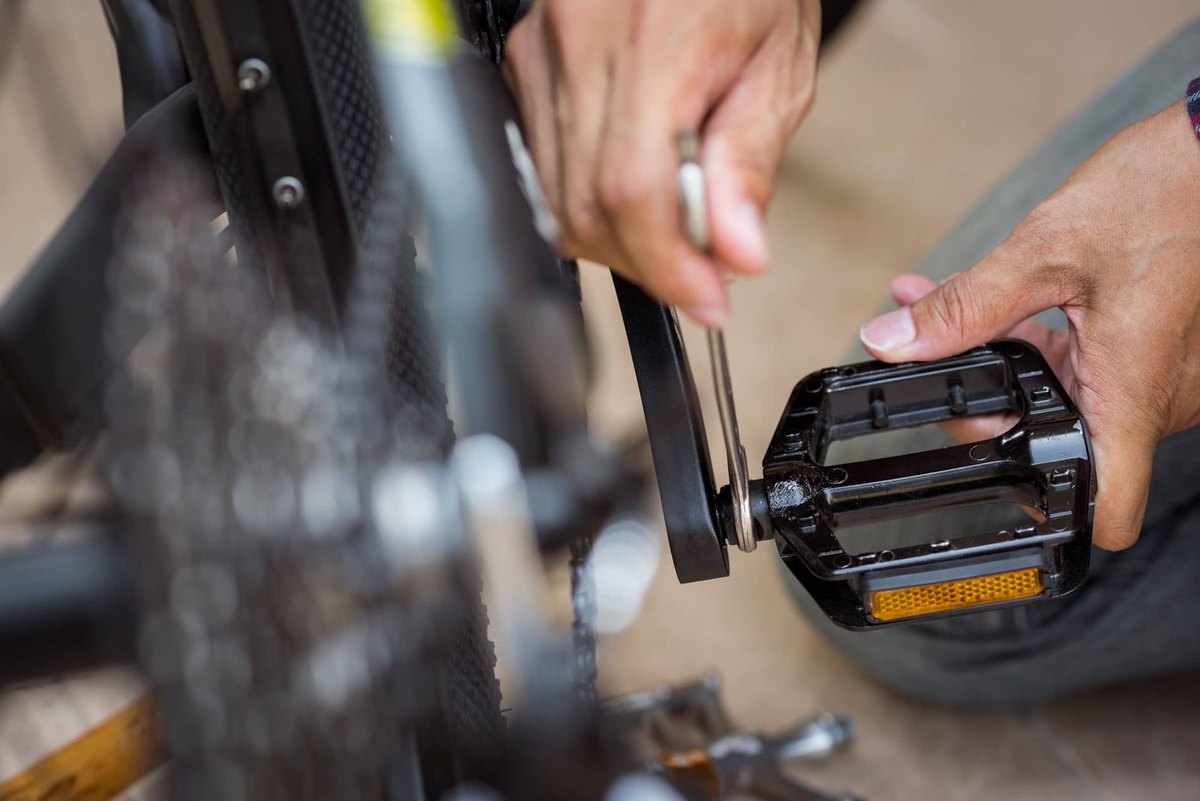
The right pedal is on the chain side and has a normal thread. The left one has a reverse thread. The axles are usually stamped R and L. A simple rule: to loosen either pedal, turn the spanner towards the rear wheel when it sits on top.
Step 3
Loosen the thread if the pedal is seized
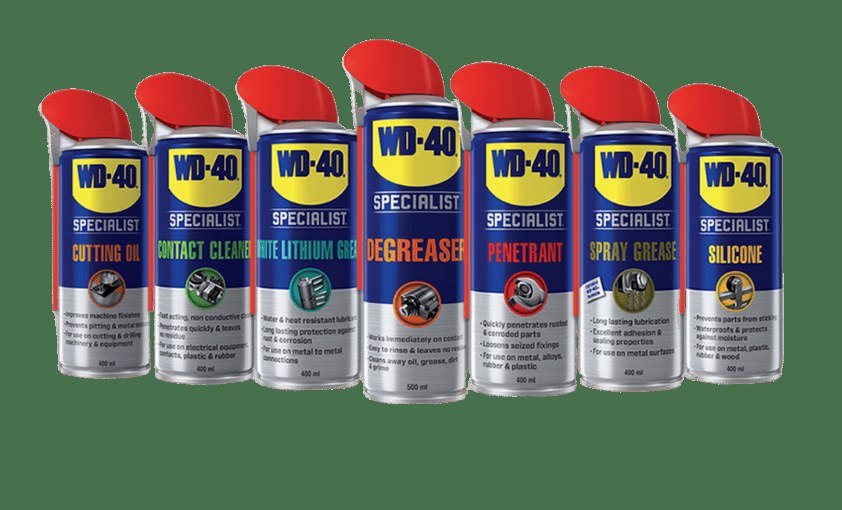
Pedals that have not been removed for years, especially after salty winters, often seize in the crank. Apply WD-40 Specialist Penetrant where the axle enters the crank, from both sides, and wait 5-10 minutes. It soaks into the thread and loosens the corrosion.
Step 4
Remove the old pedals
Fit the spanner on the axle flats or the hex key into the back of the axle. Hold the opposite crank with your hand or foot. Unscrew the right pedal anticlockwise and the left one clockwise. If it will not budge, use a longer spanner rather than jerking it.
Step 5
Clean the crank threads
Put a little WD-40 Multi-Use on the toothbrush and clean old grease, dirt and rust out of the crank threads. Wipe them dry and inspect them: damaged threads are a job for a workshop.
Step 6
Fit the new pedals
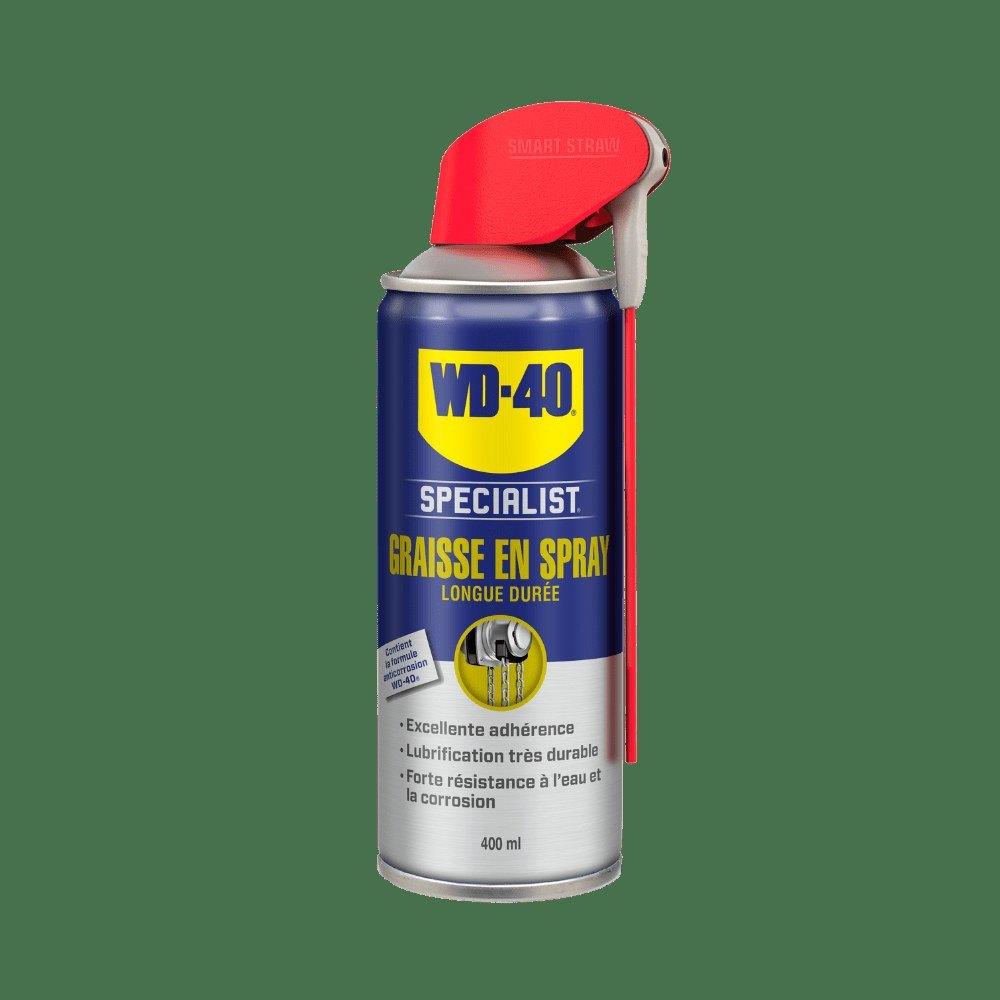
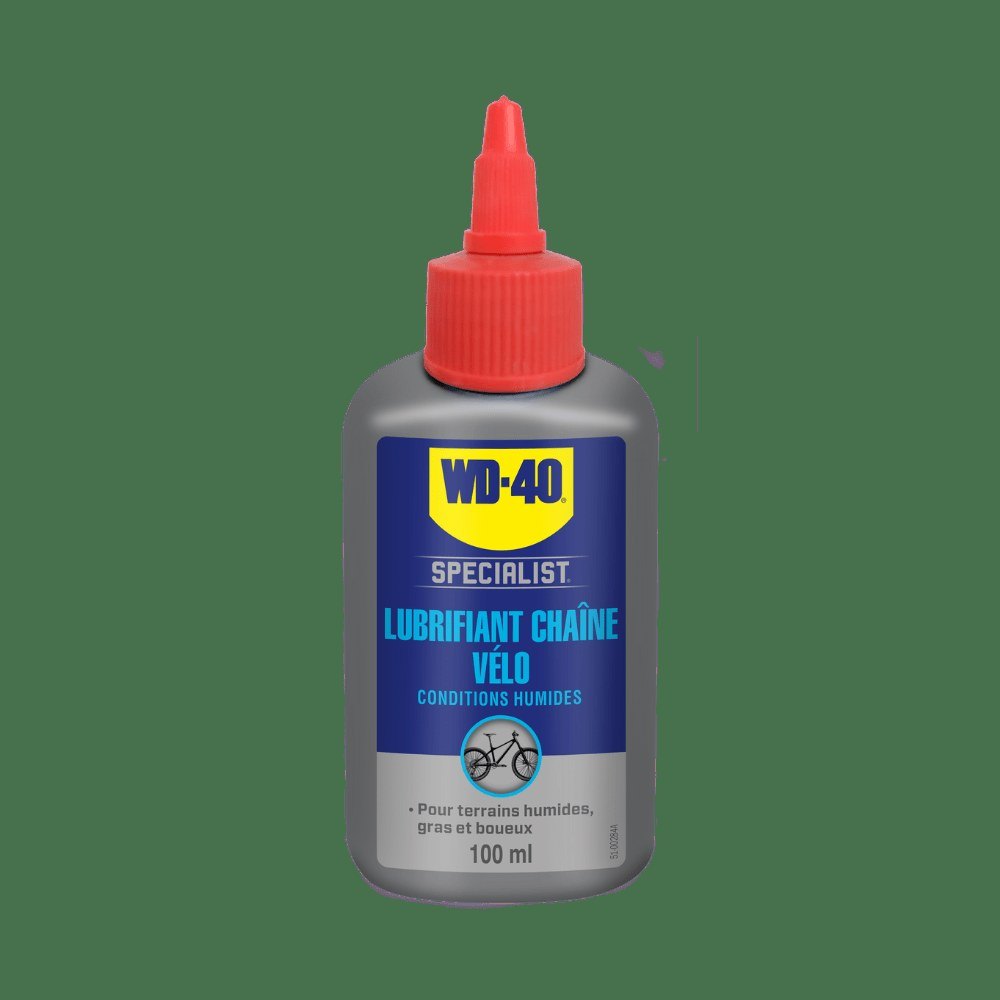
Apply a thin layer of WD-40 Specialist White Lithium Grease to the new pedal threads. It protects against corrosion and makes the next removal easier. Start each pedal by hand, straight and square: the right one clockwise, the left one anticlockwise. When it gets tight, finish snugly with the spanner, without excessive force, so you do not strip the crank thread.
Step 7
Check the result
Spin the pedals by hand: they should turn smoothly with no play or clicking. Wipe off excess grease. On clipless pedals set a low release tension if you are new to them. Check the tightness again after the first 20-30 km.
Tip: Never start a pedal with the spanner. Turn the first few rotations by hand only: if it feels tight, it is going in crooked. A stripped thread in an aluminium crank almost always means a new crank.
What next
Once a season, remove the pedals, clean and grease the threads, especially if you ride in winter and through puddles. Check the pedal bearings for play at the same time and service them if needed.
These uses come from the experience of WD-40 users in many countries. Always follow the instructions and warnings on the product label.
More guides in «How to use».