We hope you rarely need this guide. But punctures happen at the worst moments: at night on a motorway, on a dirt road out of town, in freezing weather with no phone signal and a long wait for help.
Fitting the spare takes 15-20 minutes if the boot holds everything you need and you know the sequence. Check your kit today rather than on the day you need it.
What you will need
- Hi-vis vest and warning triangle
- Jack (usually supplied with the car)
- Cross or telescopic wheel brace
- Locking wheel nut key, if fitted
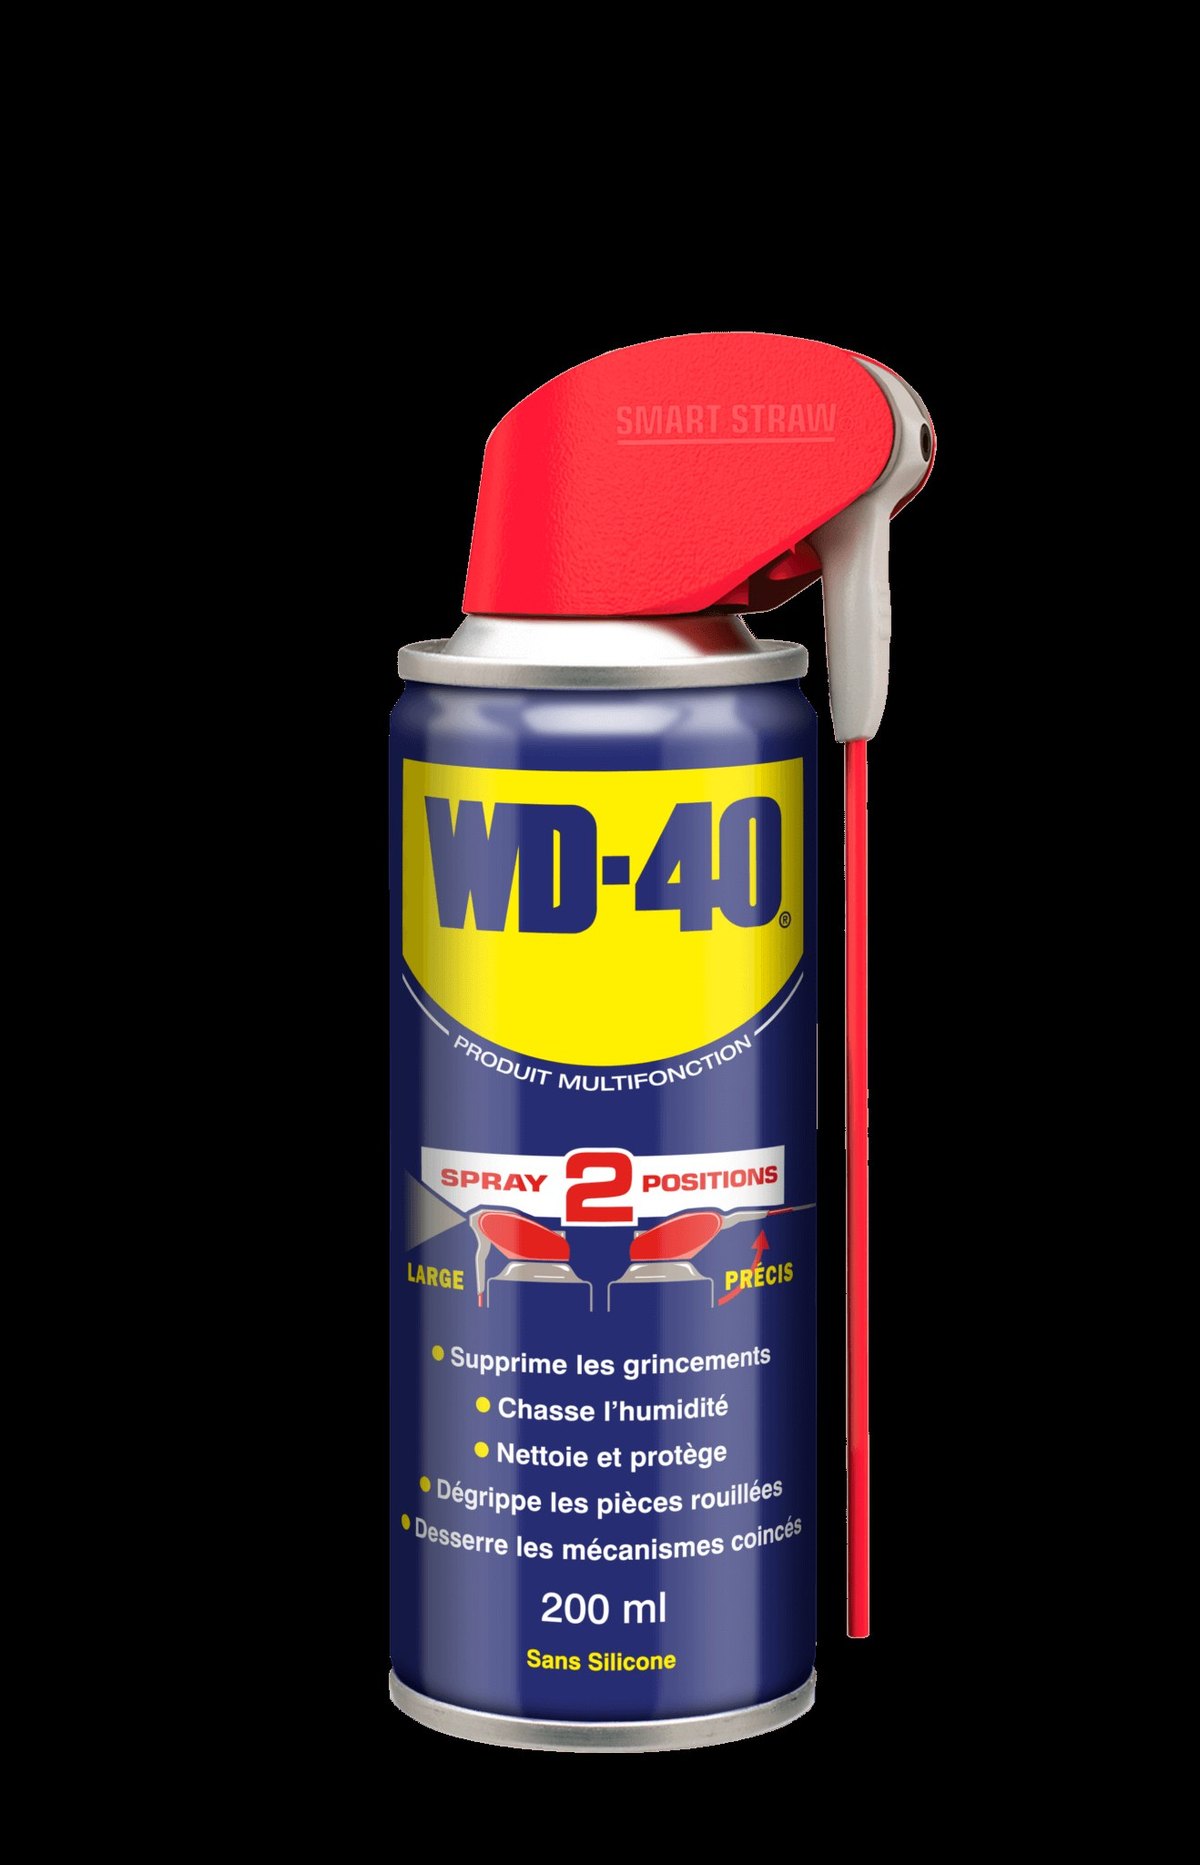
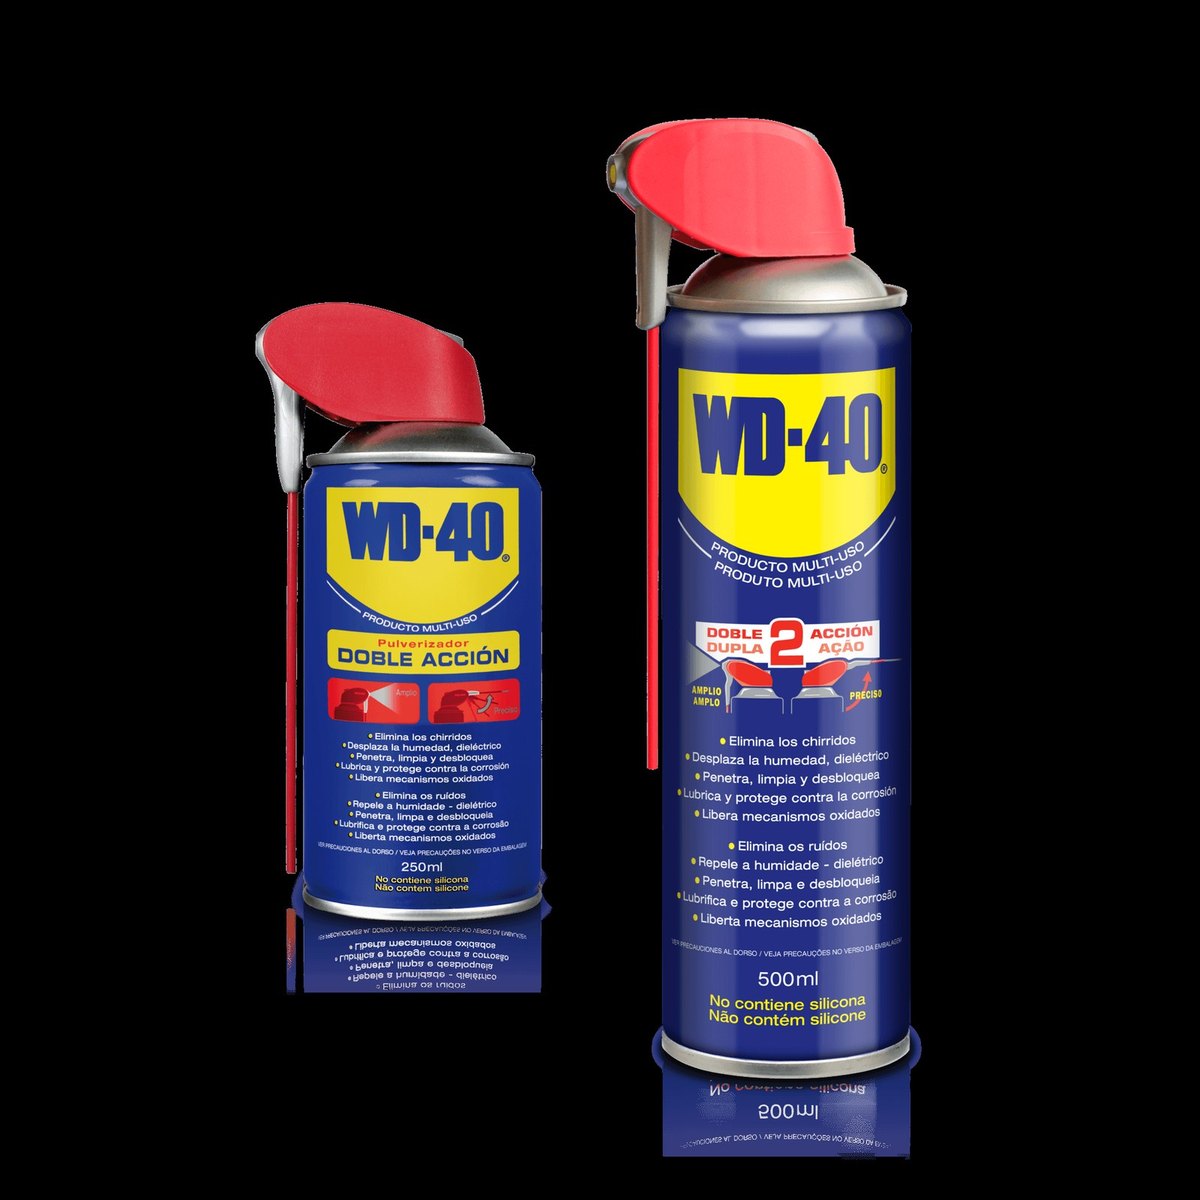
- WD-40 Smart Straw or a compact WD-40 100 ml for the glovebox
- Spare wheel or space-saver, gloves
Important: Never get under a car supported only by a jack. When spraying the wheel nuts, keep the product off the brake disc and pads and wipe off any excess straight away.
Step 1
Stop safely and secure the car
Pull as far away from the traffic lane as possible onto firm, level ground. Switch on the hazard lights, put on your vest even in daylight and place the warning triangle well behind the car, following local traffic rules (in Ukraine at least 20 m in built-up areas and 40 m outside them).
Apply the handbrake and select first gear, or P on an automatic. Ask passengers to get out and stand behind the barrier. Chock the diagonally opposite wheel with a stone or wedge.

Step 2
Loosen the wheel nuts
Remove the wheel trim and bolt caps. With the wheel still on the ground, loosen all the nuts about two turns with the wheel brace. Push the brace with your foot rather than jerking it.
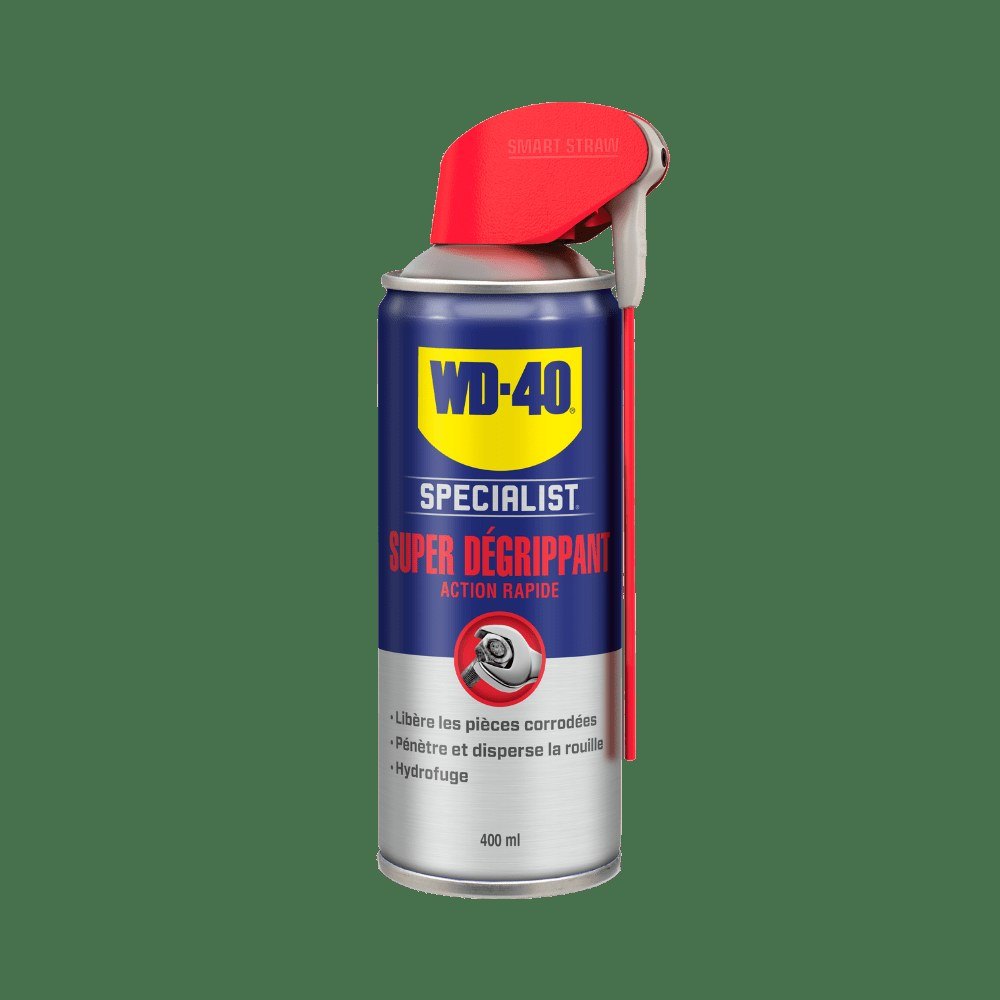
If the nuts have seized after a winter of road salt, apply WD-40 Smart Straw to each through the thin straw, give it a few minutes and try again. For badly seized fixings keep WD-40 Specialist Penetrant at home. Wipe off the excess with a rag.
Step 3
Raise the car with the jack
Place the jack at the jacking point next to the flat tyre, marked by a notch or symbol on the sill. Never put it under thin floor panels. On soft ground, put a board under the jack base.
Wind the handle until the wheel is a few centimetres off the ground. Slide the spare under the sill beside you: if the jack slips, the car will land on it rather than on the brake disc.
Step 4
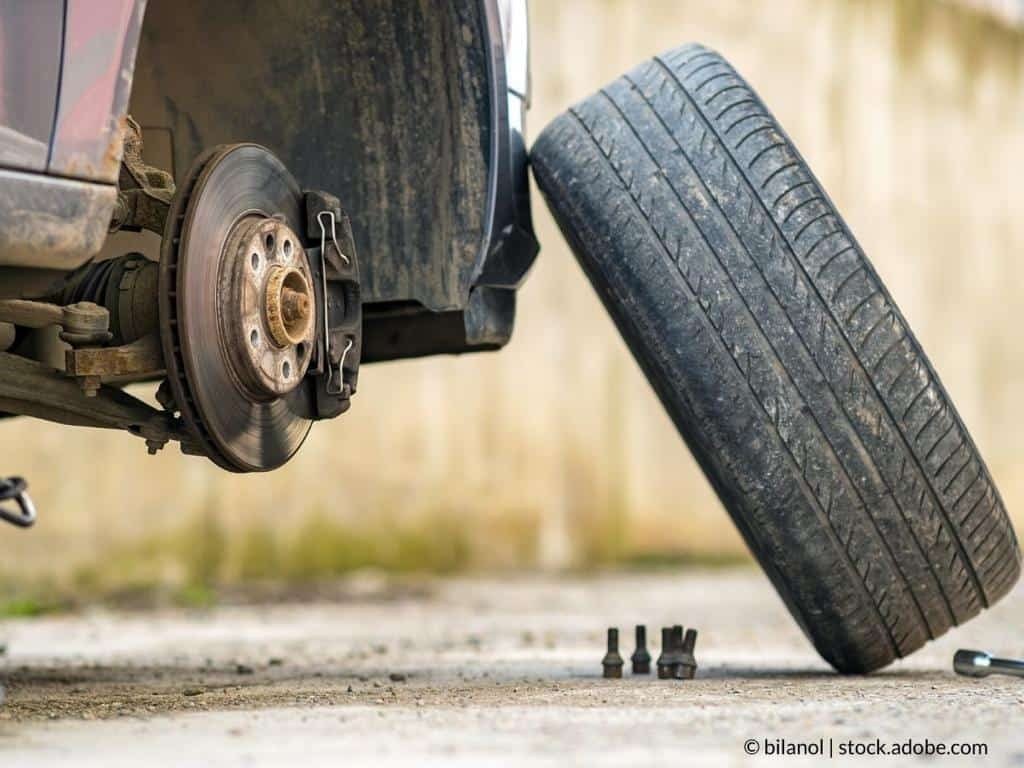
Remove the damaged wheel
Unscrew the nuts by hand and keep them in a pocket or the wheel trim so they are not lost in grass or snow. Lift the wheel off the hub with both hands. Take the chance to inspect the brake disc.
Step 5
Fit the spare
Place the spare on the studs or line up the holes with the hub, start the nuts by hand and nip them up diagonally. A space-saver is only meant to get you to a tyre shop: its speed limit is marked on the wheel itself, usually no more than 80 km/h.
Step 6
Lower the car and tighten the nuts
Lower the car gently and remove the jack. Now tighten the nuts fully in a diagonal sequence with the wheel brace. Put the damaged wheel, tools and triangle in the boot and get to a tyre shop as soon as possible, where they will also check the tightening torque.
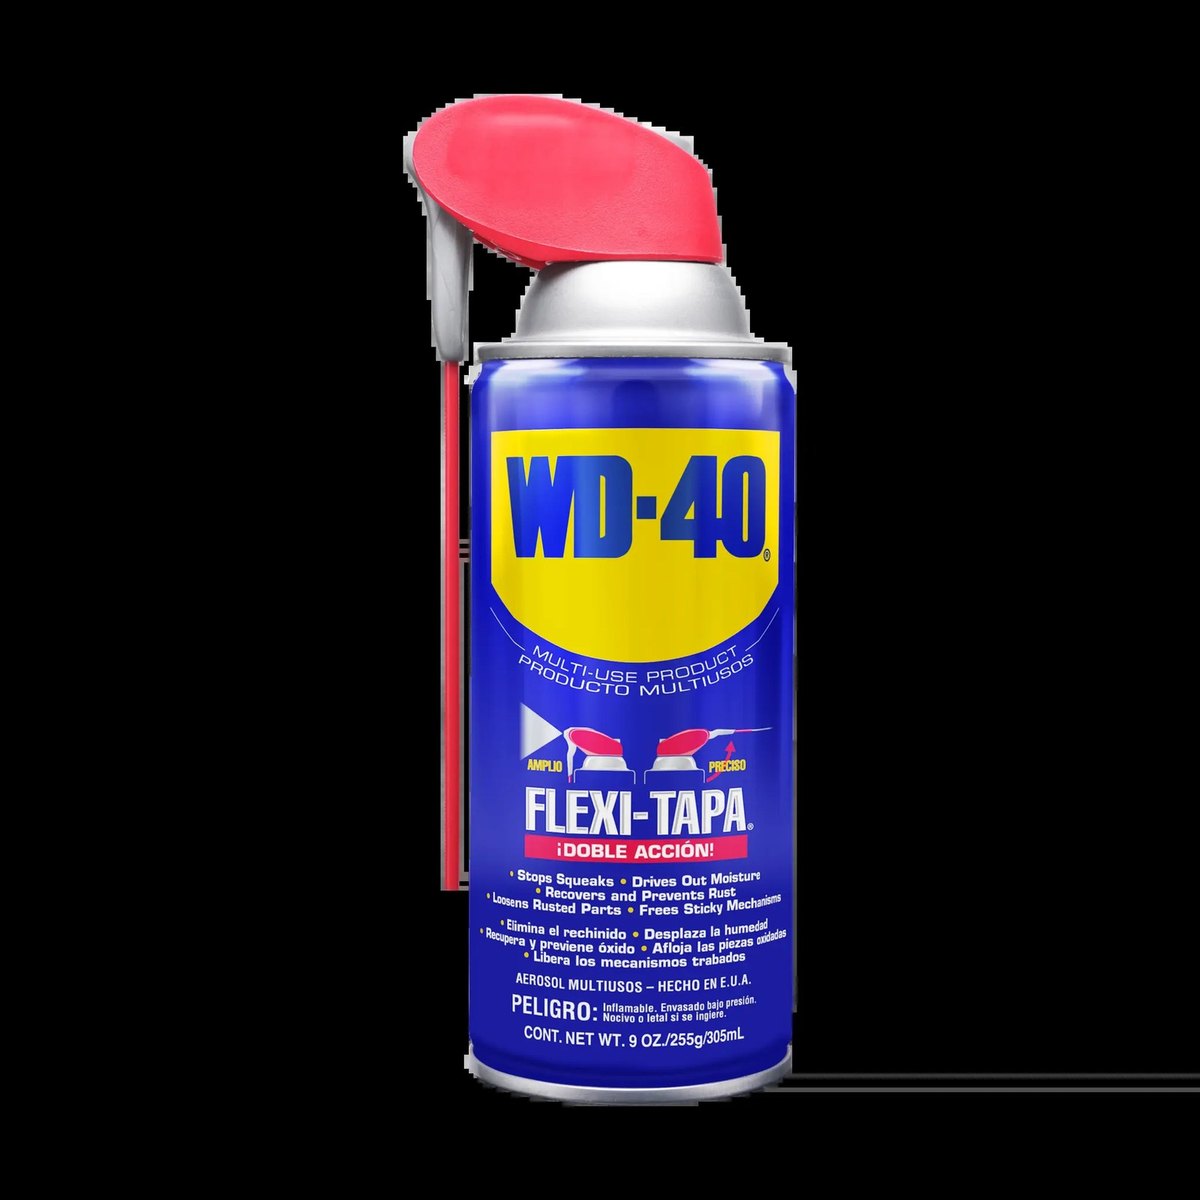
Tip: Once a season, check the pressure in the spare and treat the jack screw and spare wheel fixing with
WD-40 Multi-Use. A jack seized solid in the frost can ruin your plans.
What next
Once the tyre is repaired, refit the original wheel and check the nuts again after 50-100 km. A small WD-40 100 ml in the glovebox also comes in handy for locks, battery terminals and stubborn nuts.
These uses come from the experience of WD-40 users in many countries. Always follow the instructions and warnings on the product label.
More guides in «How to use».