Mountain passes, snowed-in country lanes or a steep icy driveway: snow chains help where even winter tyres spin. But fitting them for the first time in the cold and dark at the roadside is a real test.
There are several types: classic steel chains (affordable and durable but fiddlier to fit), textile snow socks (light and quick to fit but wear faster), and composite or spider types that mount on the wheel (convenient but pricier). The fitting principle is similar.
What you will need
- a set of chains matched to your tyre size
- warm gloves that still let you use your fingers
- torch and a high-visibility vest
- a mat or piece of cardboard to kneel on
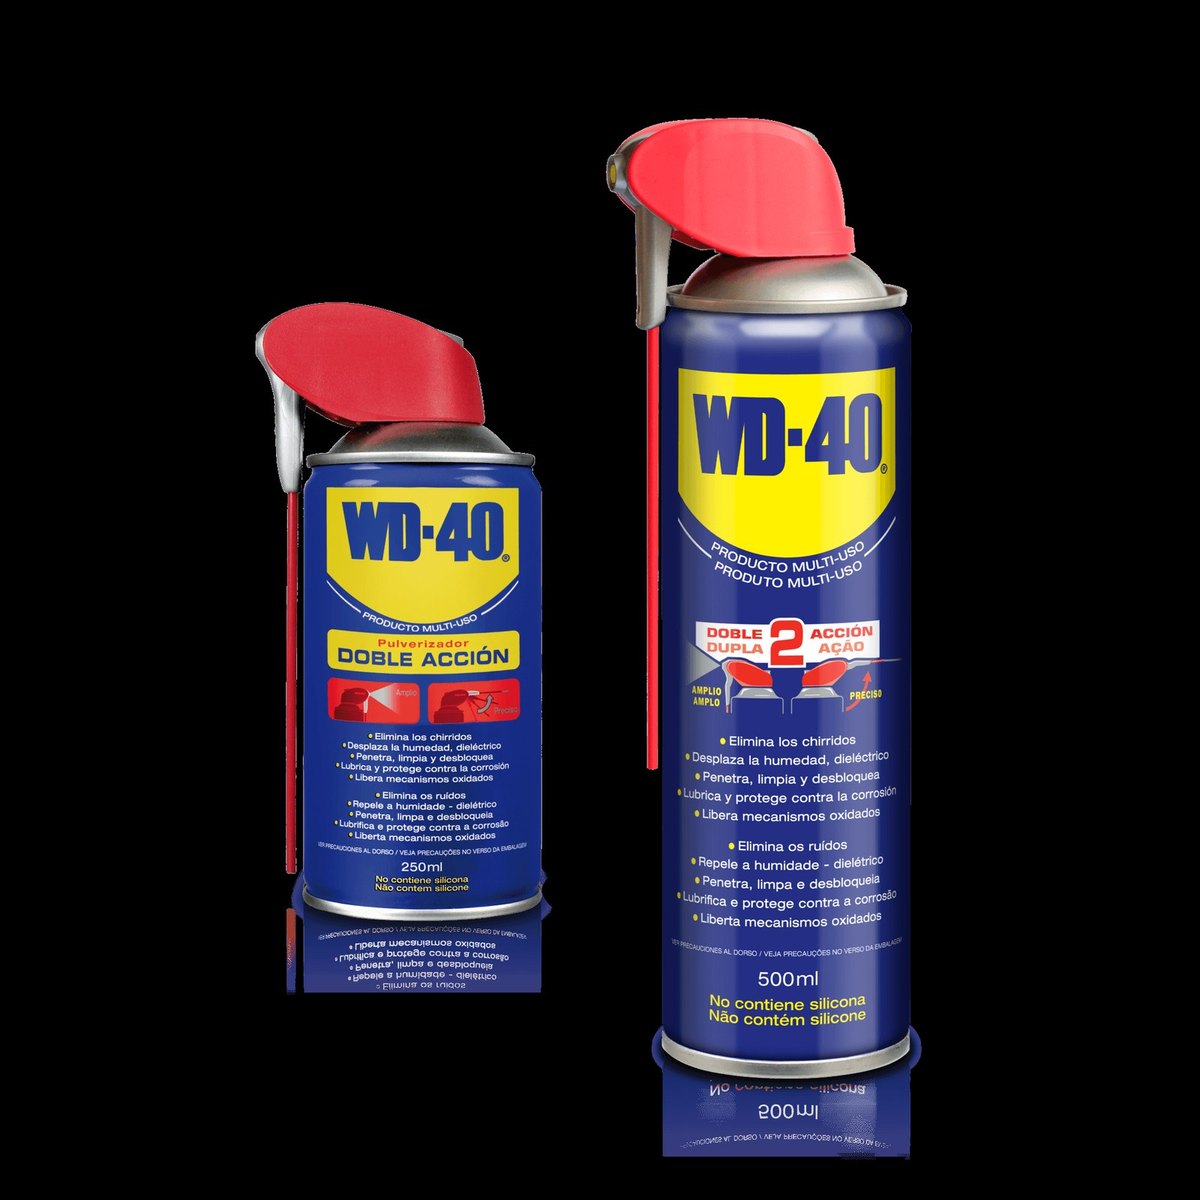
- WD-40 Multi-Use for locks and links
- WD-40 Specialist Penetrant for rusted tensioners
- WD-40 Smart Straw for precise application into locks
Important: Never apply lubricant to tyres or brake components: treat chains only when off the wheel and wipe away excess. With chains fitted, do not exceed 50 km/h and remove them as soon as you reach clear tarmac.
Step 1
Choose the chains and practise at home
Chain size must match the tyre size shown on the sidewall and in the vehicle handbook. Check that the manufacturer permits chains on your wheels, especially with low-profile tyres.
Fit the chains for the first time at home in a dry garage so you learn the fastenings without cold or hurry. If locks or hooks are stiff from last season, give them a spray of WD-40 Smart Straw.

Step 2
Stop somewhere safe
Fit chains before the difficult stretch, on level ground away from traffic. Switch on the hazard lights, put on the vest, apply the handbrake and engage a gear.
Chains go on the driven wheels: the front on a front-wheel-drive car, the rear on a rear-wheel-drive one. For four-wheel drive, follow the handbook.
Step 3
Fit the chains
Lay the chain out by the wheel with no twisted links. Feed the flexible cable behind the wheel and join its ends on the inside, then drape the chain over the top half of the tyre and close the outer fastening.
Pull a snow sock over the top half of the wheel. Then move the car half a metre so the wheel turns, and secure or pull on the section that was underneath.

Step 4
Tension and check
Check the cable ring sits centrally and the chain covers the tread evenly. Tighten the tensioner; if it is self-locking, make sure it has engaged.
Drive 100-200 metres and check tension again, as chains settle. Without a self-locking tensioner, recheck regularly along the way.
Step 5
Remove, dry and protect
After the trip, remove the chains in reverse order, rinse off salt and snow with warm water and dry them completely.
Apply WD-40 Multi-Use to the links, locks and tensioners, wipe off the excess and pack them in their bag. If a tensioner or lock has rusted, first apply WD-40 Specialist Penetrant and let it work for a few minutes.
Tip: Keep a bag in the boot with the chains containing gloves, a torch and a pocket-size
WD-40 100 ml. A rusted lock in frost opens far more easily if you spray it and wait a minute.
What next
Inspect the chains in autumn before the first snow: links, cable and fastenings. After every use, wash off the salt, dry them and treat them with WD-40 Multi-Use, and they will last many winters.
These uses come from the experience of WD-40 users in many countries. Always follow the instructions and warnings on the product label.
More guides in «How to use».